Recently, September 5-8, 2014, I participated in the first White House Game Jam. A game jam is a gathering of game developers with the purpose of developing a game within a short time, like 24 – 48 hours. The White House Game Jam was sponsored by the White House.
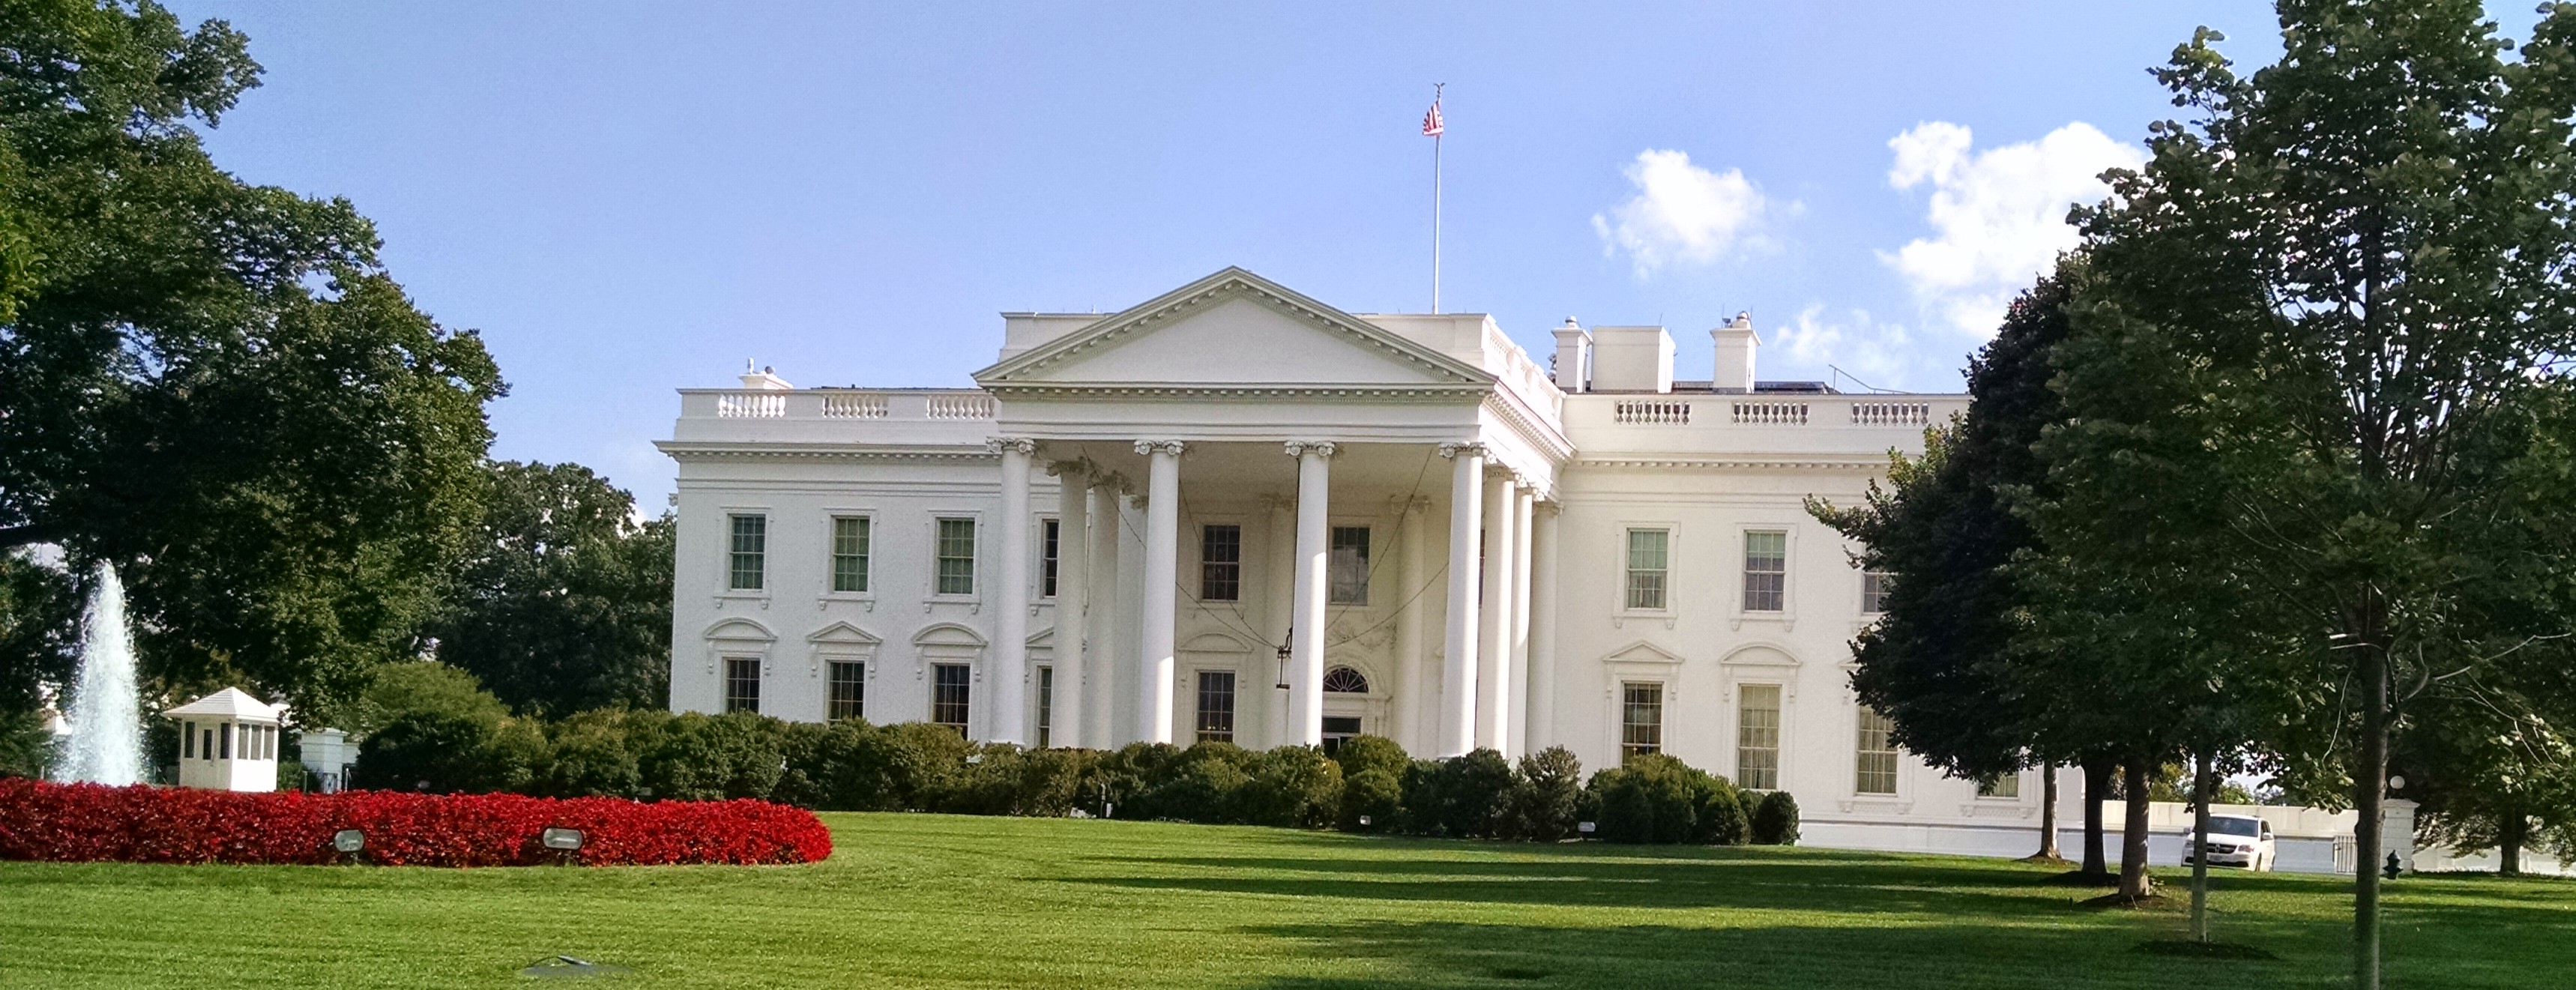
The White House
Yes. That White House.
So this adventure started about two weeks before I flew out to Washington, DC. On August 20, 2014 I got an email from a manager within Pearson asking if I was interested in participating in the White House Game Jam. Kristen DiCerbo, who works at Pearson researching how data generated while students play games can be used to assess their learning, Chris Crowell, from Crowell Interactive game development, and Cole Cecil, a fellow software developer at Pearson with me, composed our team.
Team Pearbat
On September 1, 2014, Mark DeLoura, Senior Advisor for Digital Media, White House Office of Science and Technology Policy and game jam facilitator, sent us the rules for the jam. It included suggested topics for our game: science, civics, math, English, or history. Our team, consisting of members in Iowa City, IA, Phoenix, AX, and Toronto, Canada, met via a Google Hangout to discuss strategy. After our brainstorming session we decided that we would create a game related to the assassination of President Abraham Lincoln. The idea of the game is that you are an investigator moments after the assassination and your job is to investigate and interview potential suspects who may have been involved in the assassination. Through the evidence gathered during the investigation the player would determine if the evidence is important, truthful, and points to guilt or innocence for the particular suspect. As the user plays the game they may change their assessment of the evidence and this can be used to analyse the critical thinking of the player.
Chris’s role in the team was as the game designer and graphic artist. Kristen acted as producer and researcher. Cole and myself were the developers. We looked at a couple of different adventure game engines to use for our game and decided on using Visionaire Studio. One of the requirements for the game engine was that it work on both Mac and Windows. We wanted our game to be able to record data as the user analysed the collected interview evidence so we used MySQL for the a database. And to add logic to the game for recording data we leveraged the Lua scripting language integrated into Visionaire Studio.
I made sure to order a Washington Metro SmarTrip card right away. It arrived a couple of days before my flight.
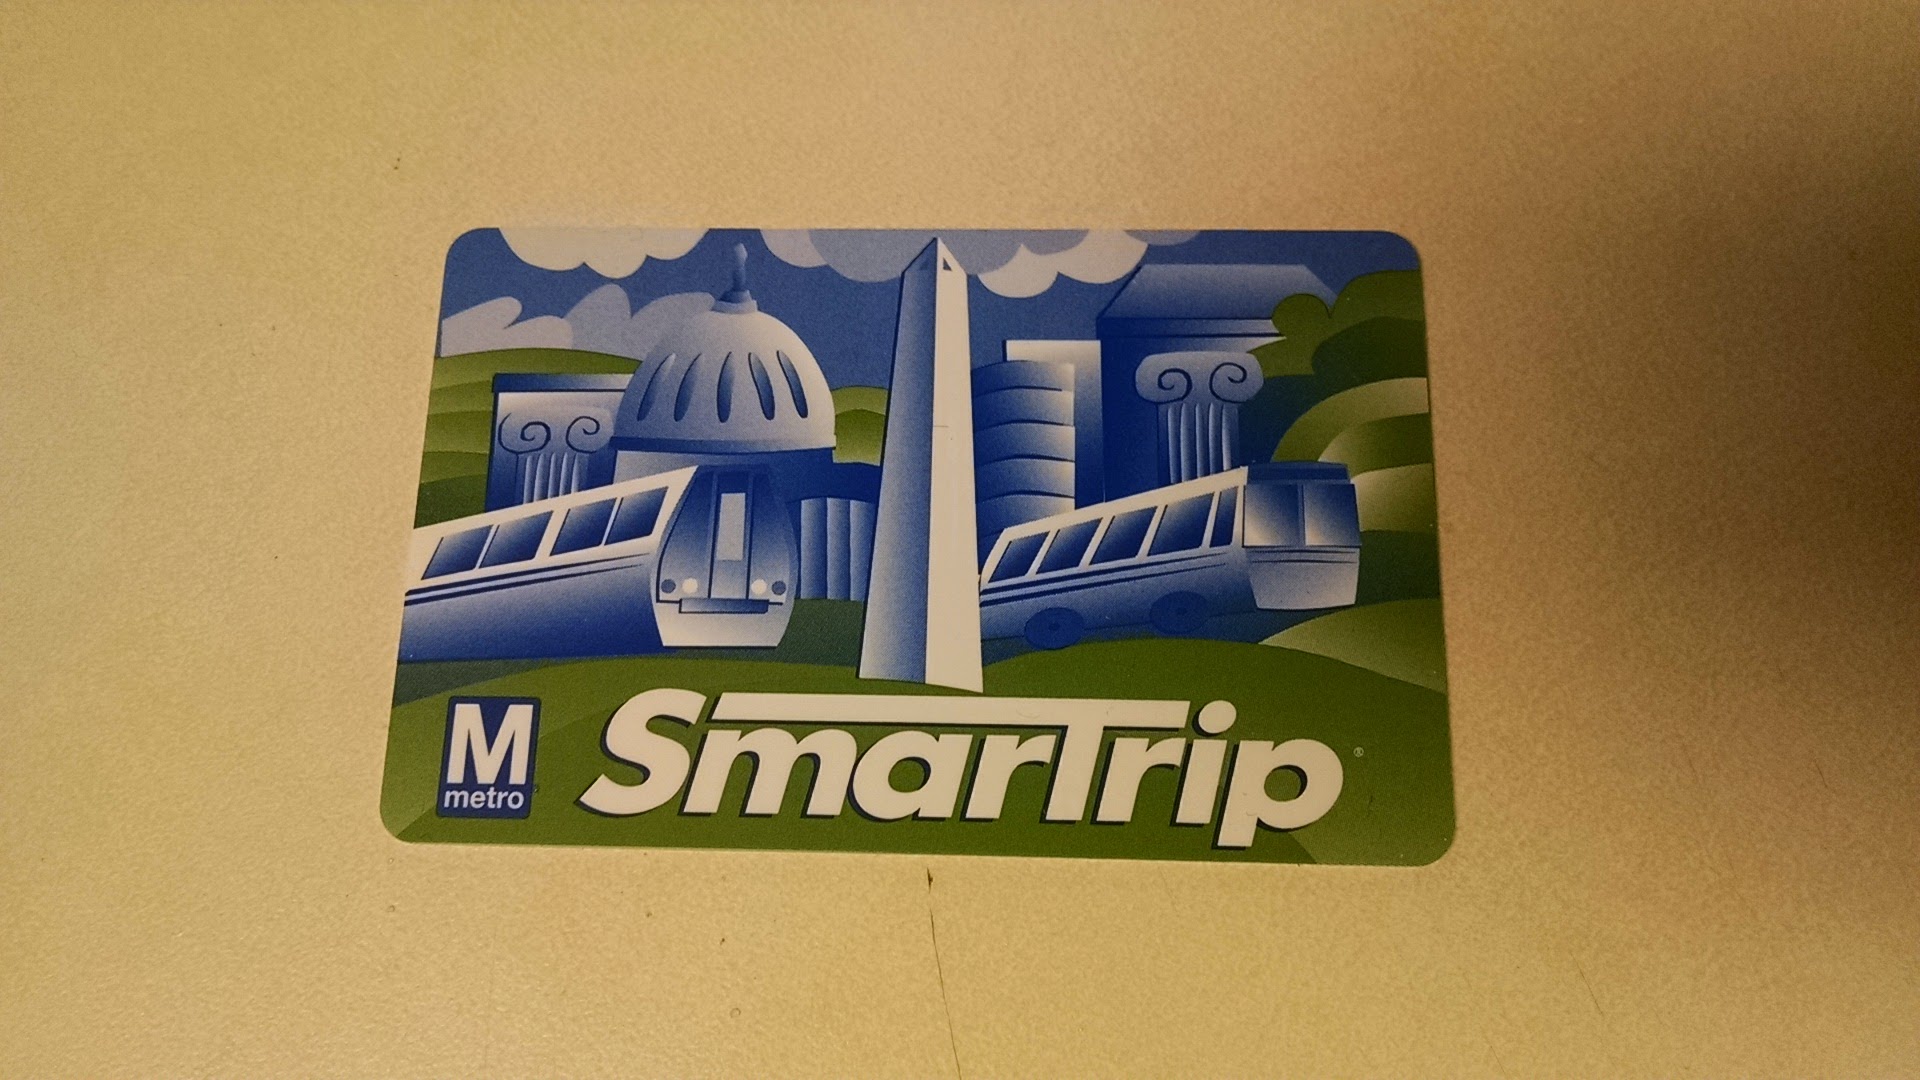
SmarTrip card
My flight on Friday, September 5, 2014, was early in the morning at 6AM. It connected through Atlanta, GA. I arrived at Ronald Reagan Washington National Airport in the early afternoon. I was able to use my SmarTrip card to board the metro rail station at the airport.
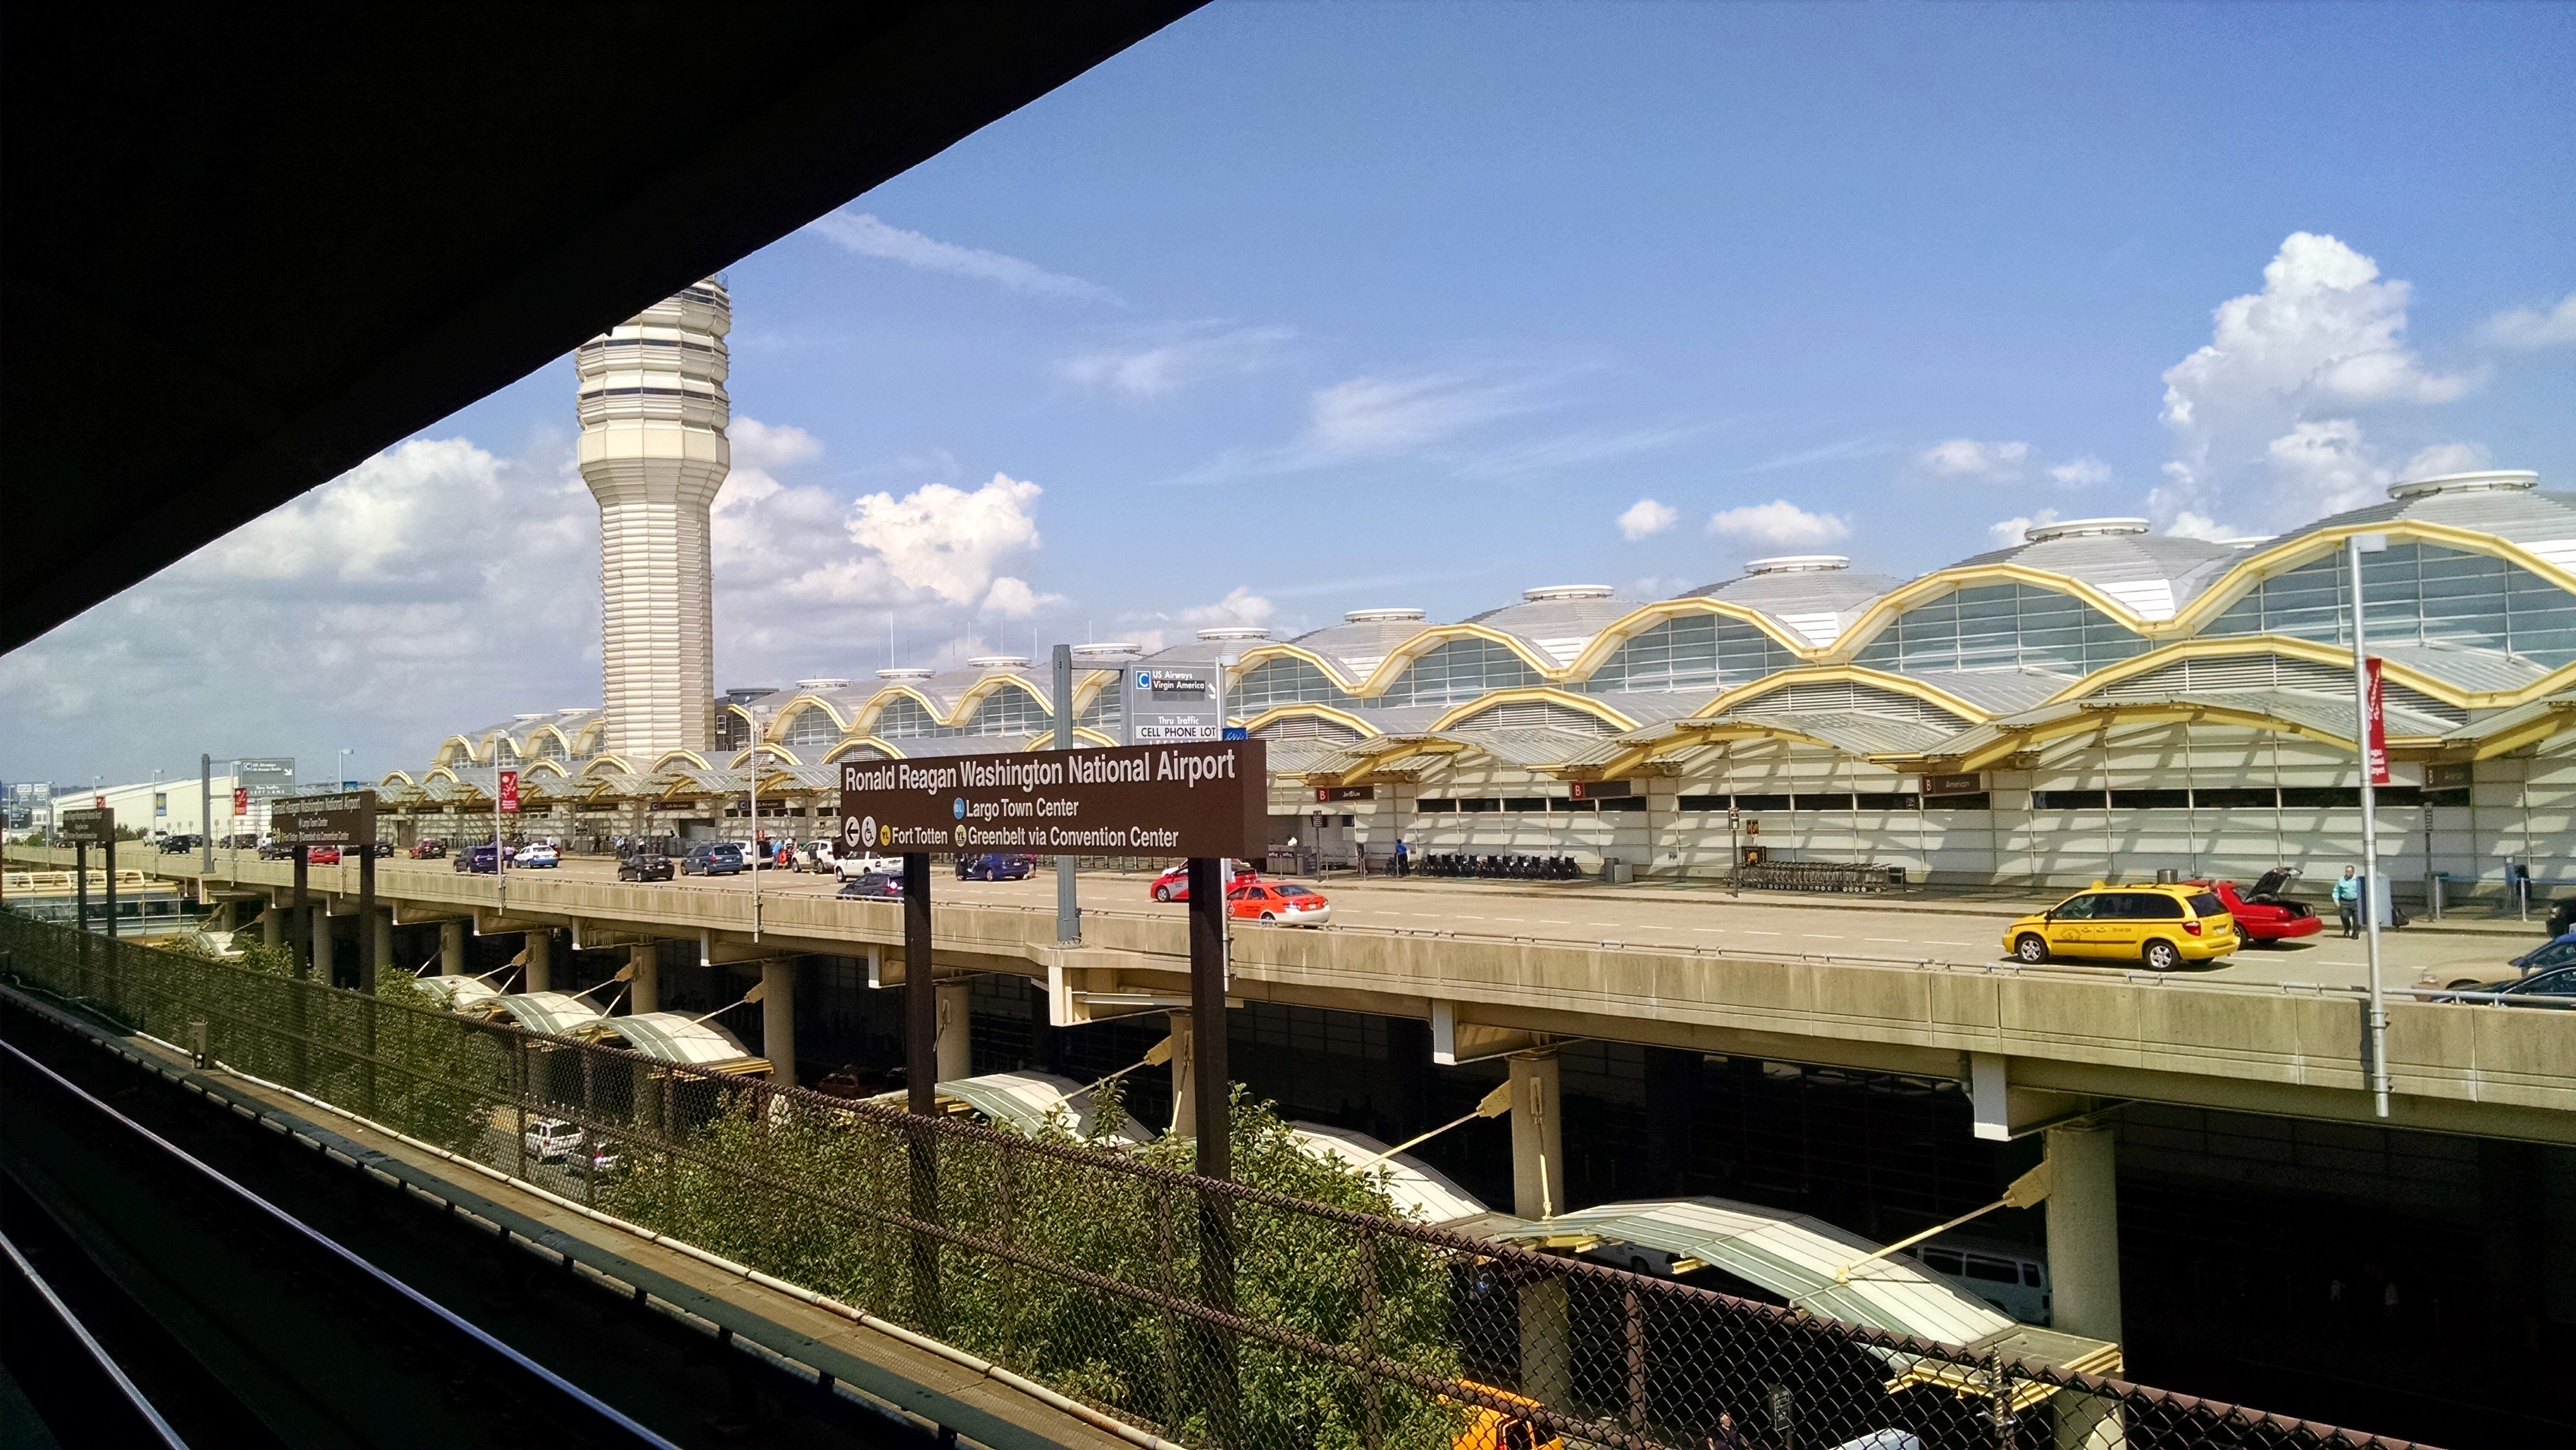
The Ronal Reagan Washington National Airport from the Metro station platform
The trip on the Metro to the hotel, Hotel Palomar, was pretty easy. I took one train to Metro Center and switched to another train to Dupont Circle.

Riding escalator up from Dupont Circle station
Once at street level it was a short walk to the hotel.

Hotel Palomar room
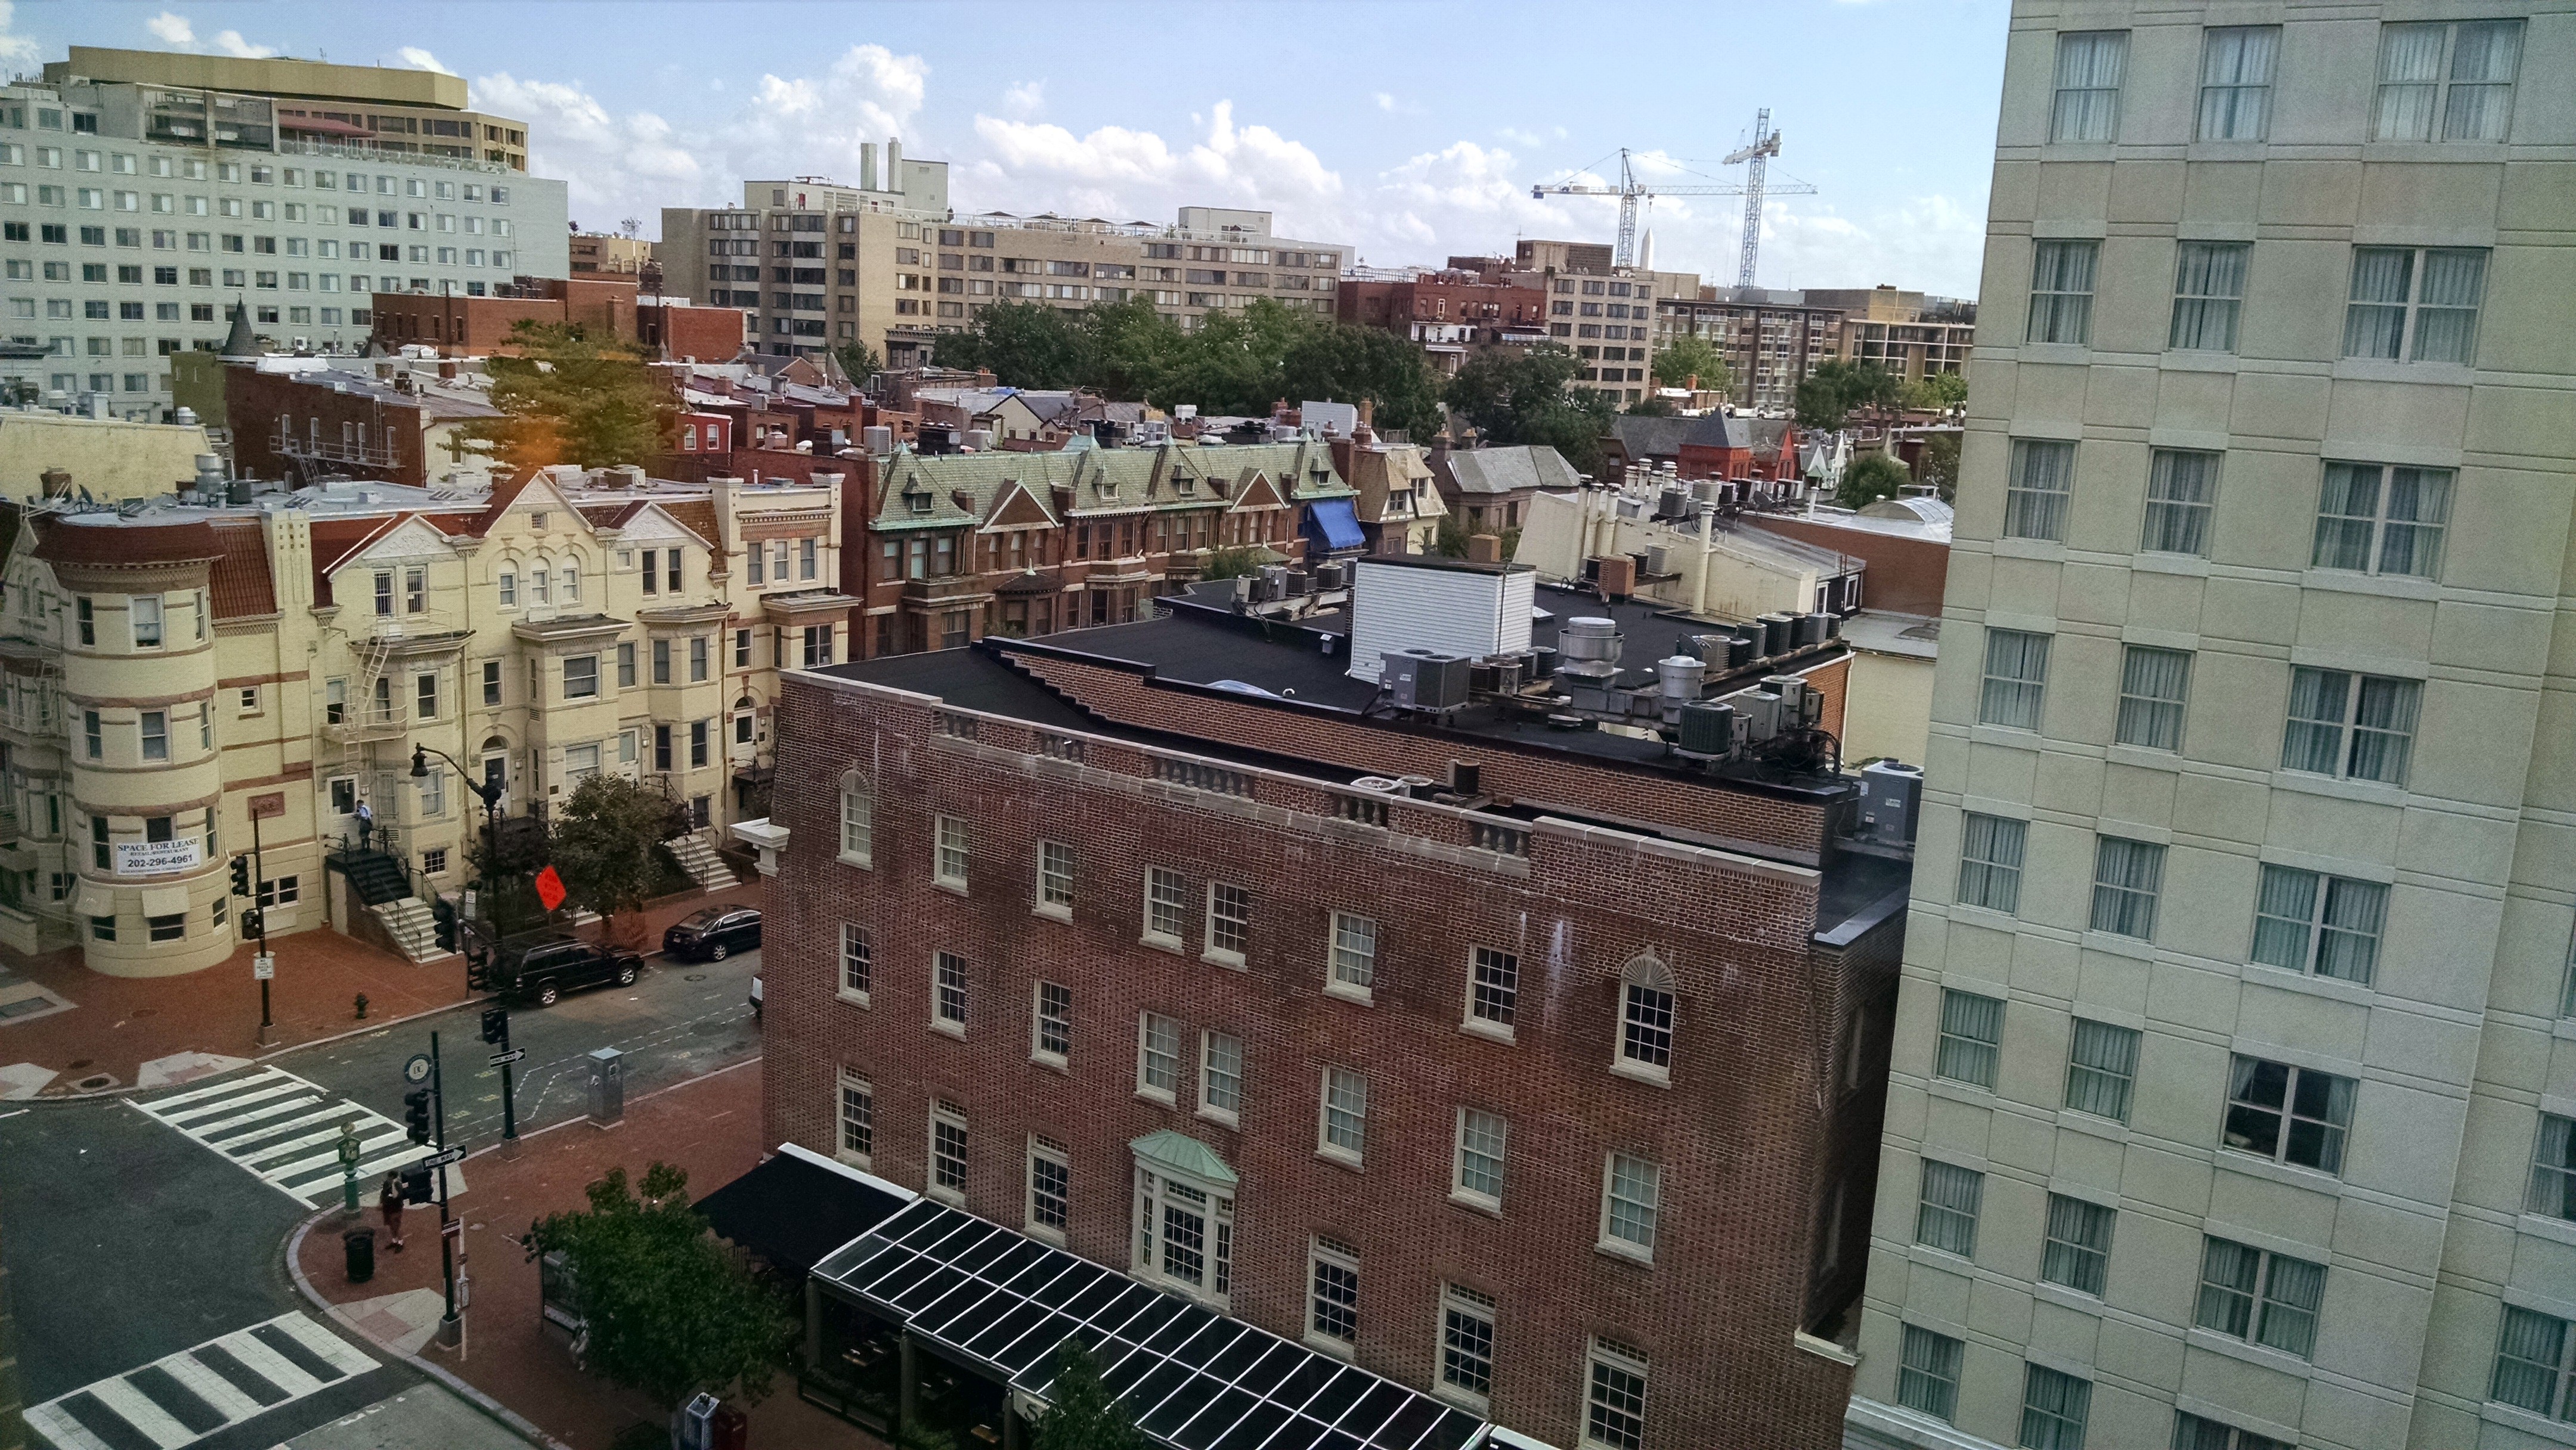
View from Hotel Palomar room
Difference Engine was providing the space that we would be jamming in on Saturday and Sunday. So on Friday evening they were having a happy hour at their offices to let everyone find the location just off of Dupont Circle the night before and get a chance to meet the other teams participating in the game jam. I had a little bit of time before the meet up at Difference Engine so I went for a walk down Connecticut Avenue to 17th Street.
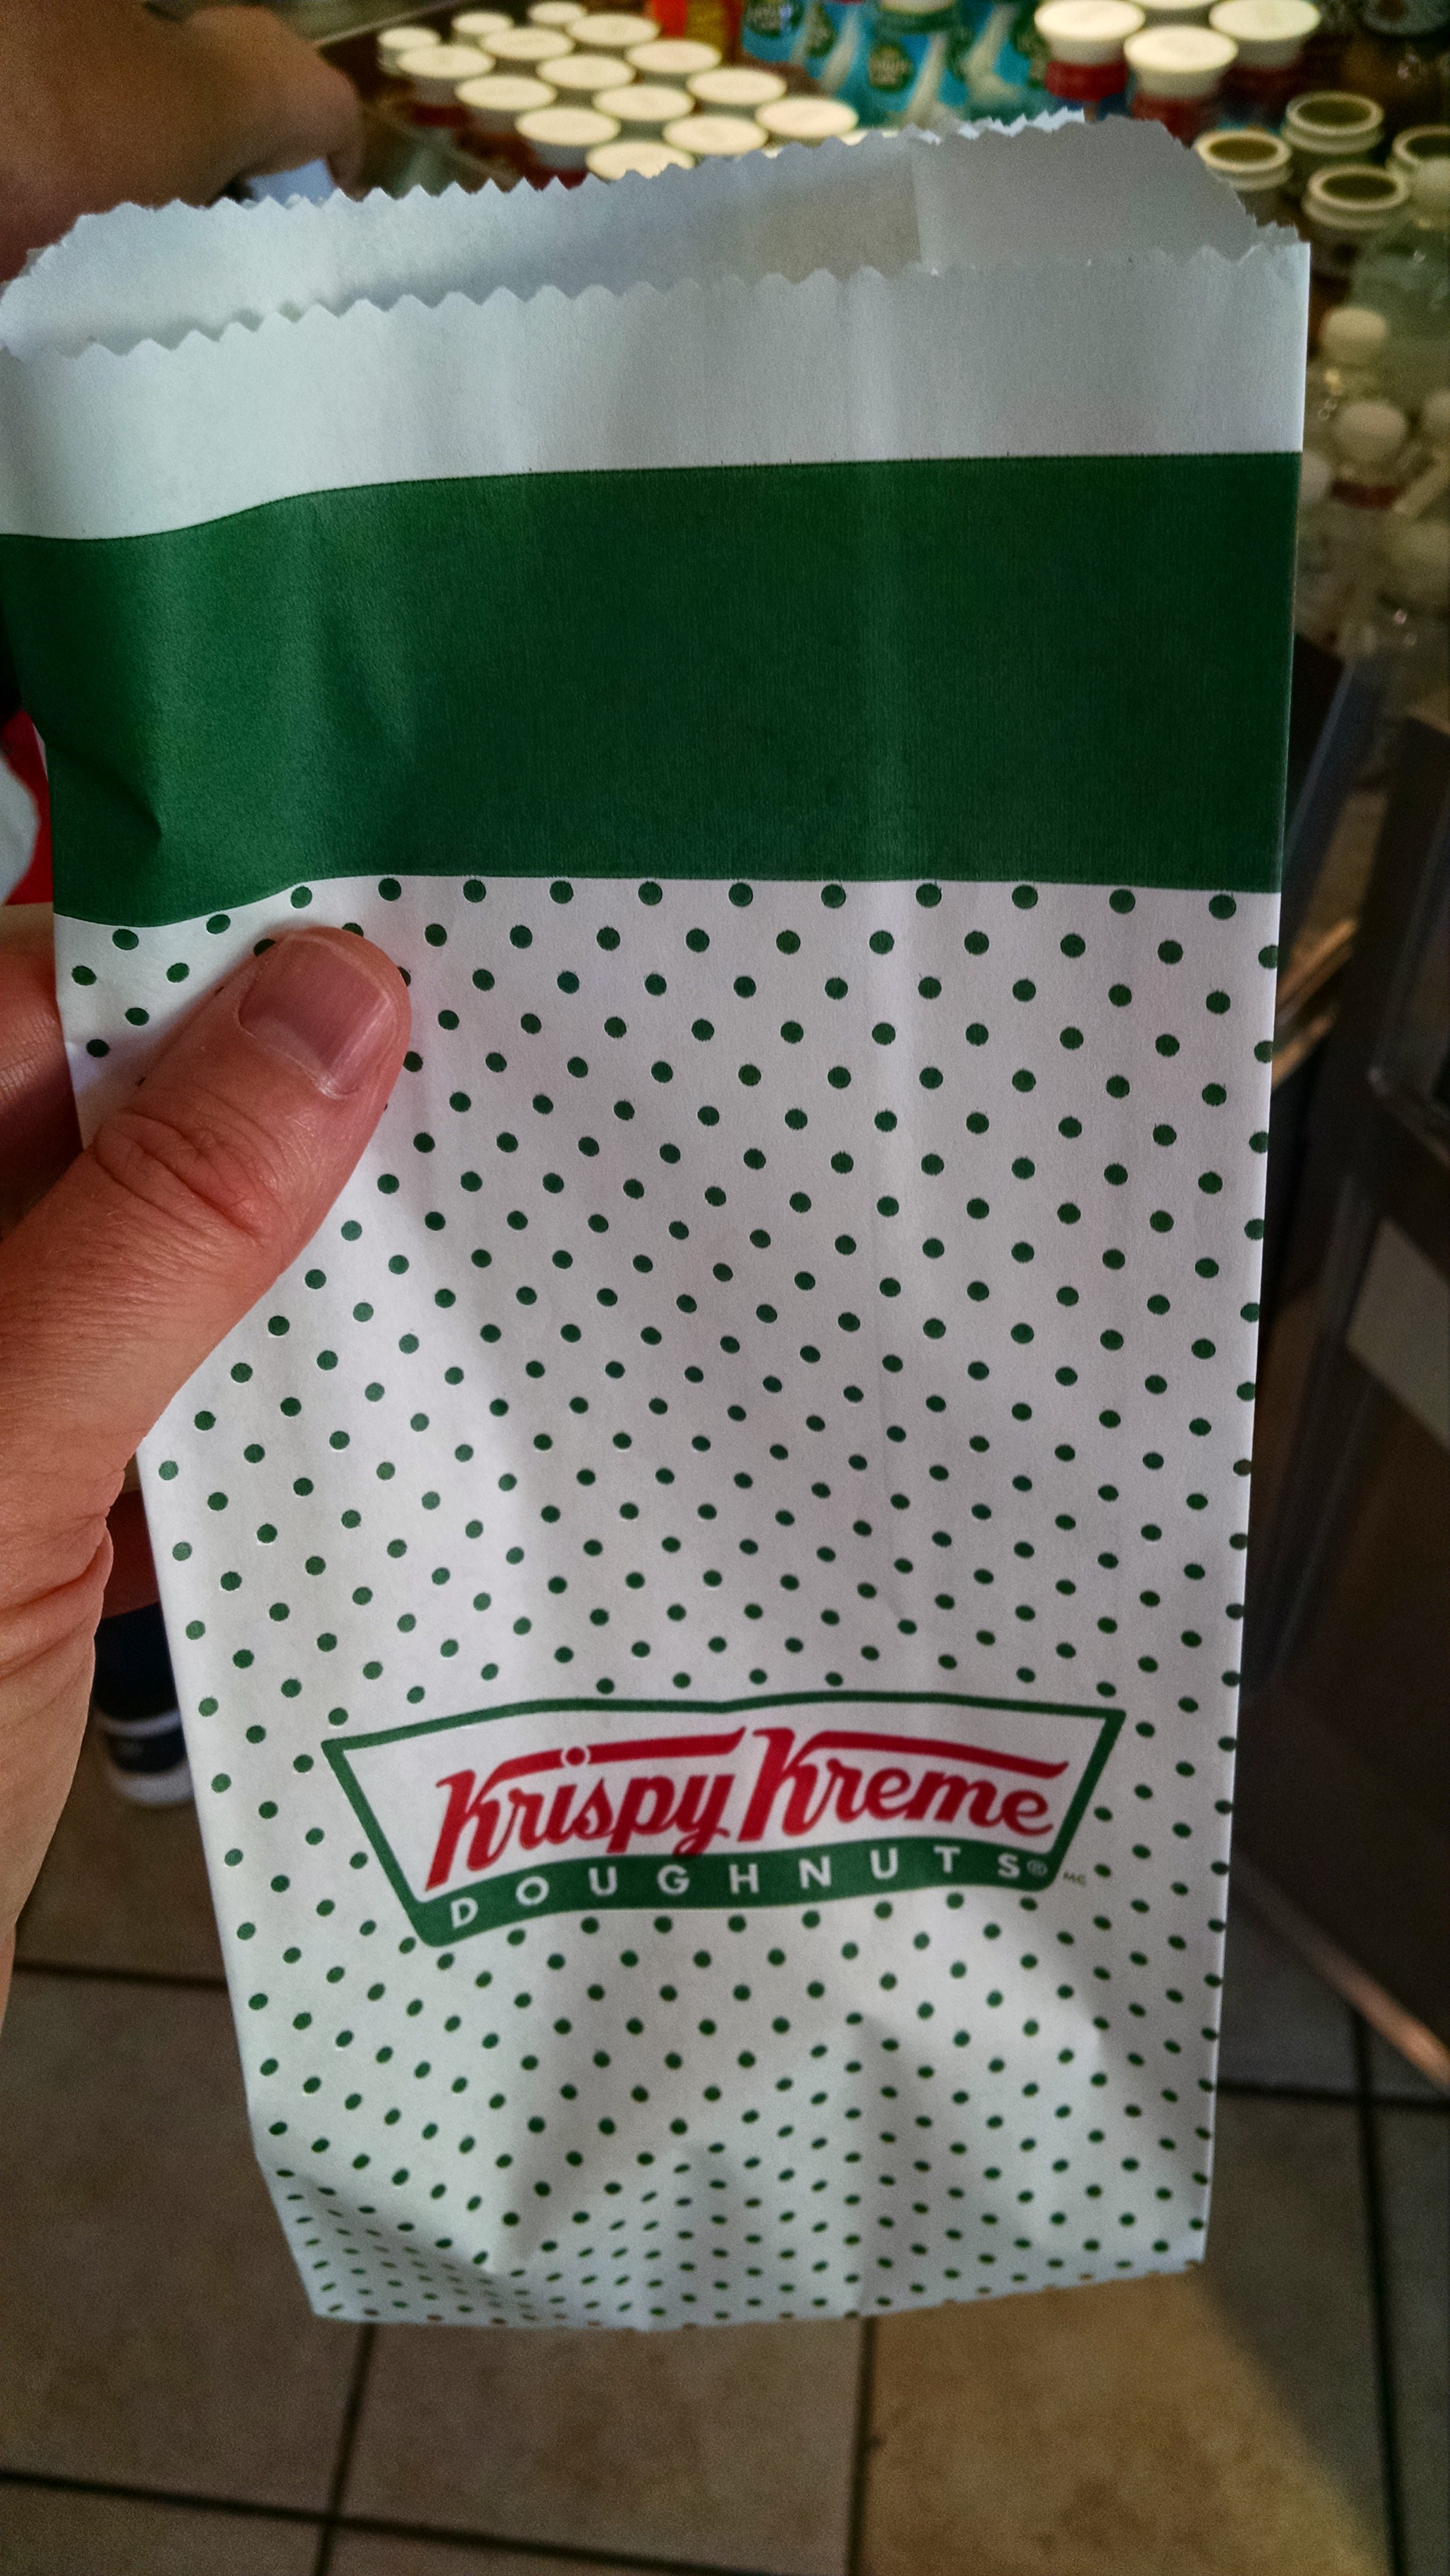
Found a Krispy Kreme on the way. Don’t have any at home.
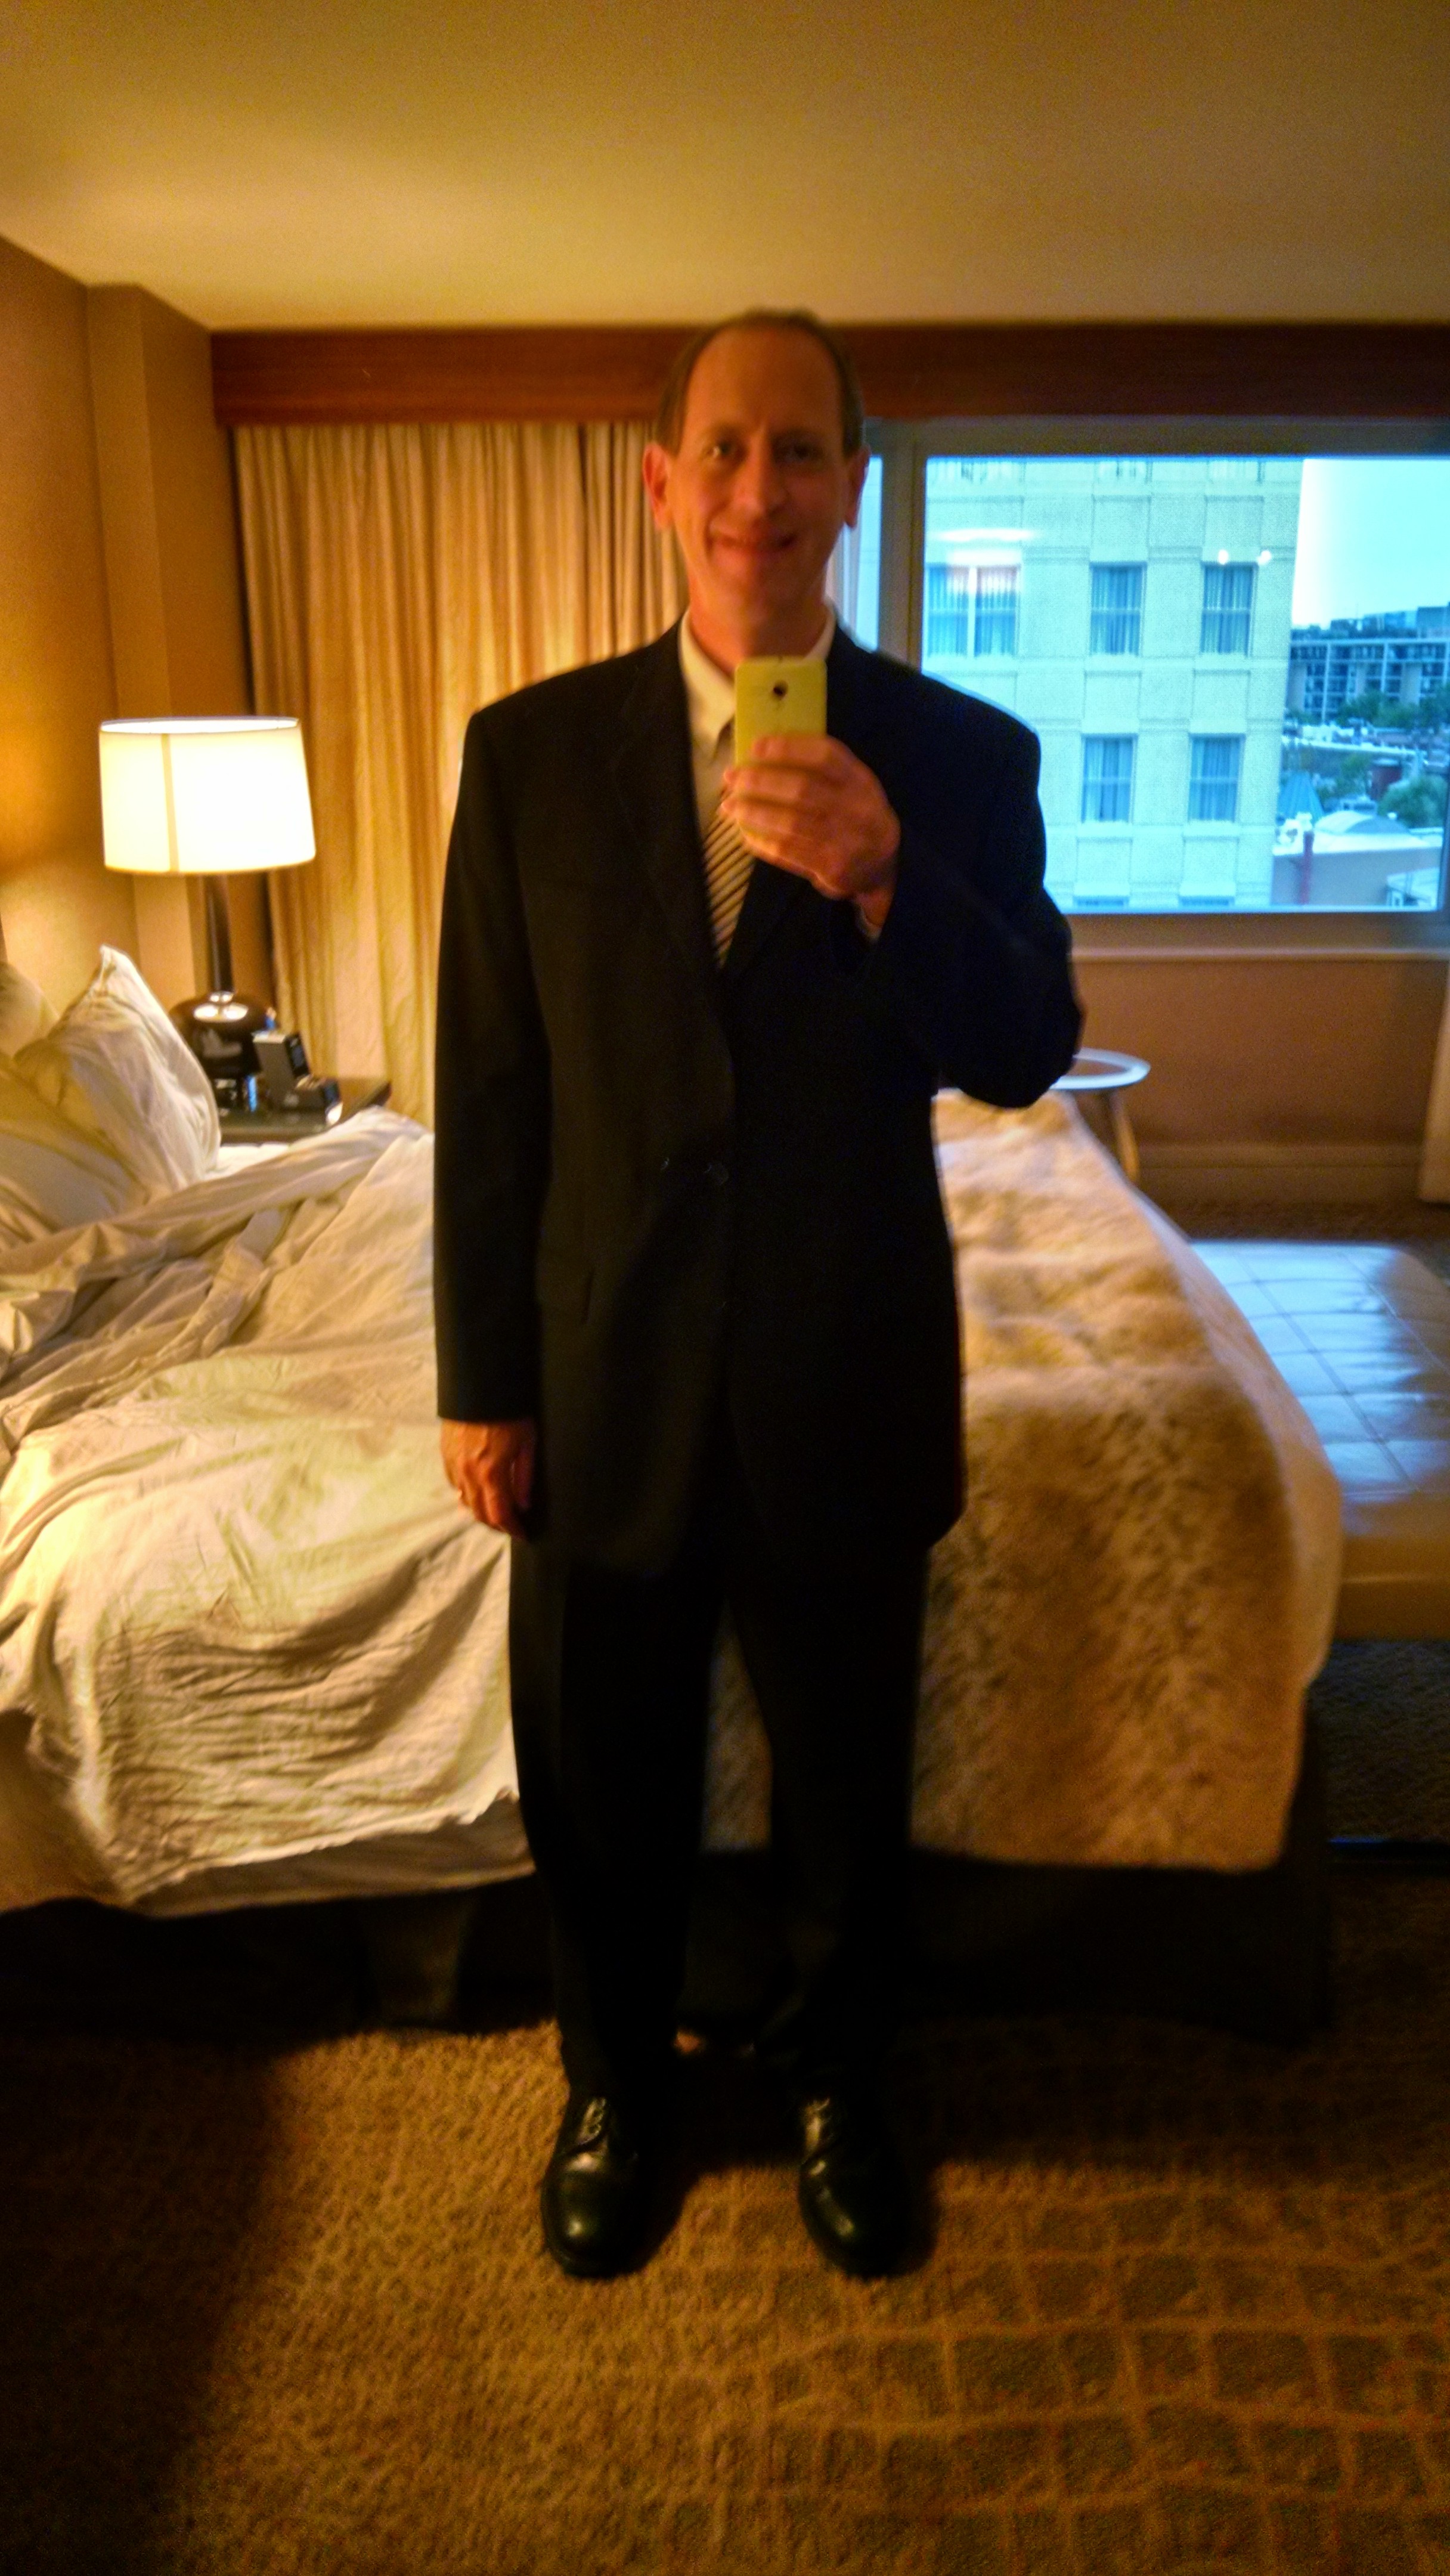
I took a few pictures of the White House and then went back to the hotel.
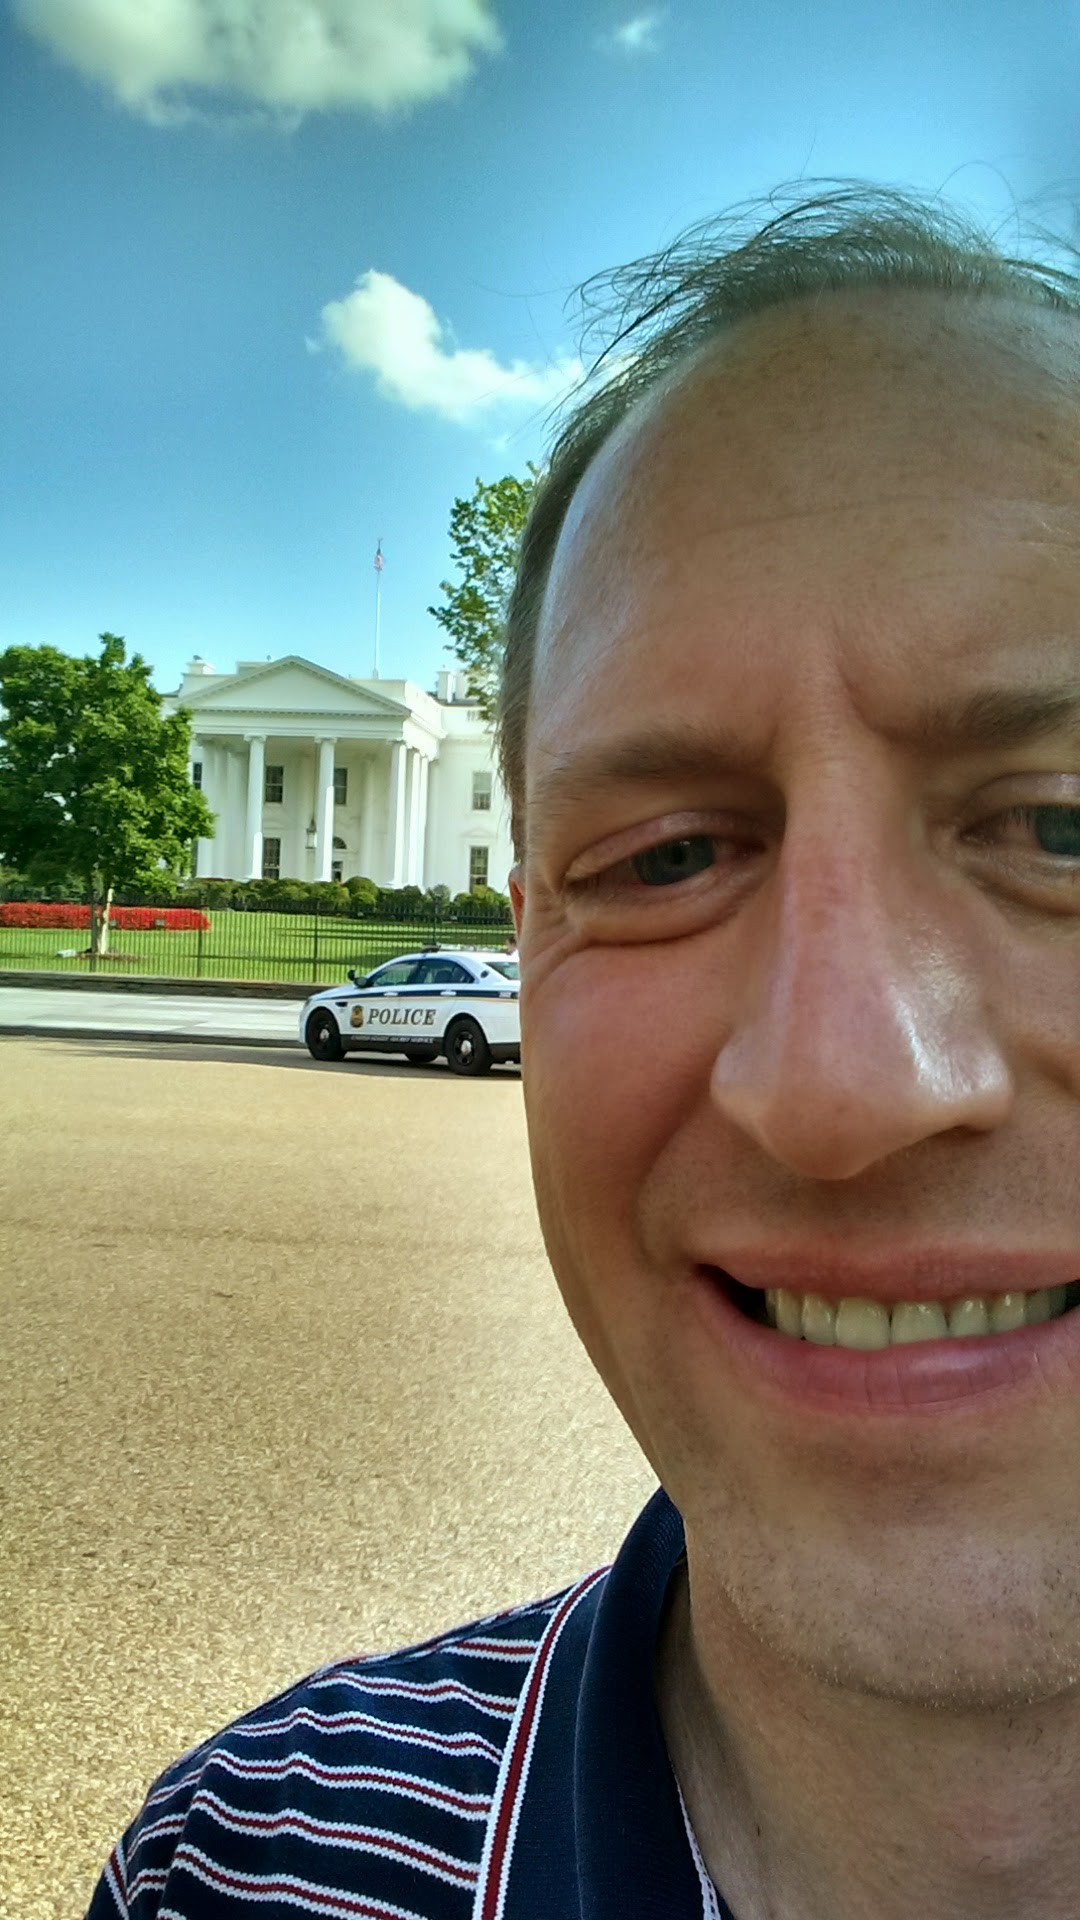
Selfie with The White House
Once arriving back at the hotel I met up with Cole and met Kristen for the first time in person. We decided to get some dinner before heading to the happy hour. We stopped at Pizzeria Paradiso. After dinner we went to the Difference Engine office. It is a remodeled bank building. We were escorted up the elevator to the second floor. There was a foosball table, arcade cabinet, and Band Hero set up in the front room. In the kitchen/gathering space (also where the ping pong table was) drinks and hors d’oeuvres were set up.
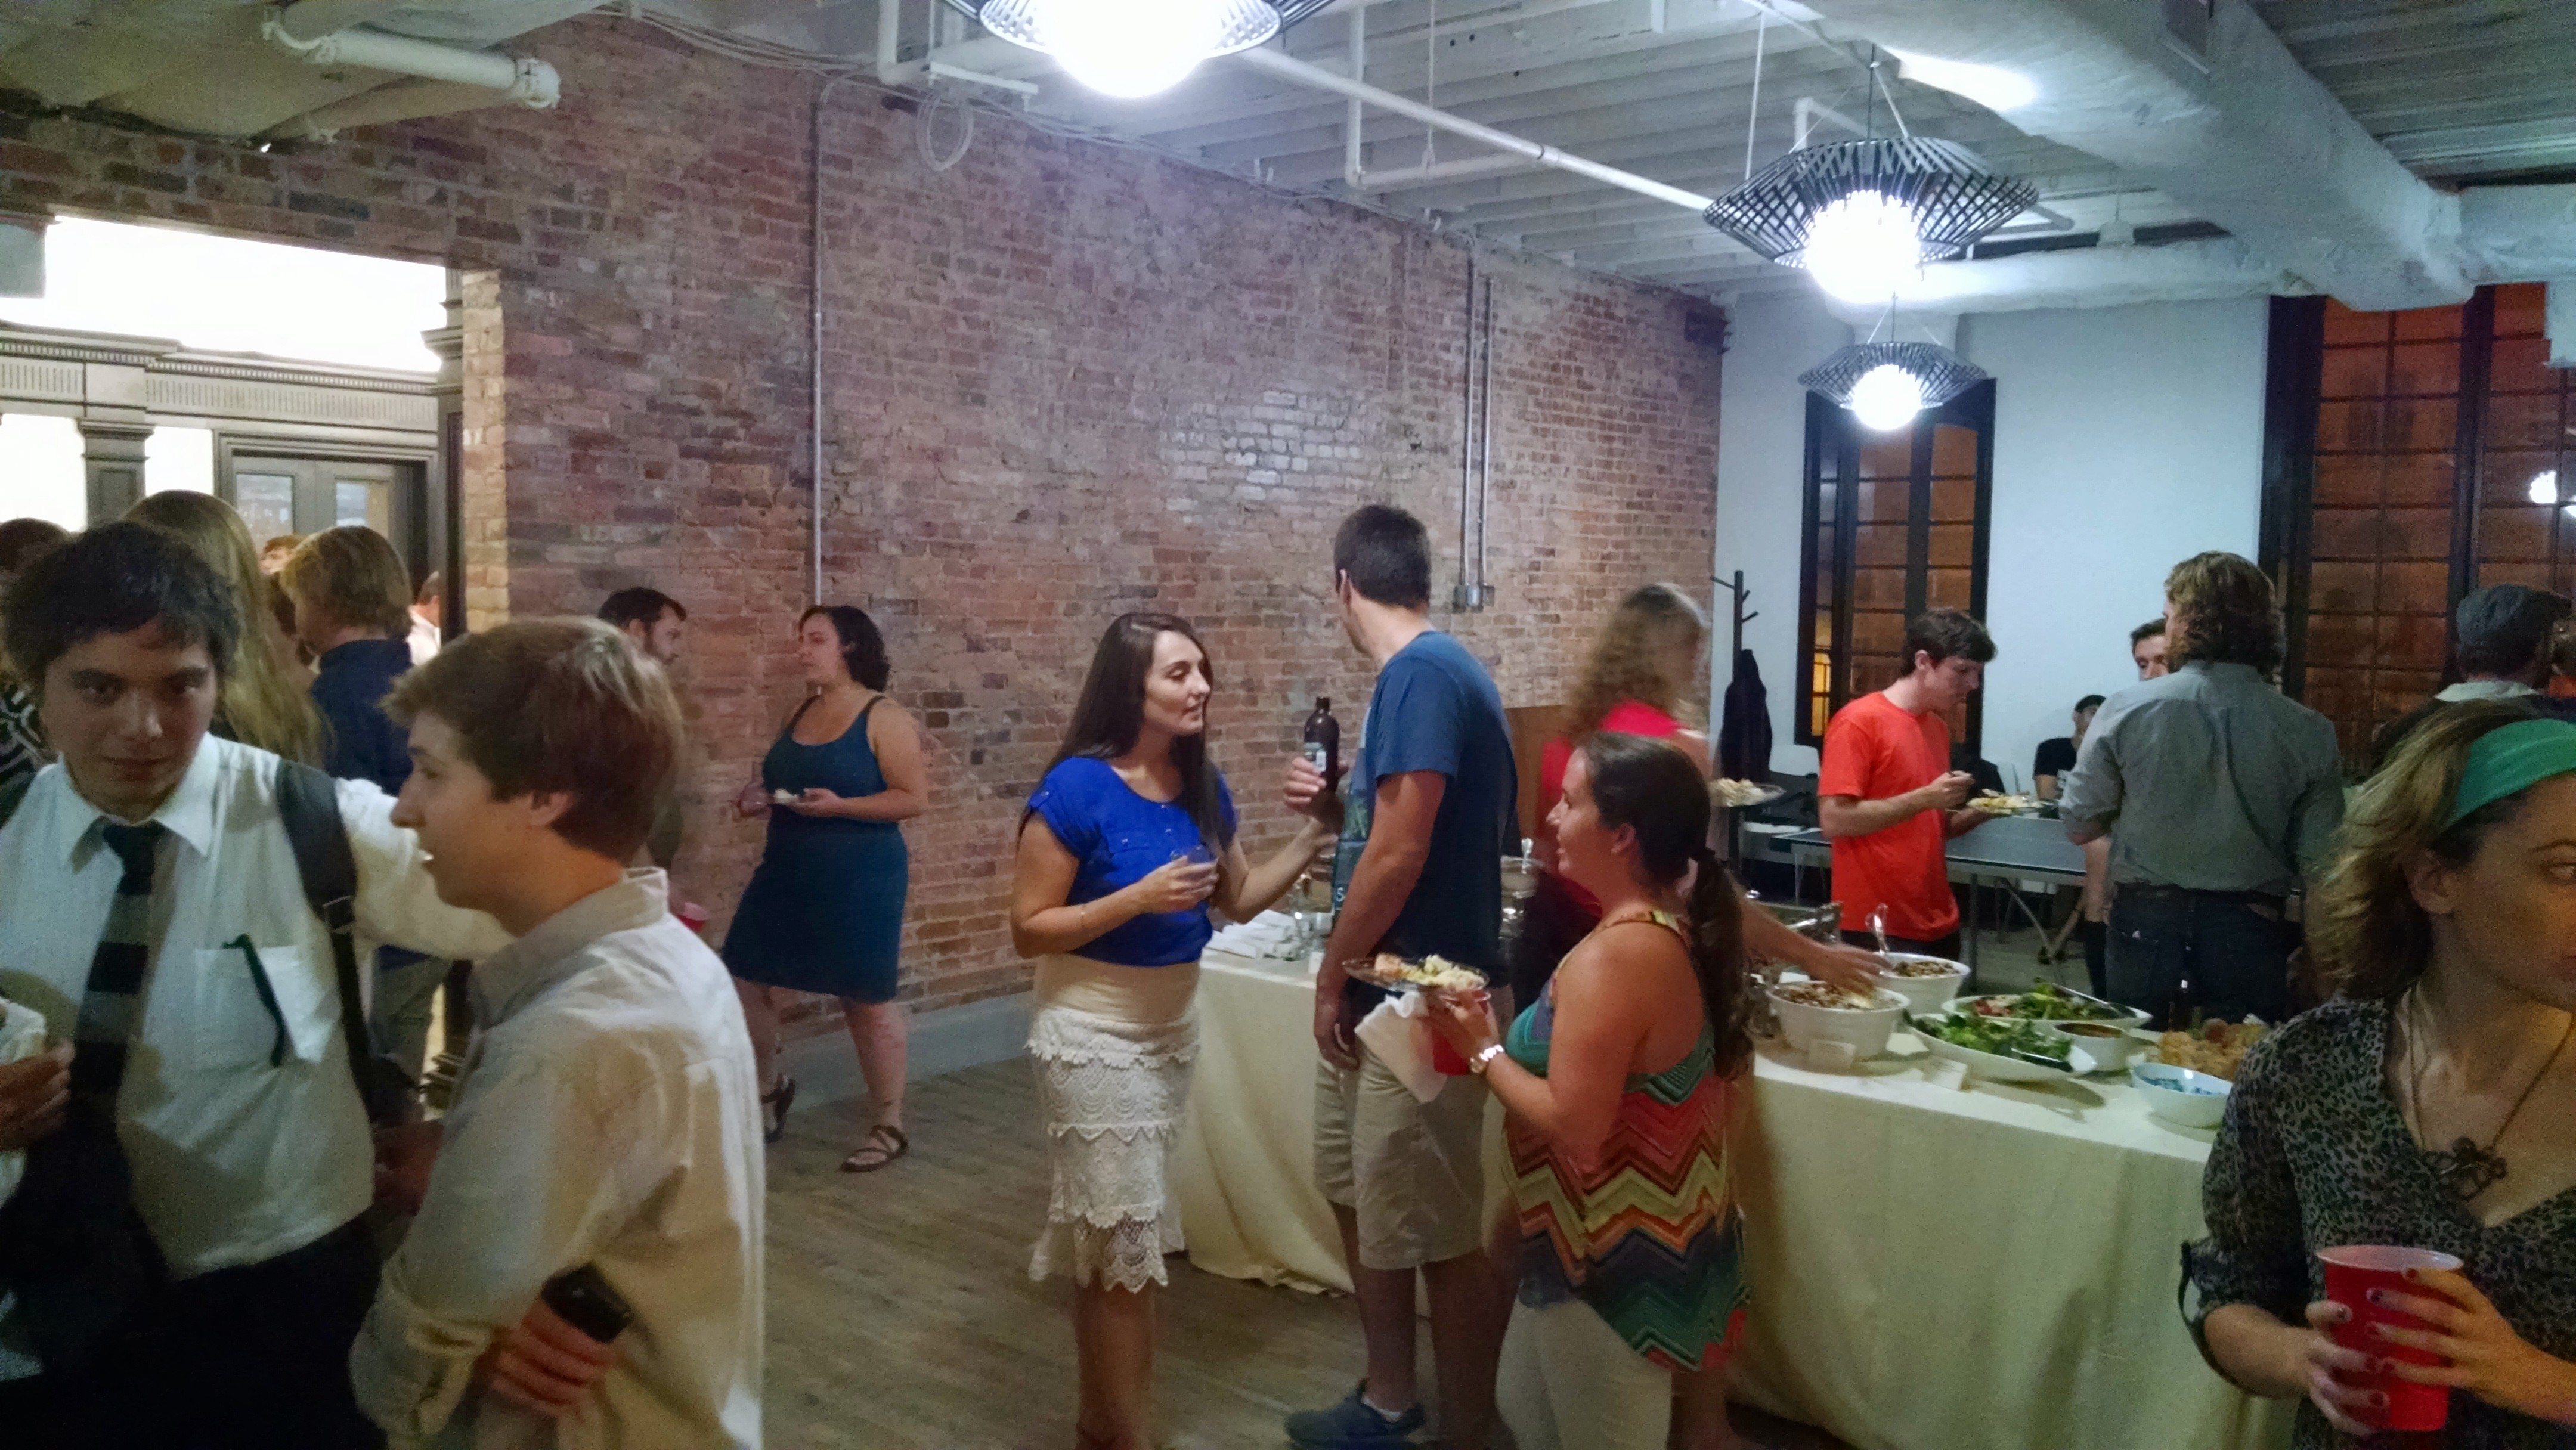
Difference Engine happy hour
One of the Difference Engine employee’s showed us around the space that we would be using in the morning. There were three rooms that are normally used by developers. They had removed all of the computers but kept the monitors on the desks for us to use. Chris, who drove from Toronto, Canada, where he now lives, arrived at the Difference Engine office late in the evening. This was the first time that we had met face to face. We soon called it a night. Before leaving though, I did ask if anyone on Team Pearbat wanted to go for a run in the morning.
However, at 6:30AM on Saturday morning, September 6, 2014, there were no takers. I was able to run down to the Lincoln Memorial before we needed to be at the Difference Engine offices at 9AM for the start of the jam. Here is the link to my GPS tracked run: http://connect.garmin.com/modern/activity/584011061. There wasn’t a lot of traffic in the morning. I assume that was because it was a Saturday. Down at the Lincoln Memorial there were just a handful of people hanging out or taking pictures from the steps. While visiting the memorial most of the time I was the only one actually in the memorial.
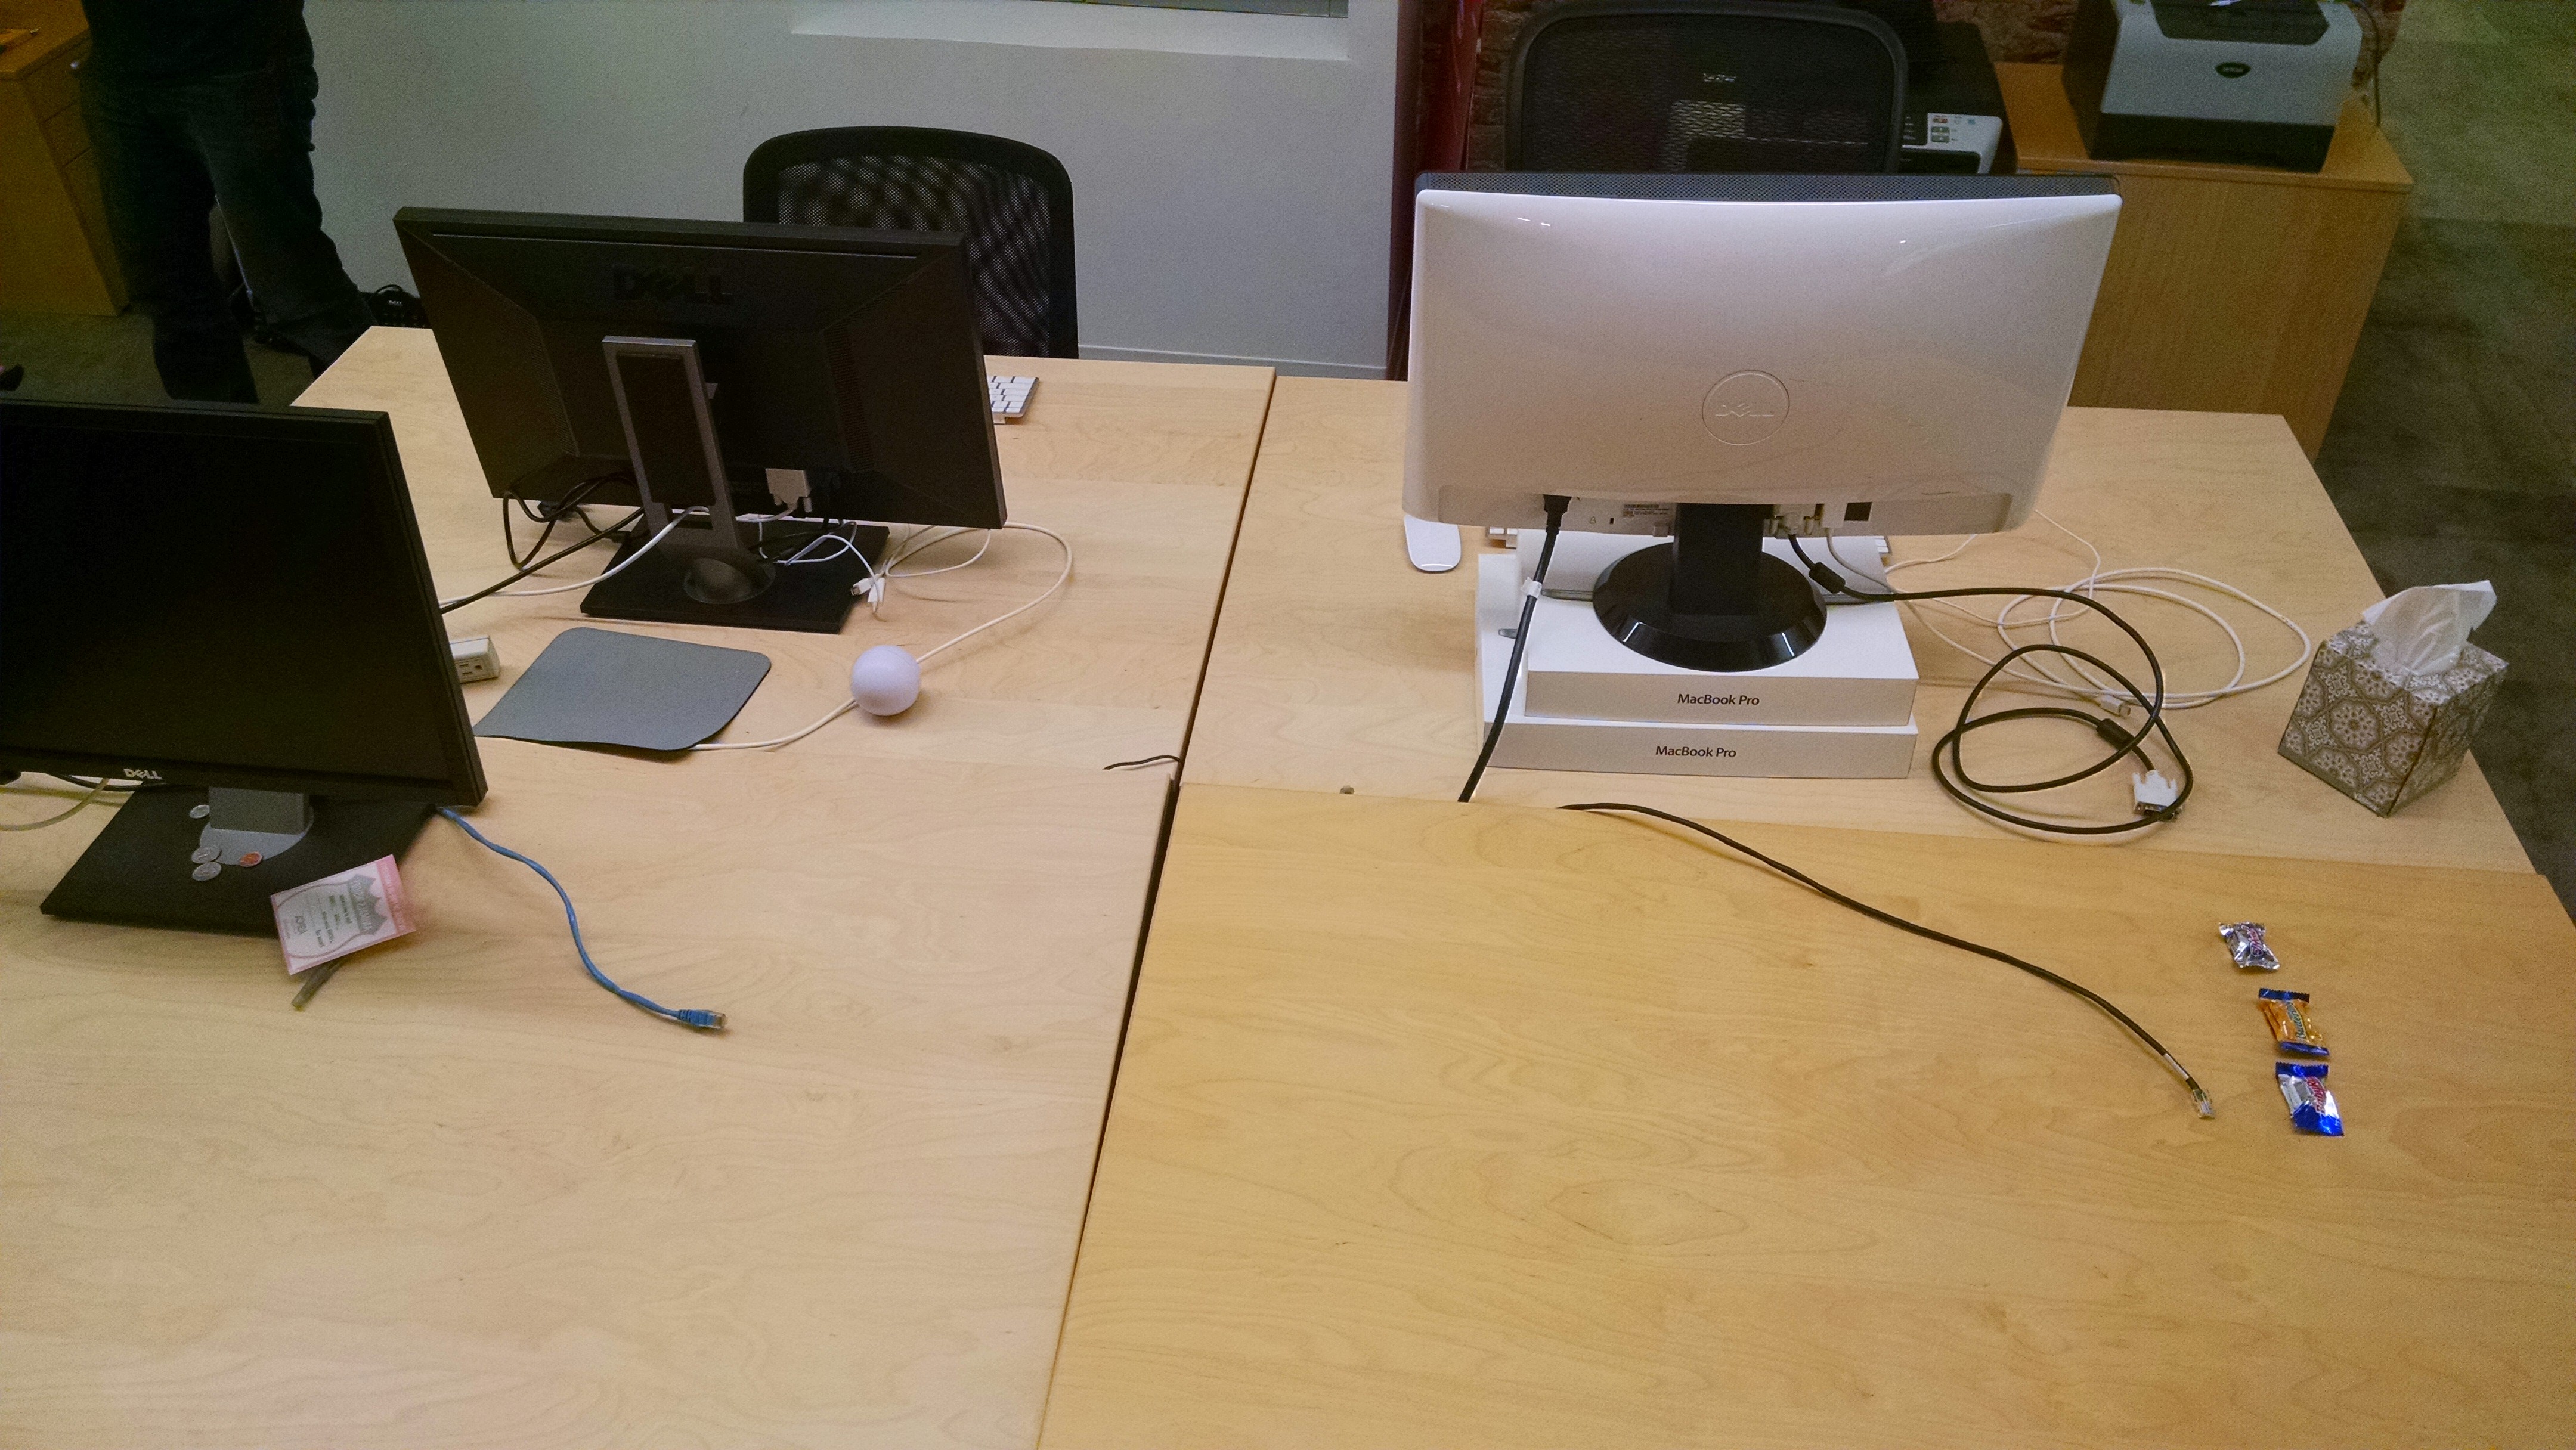
When our team arrived at the Difference Engine offices we were one of the first teams there. We were assigned a “bay” and were able to pick which of three tables we wanted for our team. We set about connecting the laptops to the monitors and getting settled in.
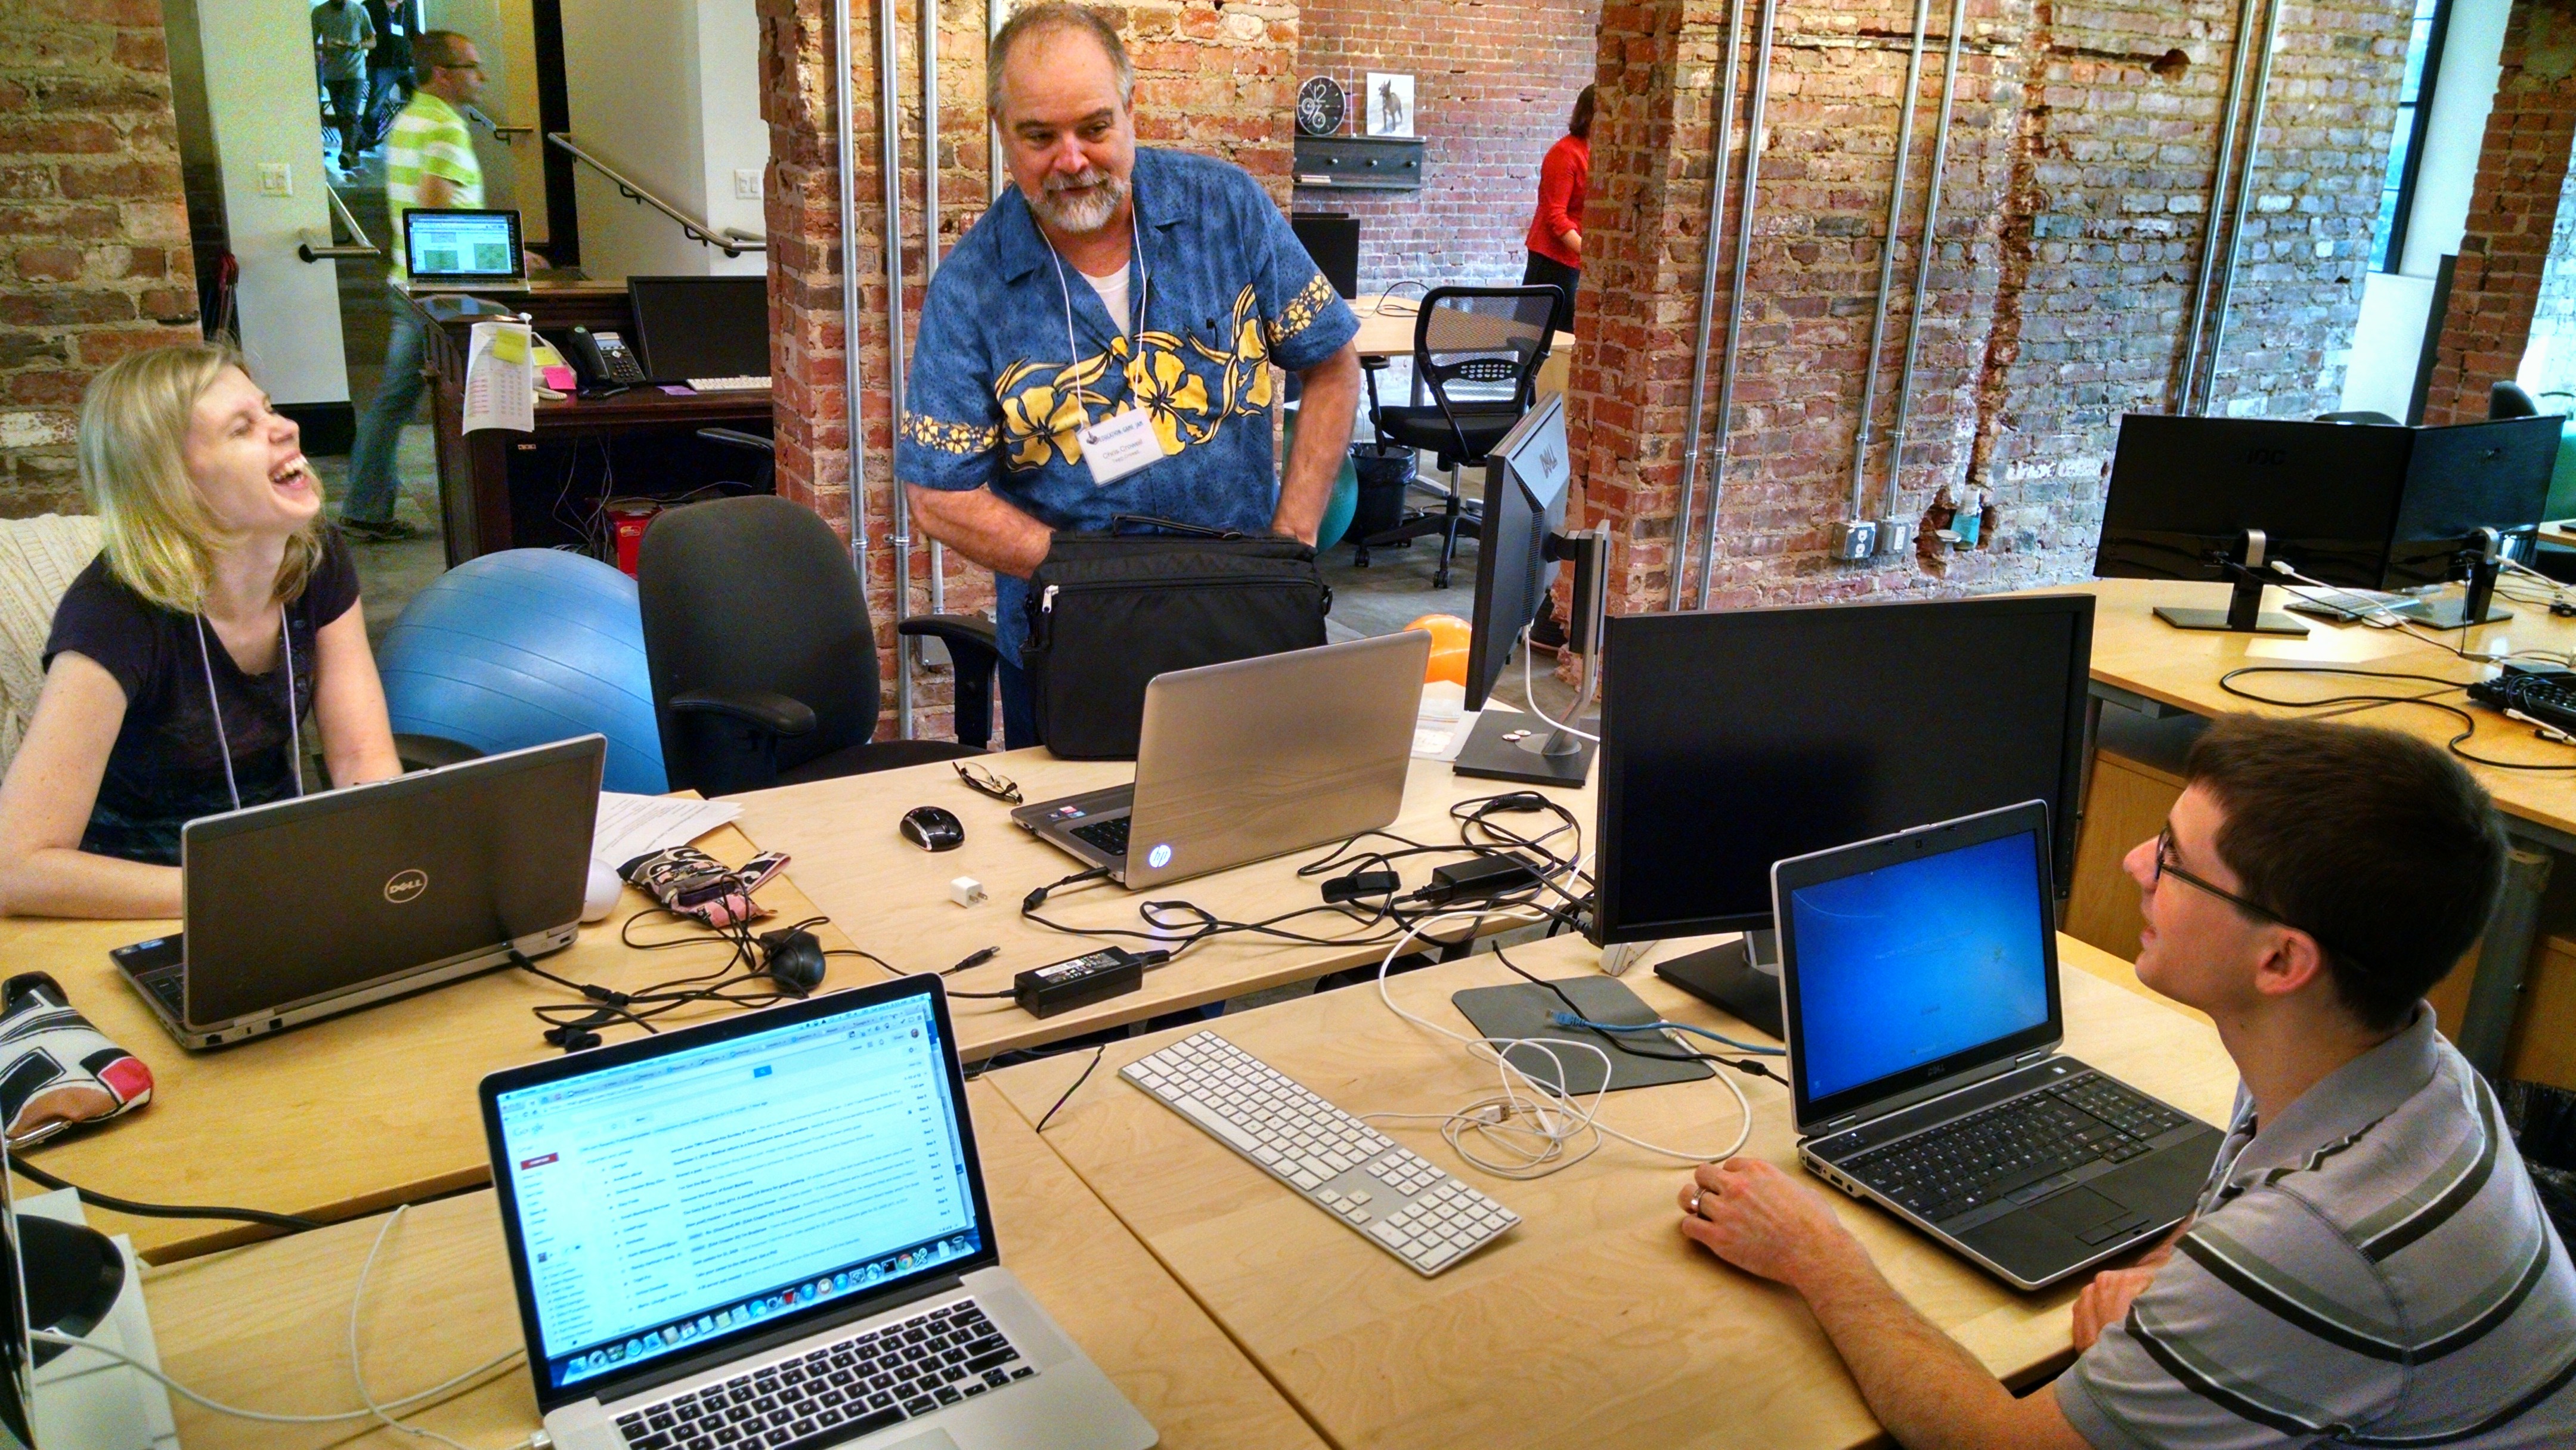
Team Pearbat set up and ready to jam
Breakfast was provided for us. There were drinks and bagels. We were gathered into the front room for a kickoff.
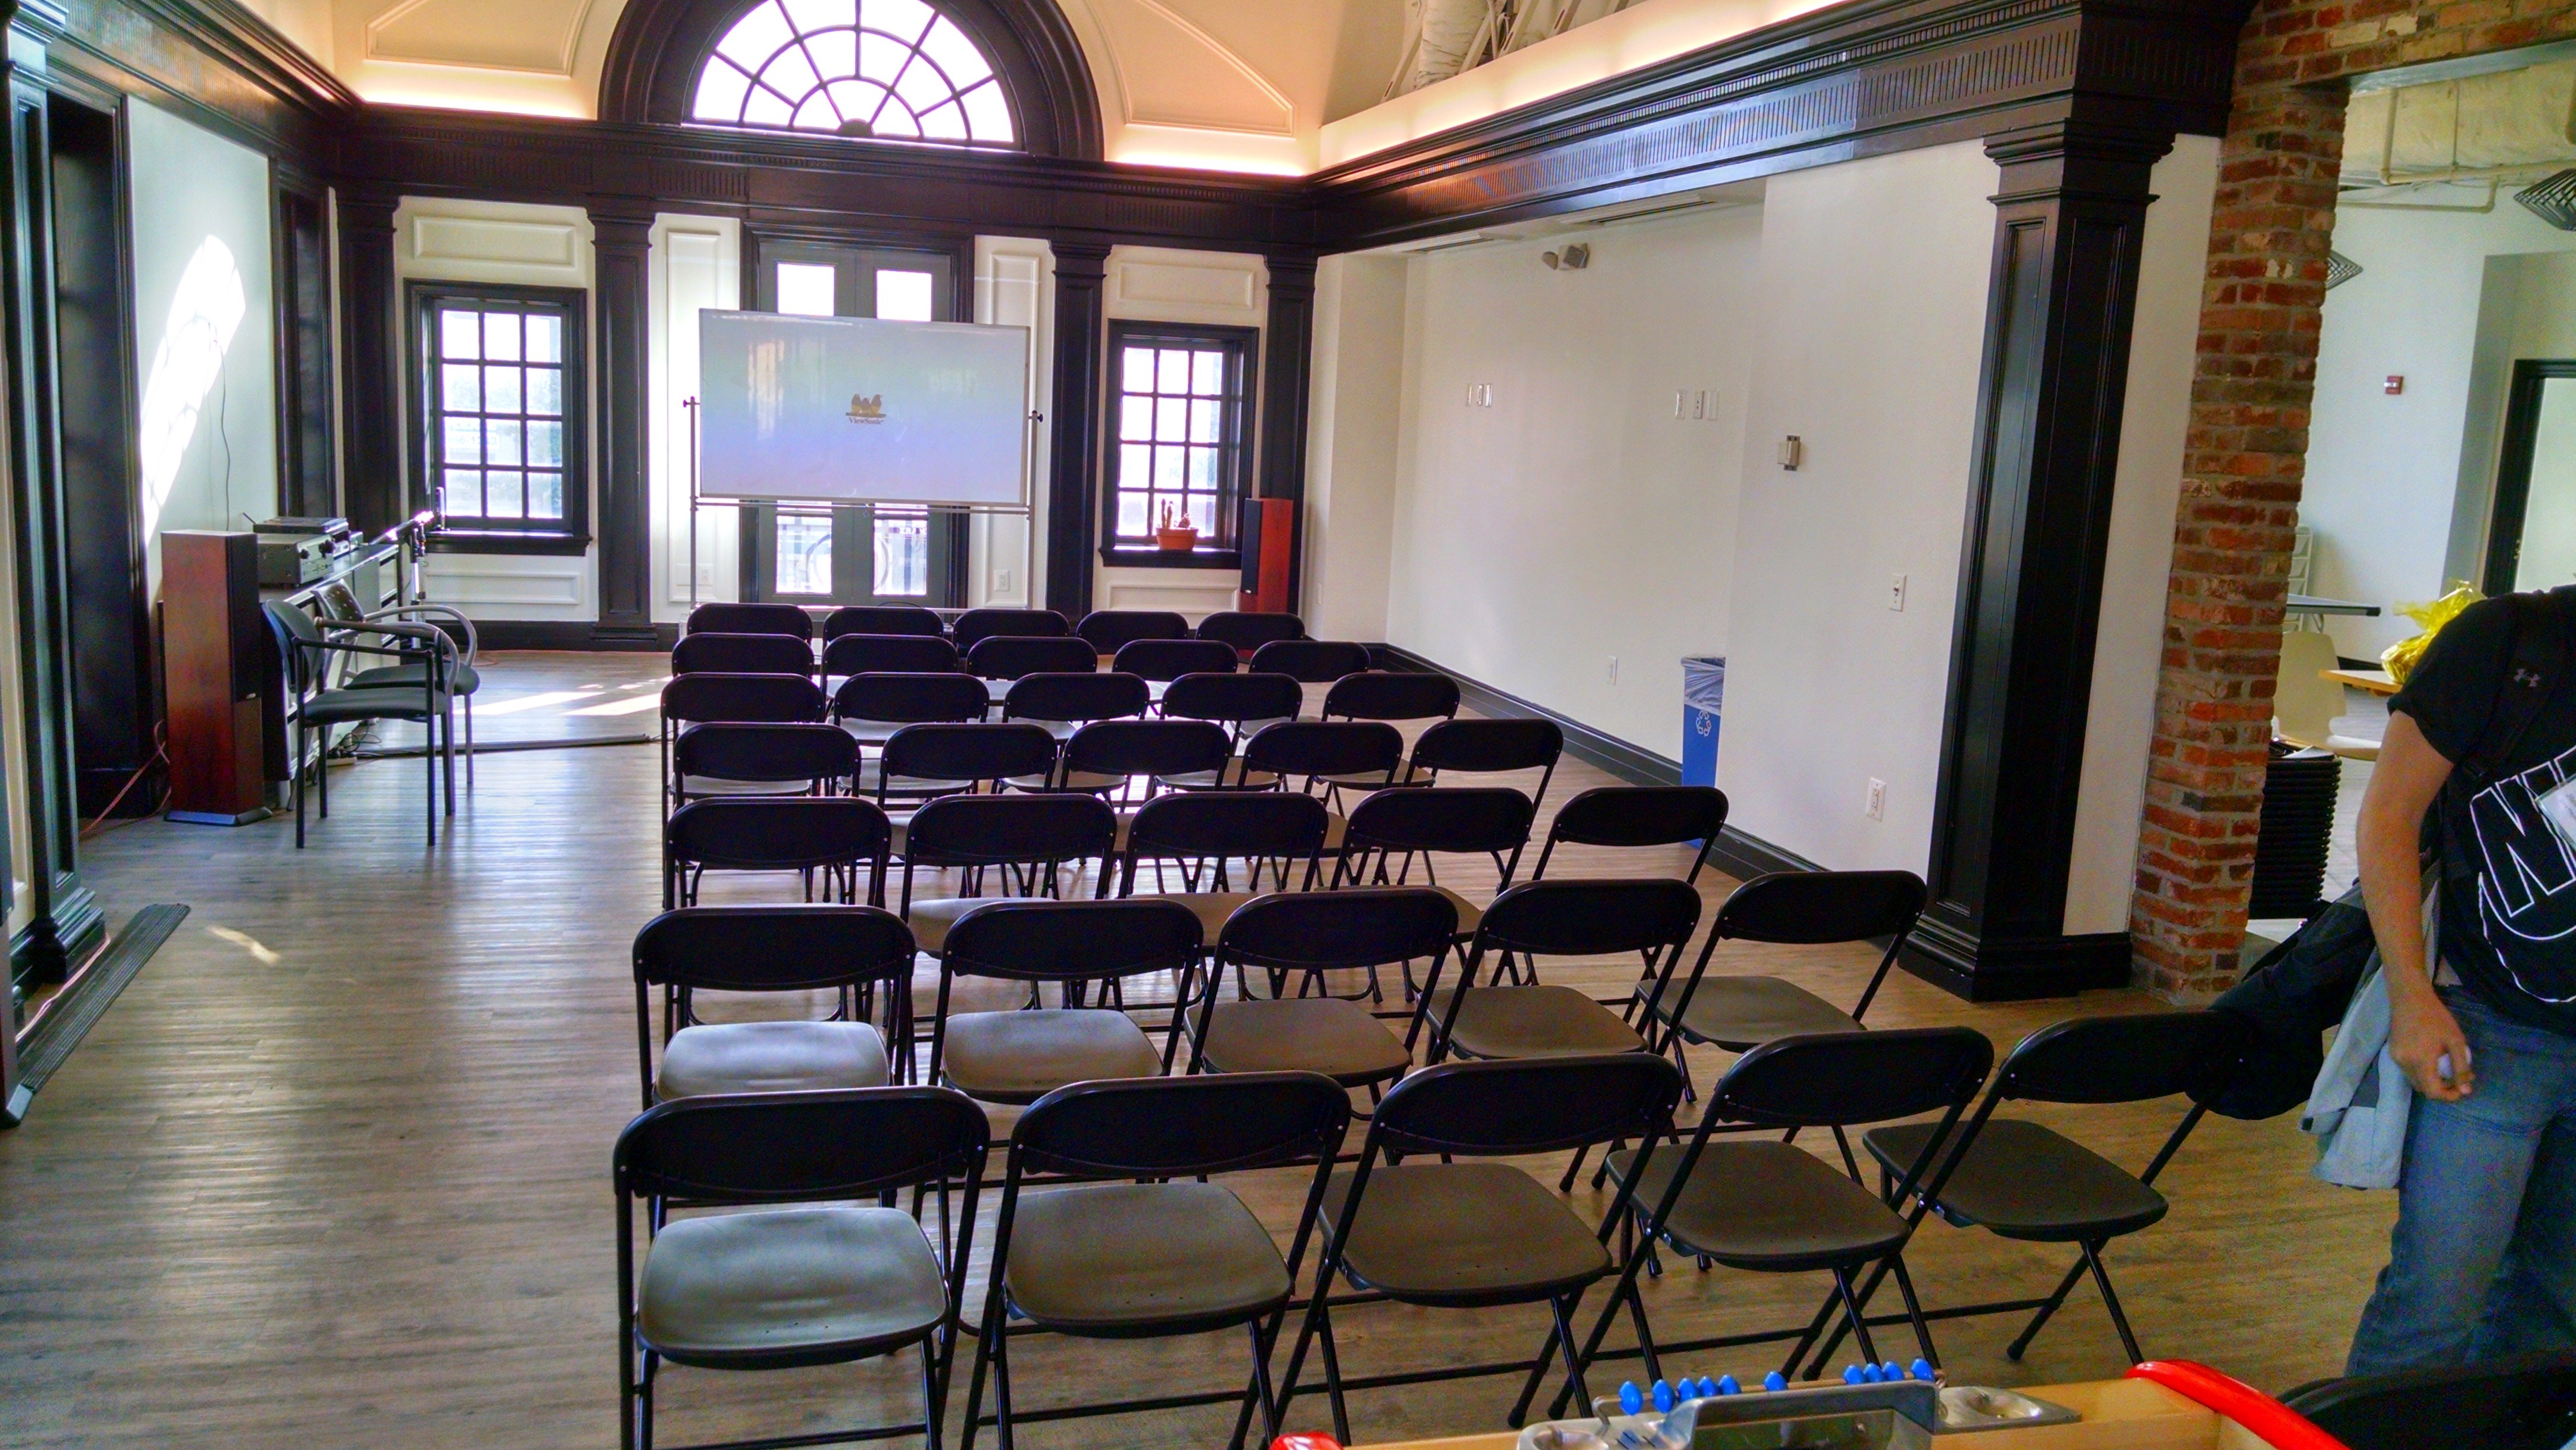
Difference Engine meeting room in the morning empty
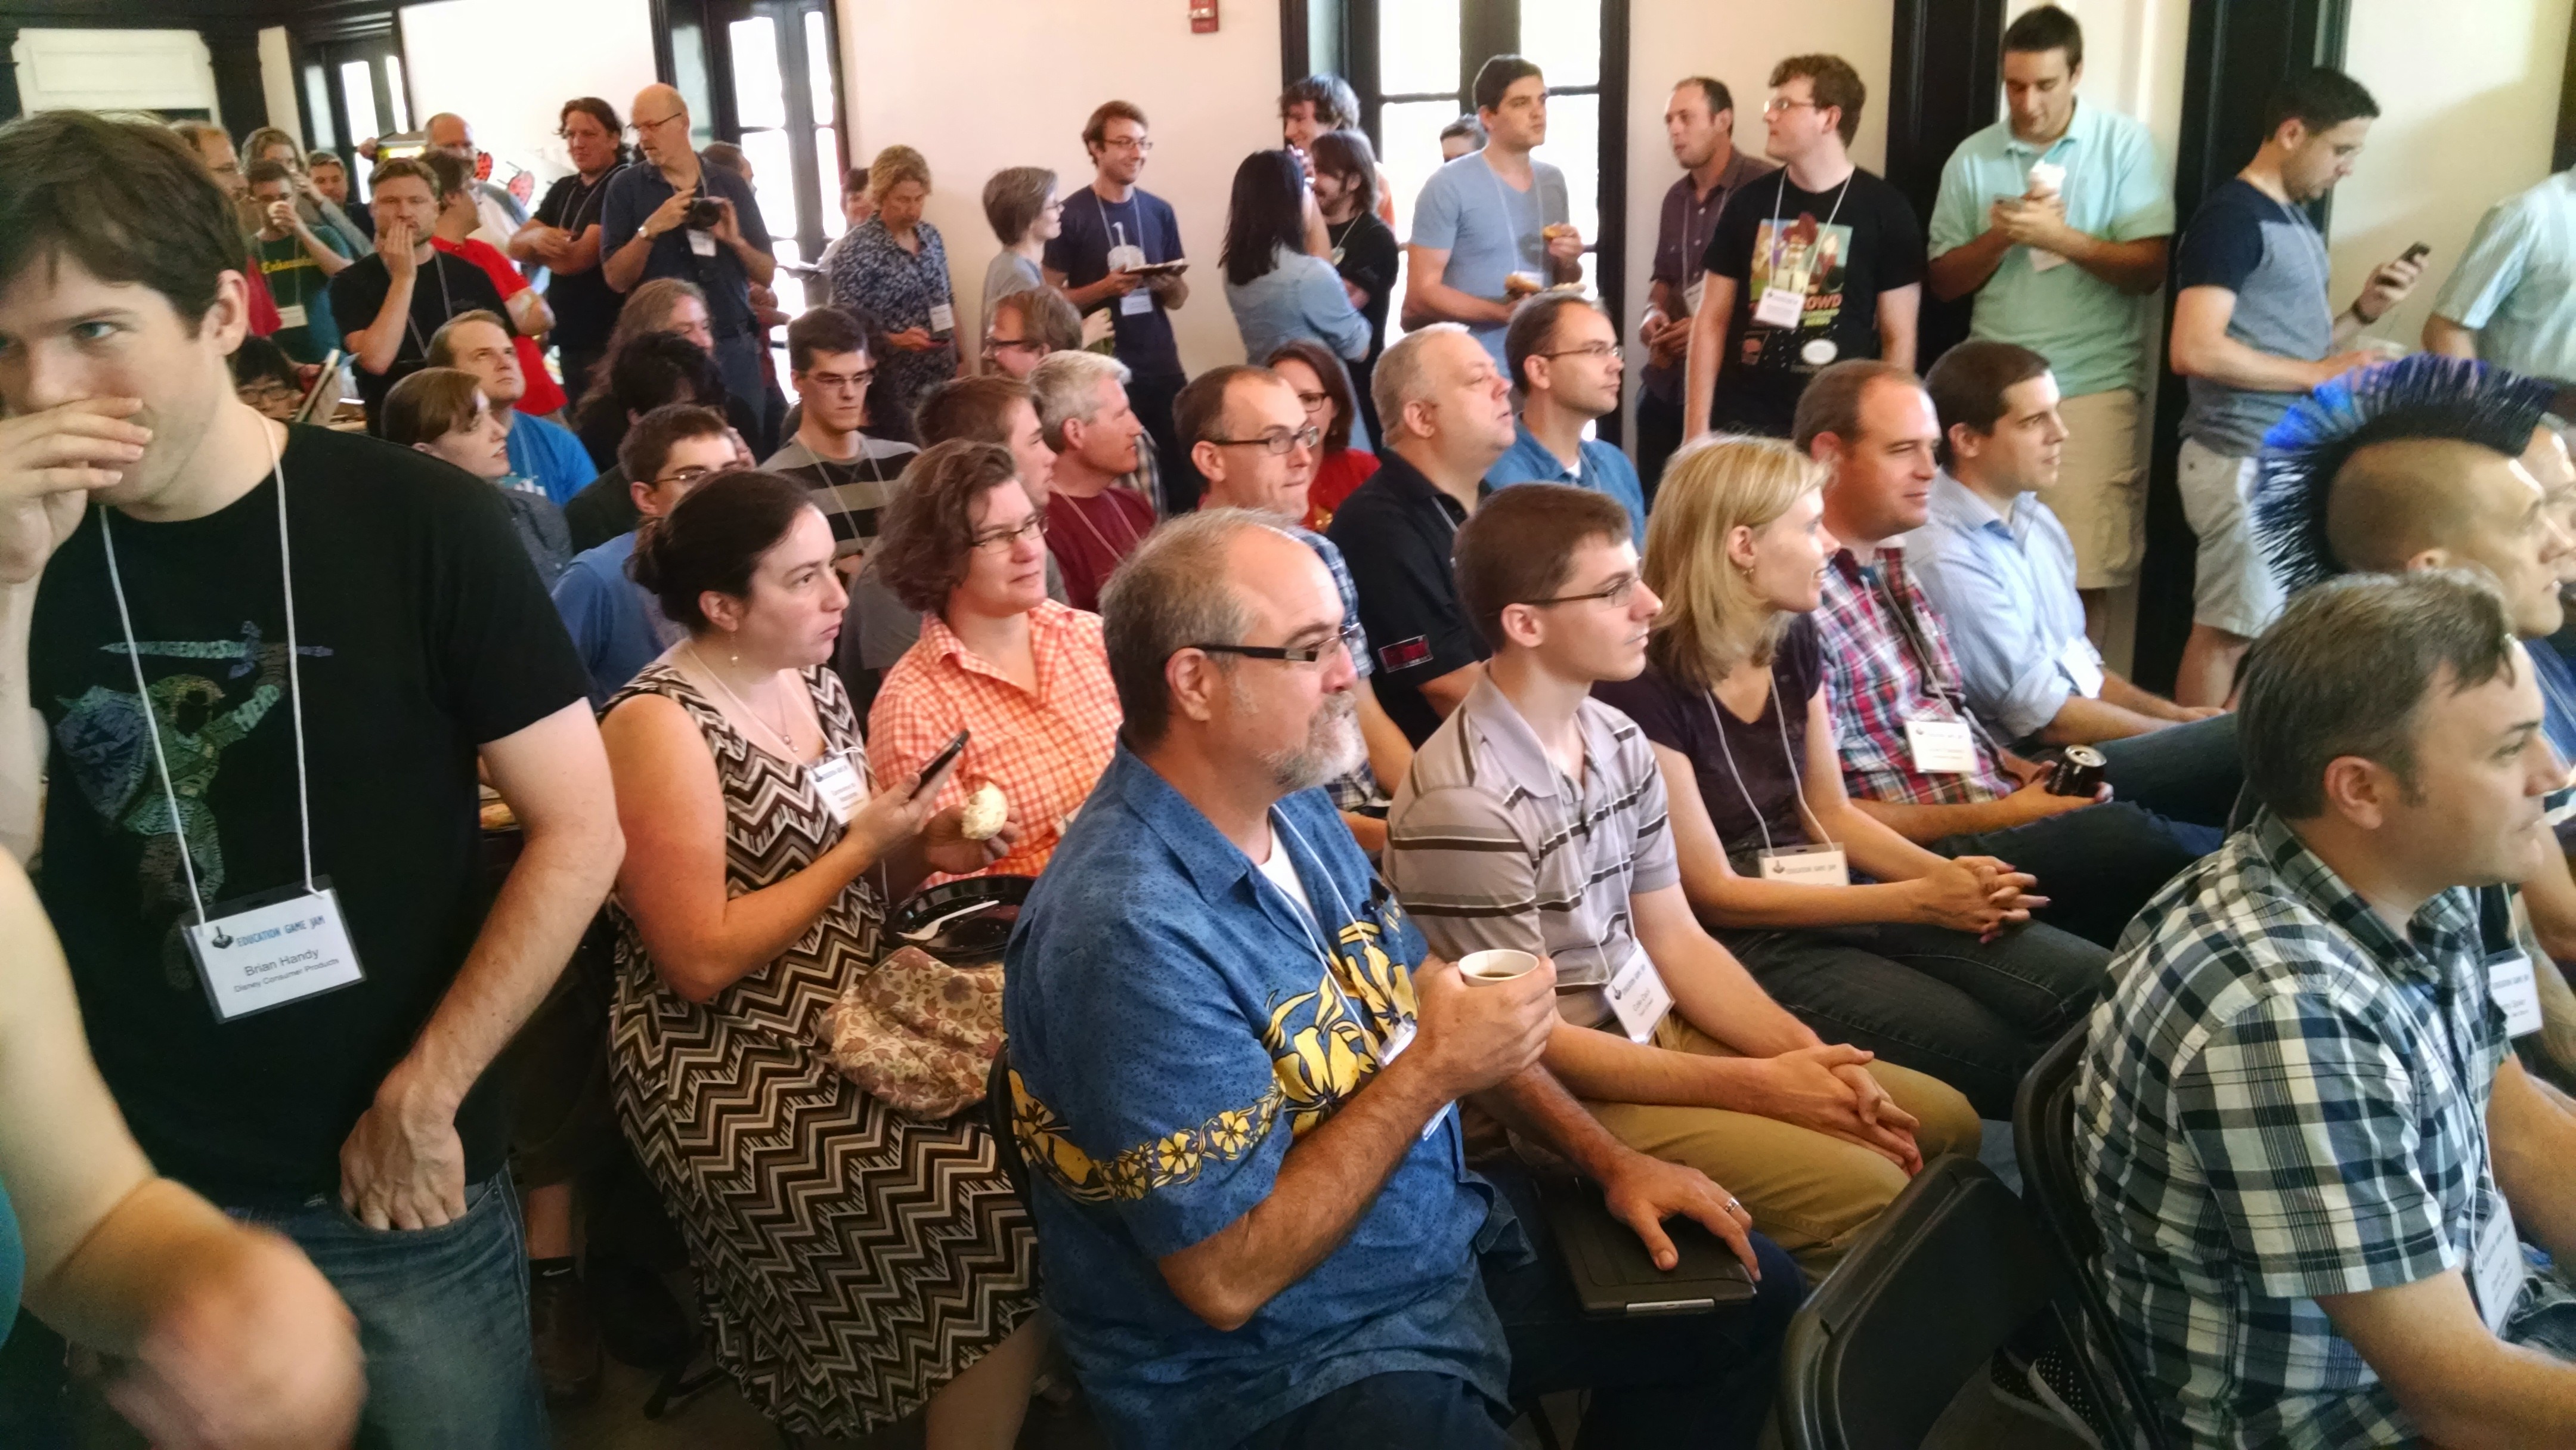
Participants gathered in meeting room for kickoff
Mark DeLoura started the game jam by explaining how the White House decided to host this event. There were remarks from other officials. The teachers/educators that would be on hand for the two days to help provide us with any educational resources were introduced. And then we were released to start developing.
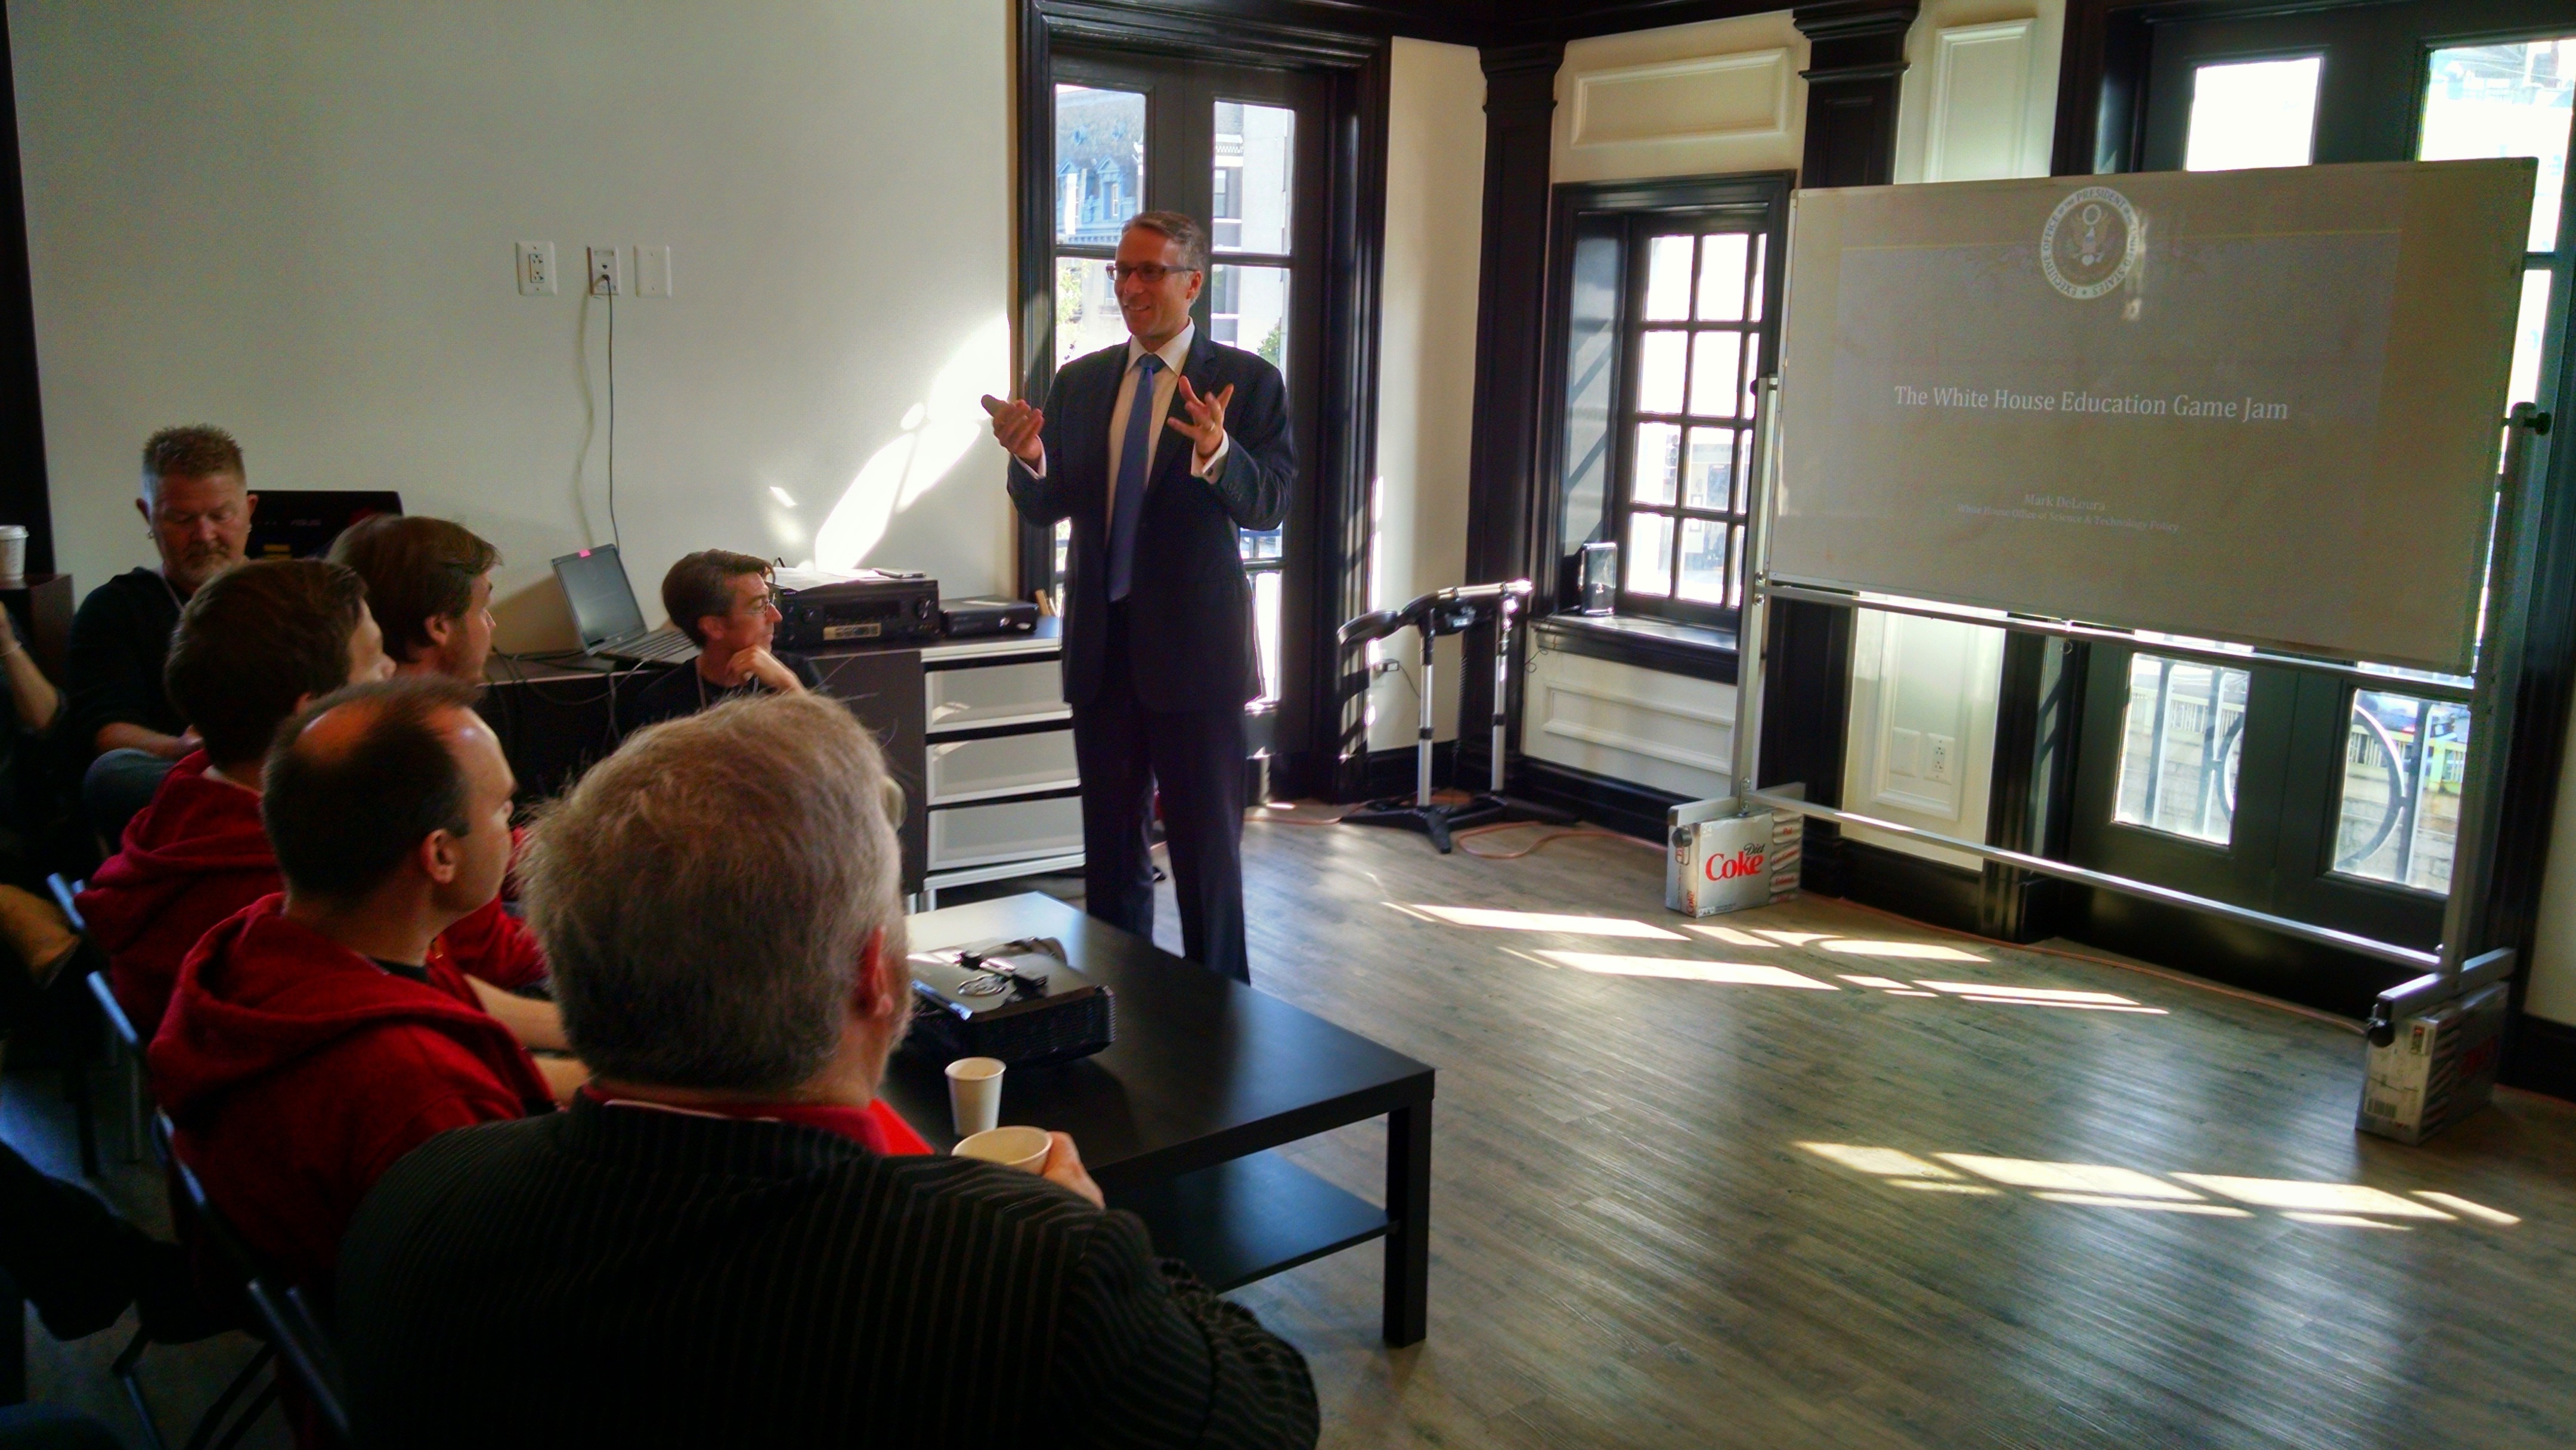
Mark DeLoura kicking off White House Game Jam
We went back to our team area and began developing our game. Lunch was also provided to us and there were drinks and snacks available throughout the two days. Cole and I spent much of the morning and afternoon setting up the initial game elements and sketching out the data to be collected. Kristen was working on dialog to use within the game. And Chris worked to create content like the outside of Ford’s Theatre and the game avatars. We went out to eat at The Burger Joint for dinner. We wanted to get out of the office for a little bit. Once done with dinner we returned to the office and stayed until about 10:30PM.
We arrived back at the office at 8AM on Sunday, September 7, 2014. Again, we were provided with breakfast. We had to have a playable prototype of our game ready for a checkpoint at 11:30AM that day.
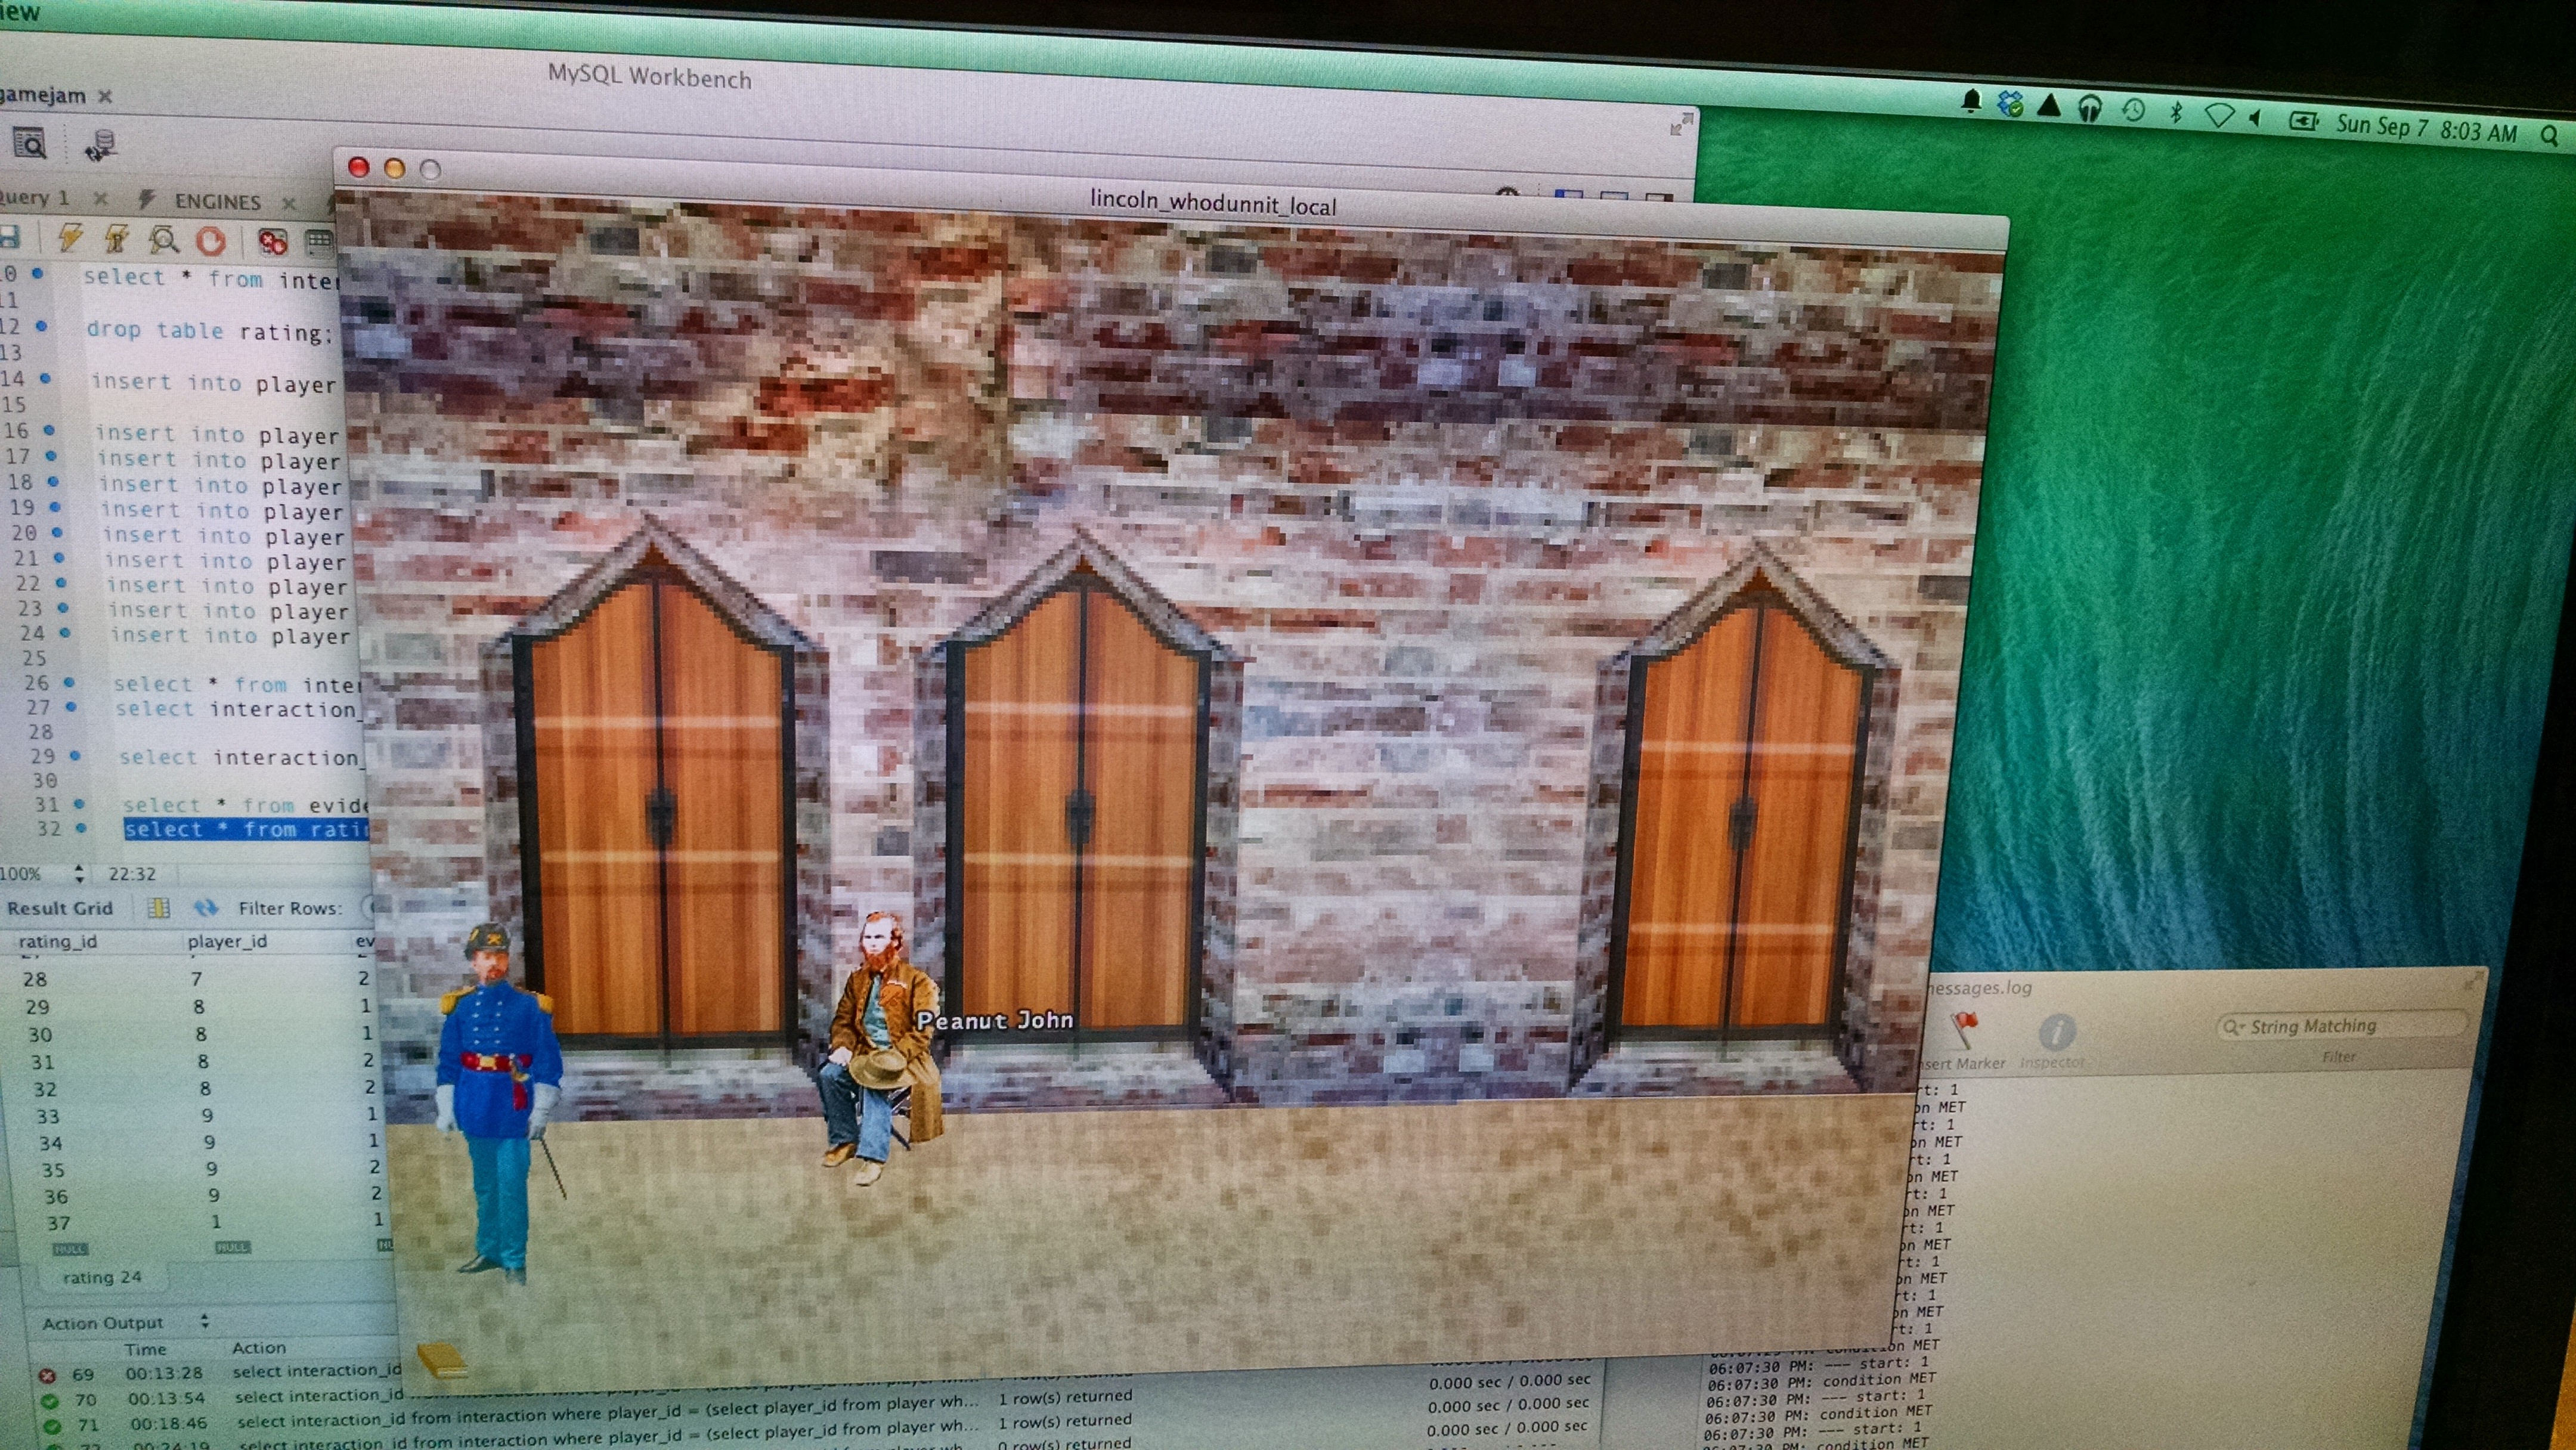
“Who Killed Lincoln?” playable prototype
Once we had the playable prototype complete we were provided lunch. At 1:00PM we had students arrive to playtest our games. They gave us feedback on the game that we could integrate back into the game.
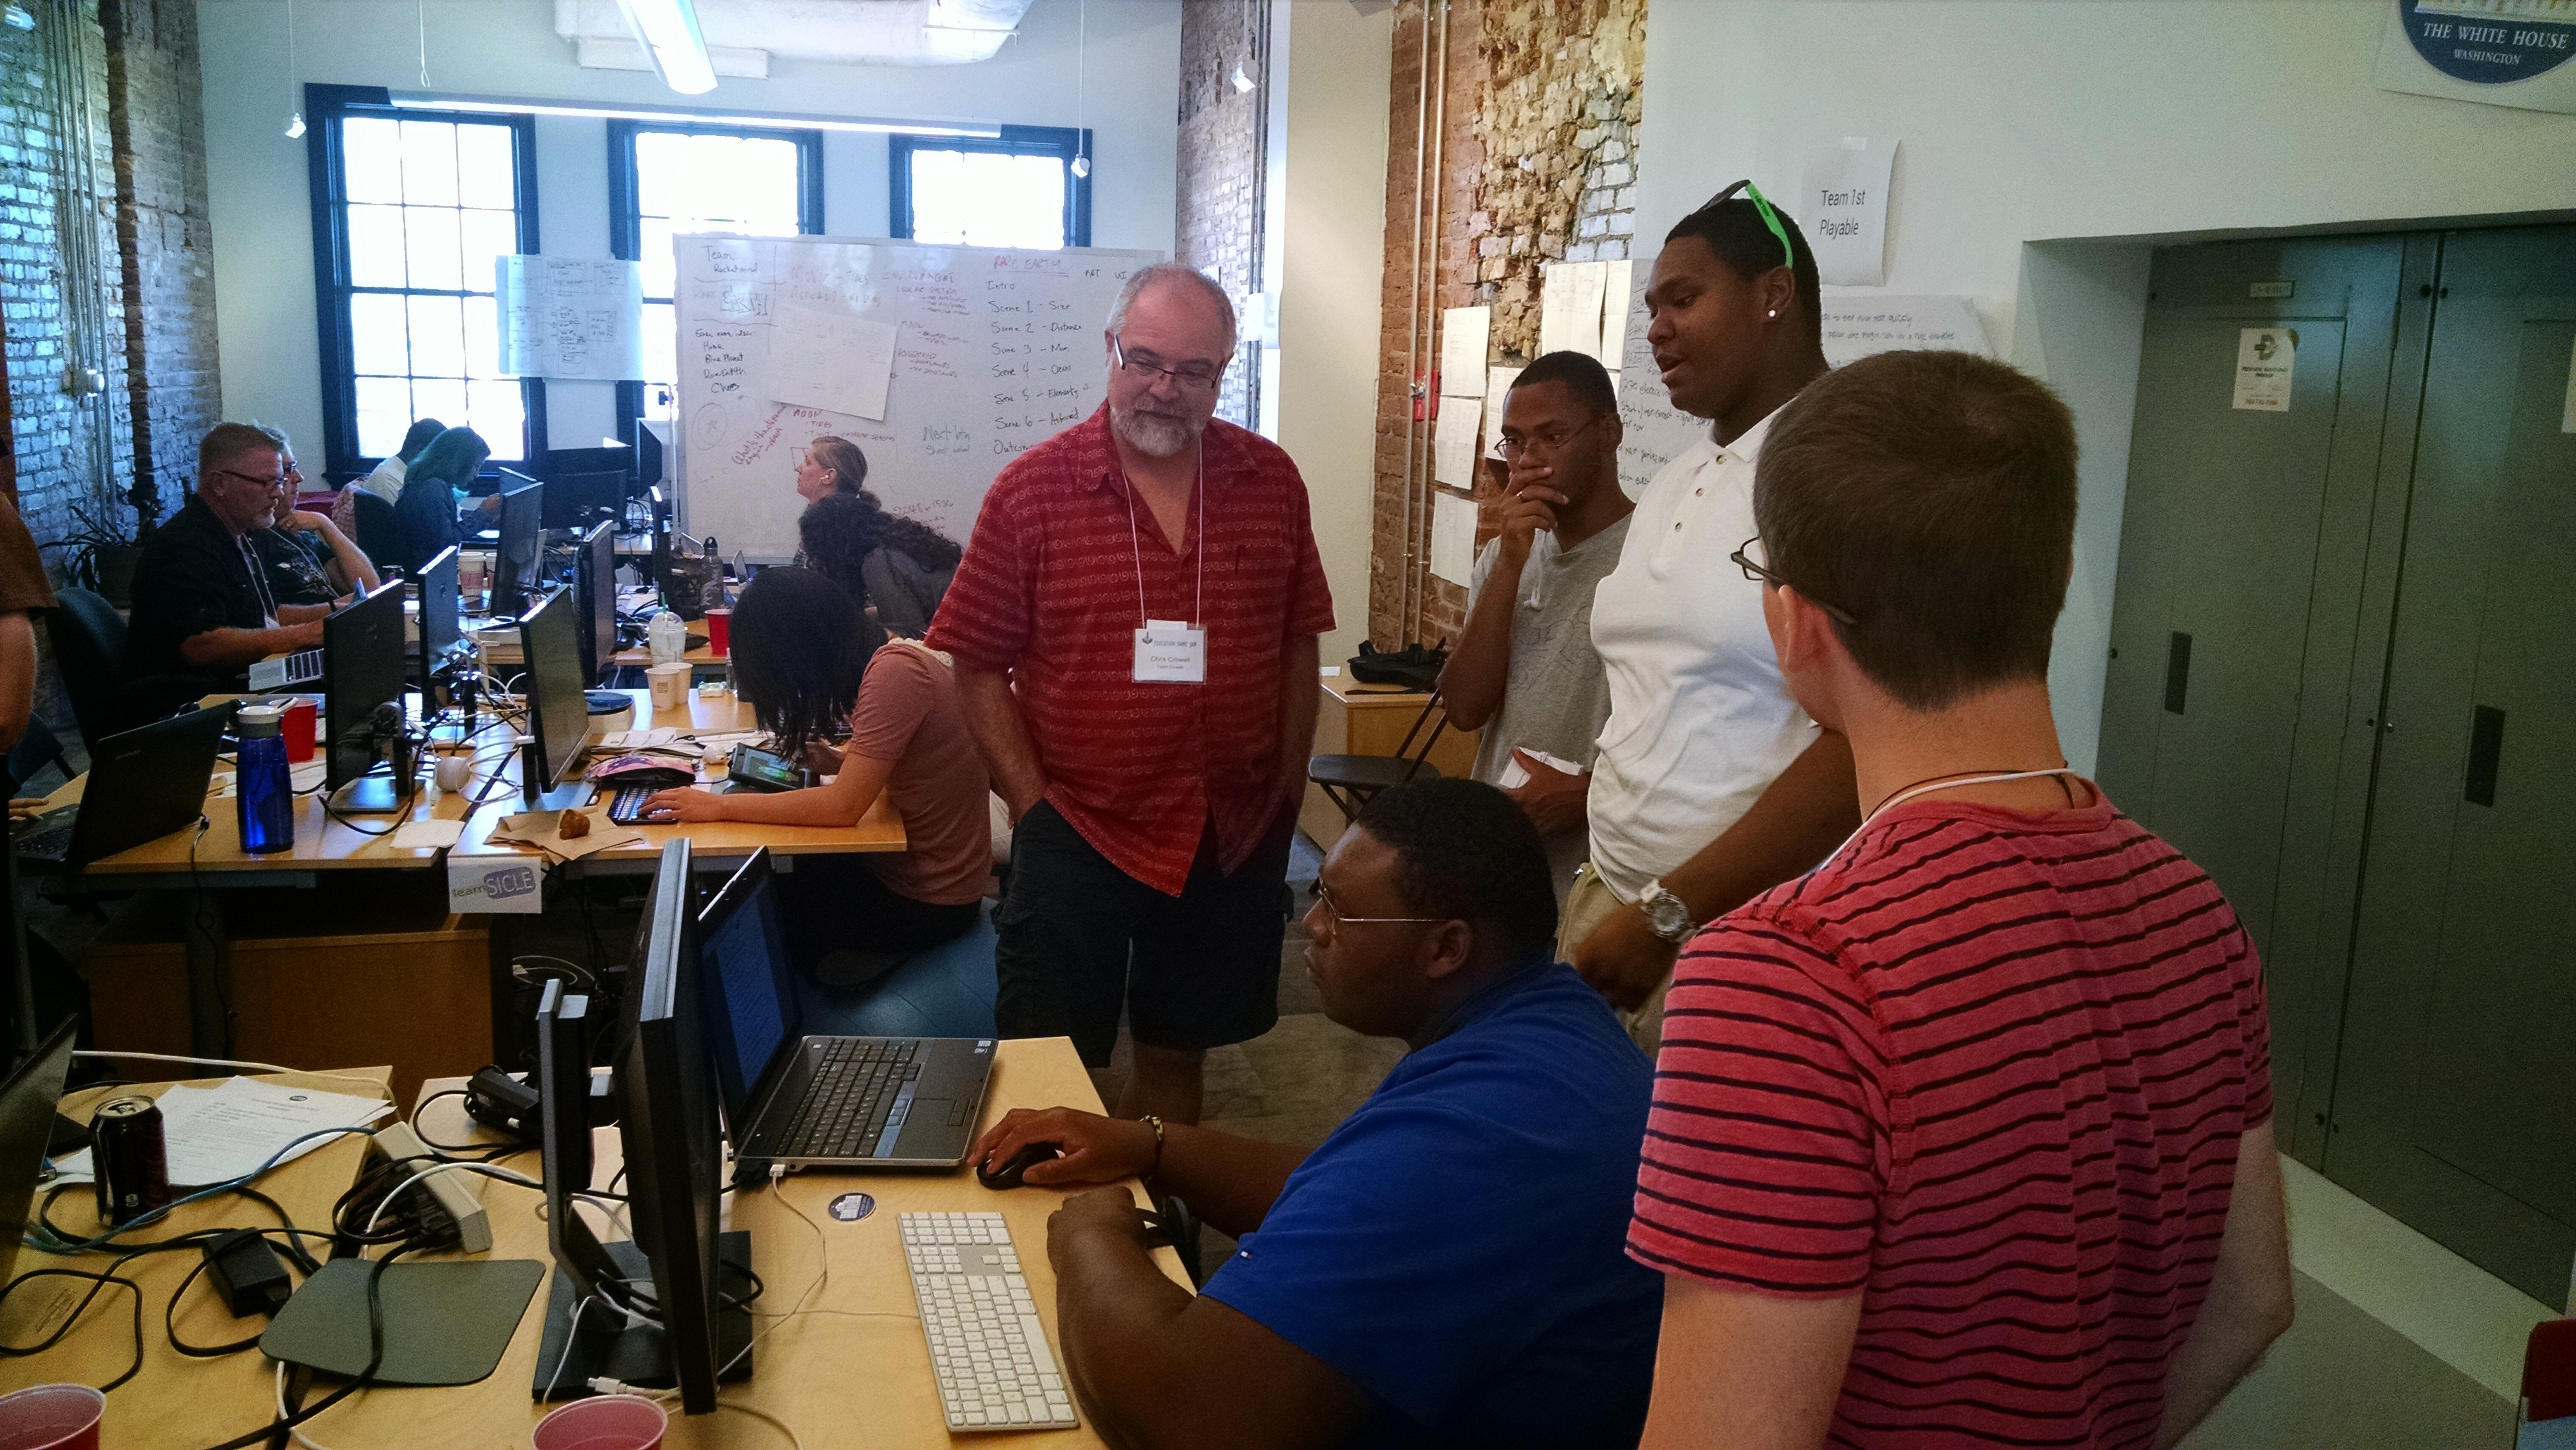
“Who Killed Lincoln?” playtesting
We had to have a 2 minute game demo created and uploaded to the event Dropbox by 7PM that evening. Submitting the video was our ticket to be able to present on Monday morning. Everyone got the video done. 🙂
After getting the video done we stopped to eat the provided pizza. Once done eating, we continued to polish the game a bit, adding support for storing data about how the player categorizes information discovered in the game. We wrapped up around 8:30PM and cleaned up our team space.
Cleaned up work space
On Monday morning the teams were going to be presenting our videos from 9-11AM. Each team was allocated 3 minutes to present: 2 minutes for their video and 1 minute to talk. We would be presenting in the South Court Auditorium in the Eisenhower Executive Office Building (EEOB) on the White House grounds.
Dressed and ready to present
We walked from the hotel to the EEOB and arrived at 8:15AM on Monday, September 8, 2014.
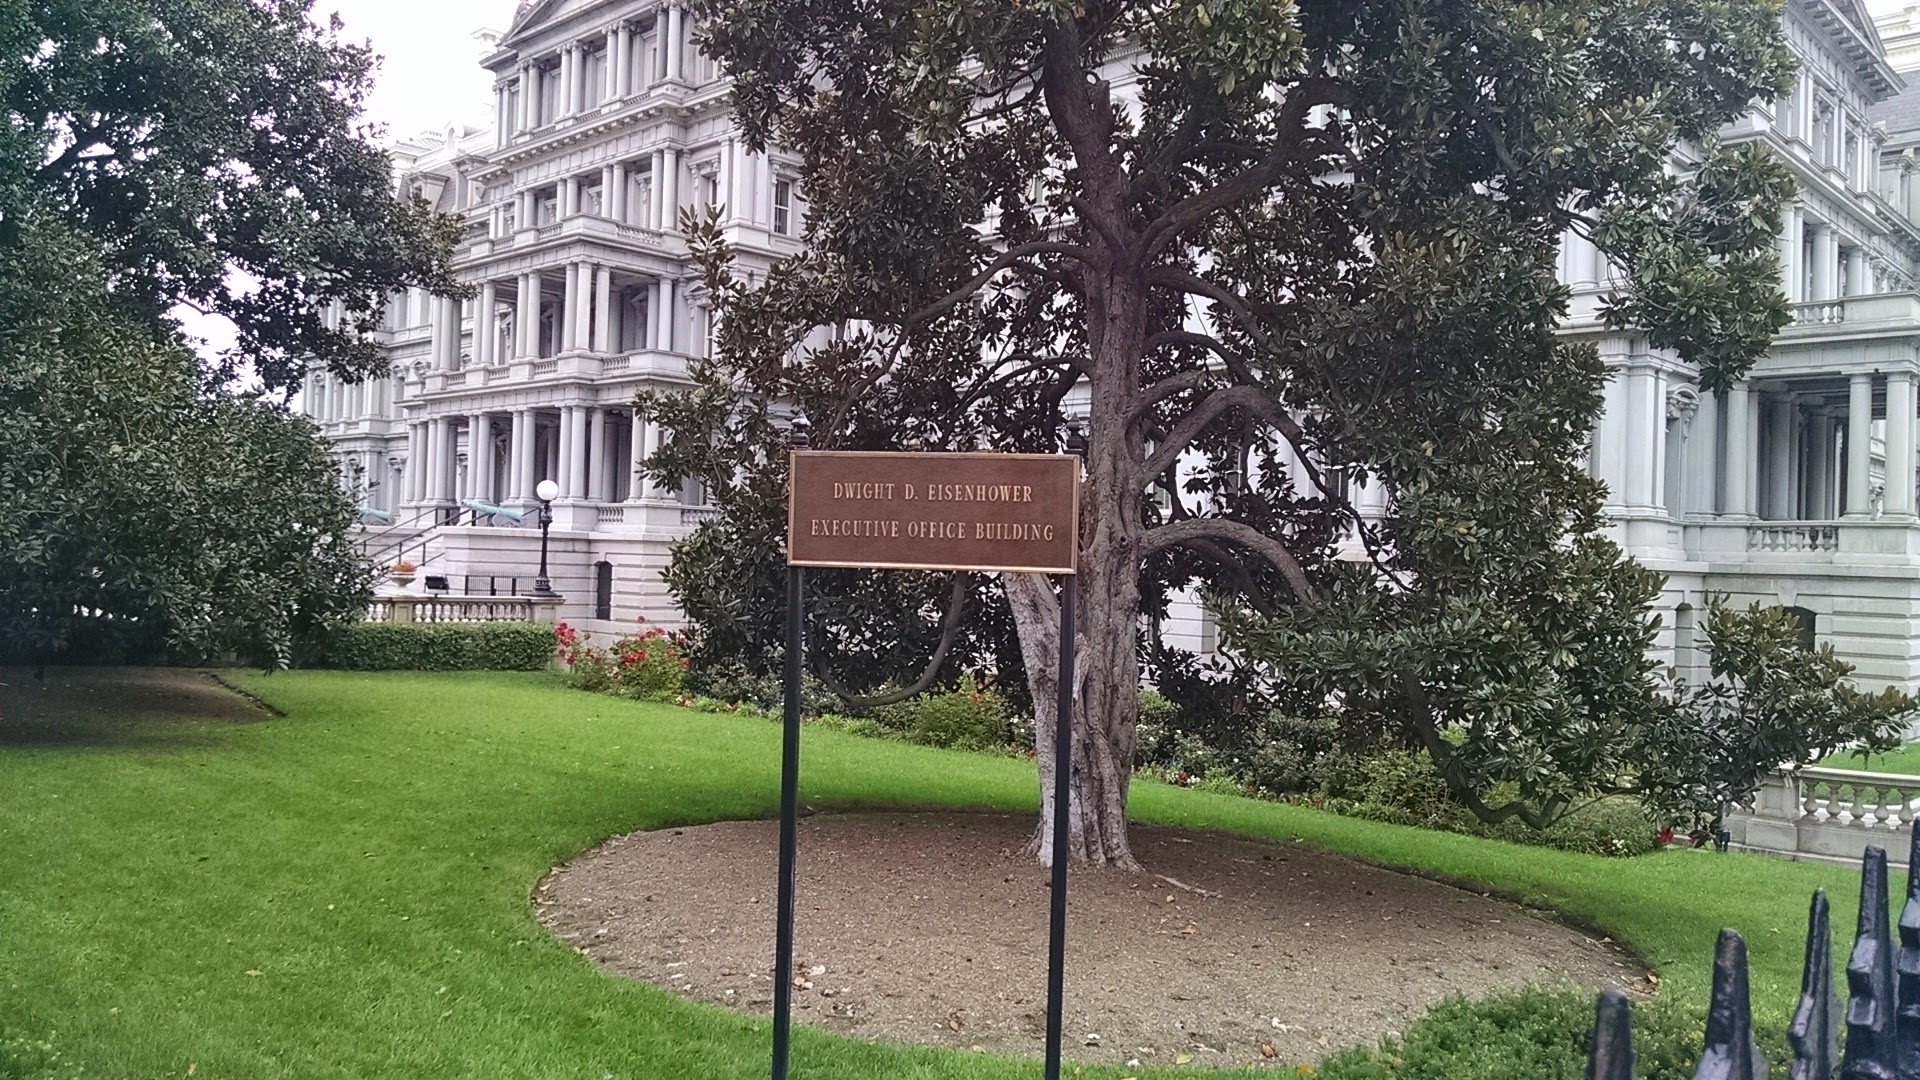
Dwight D. Eisenhower Executive Office Building sign
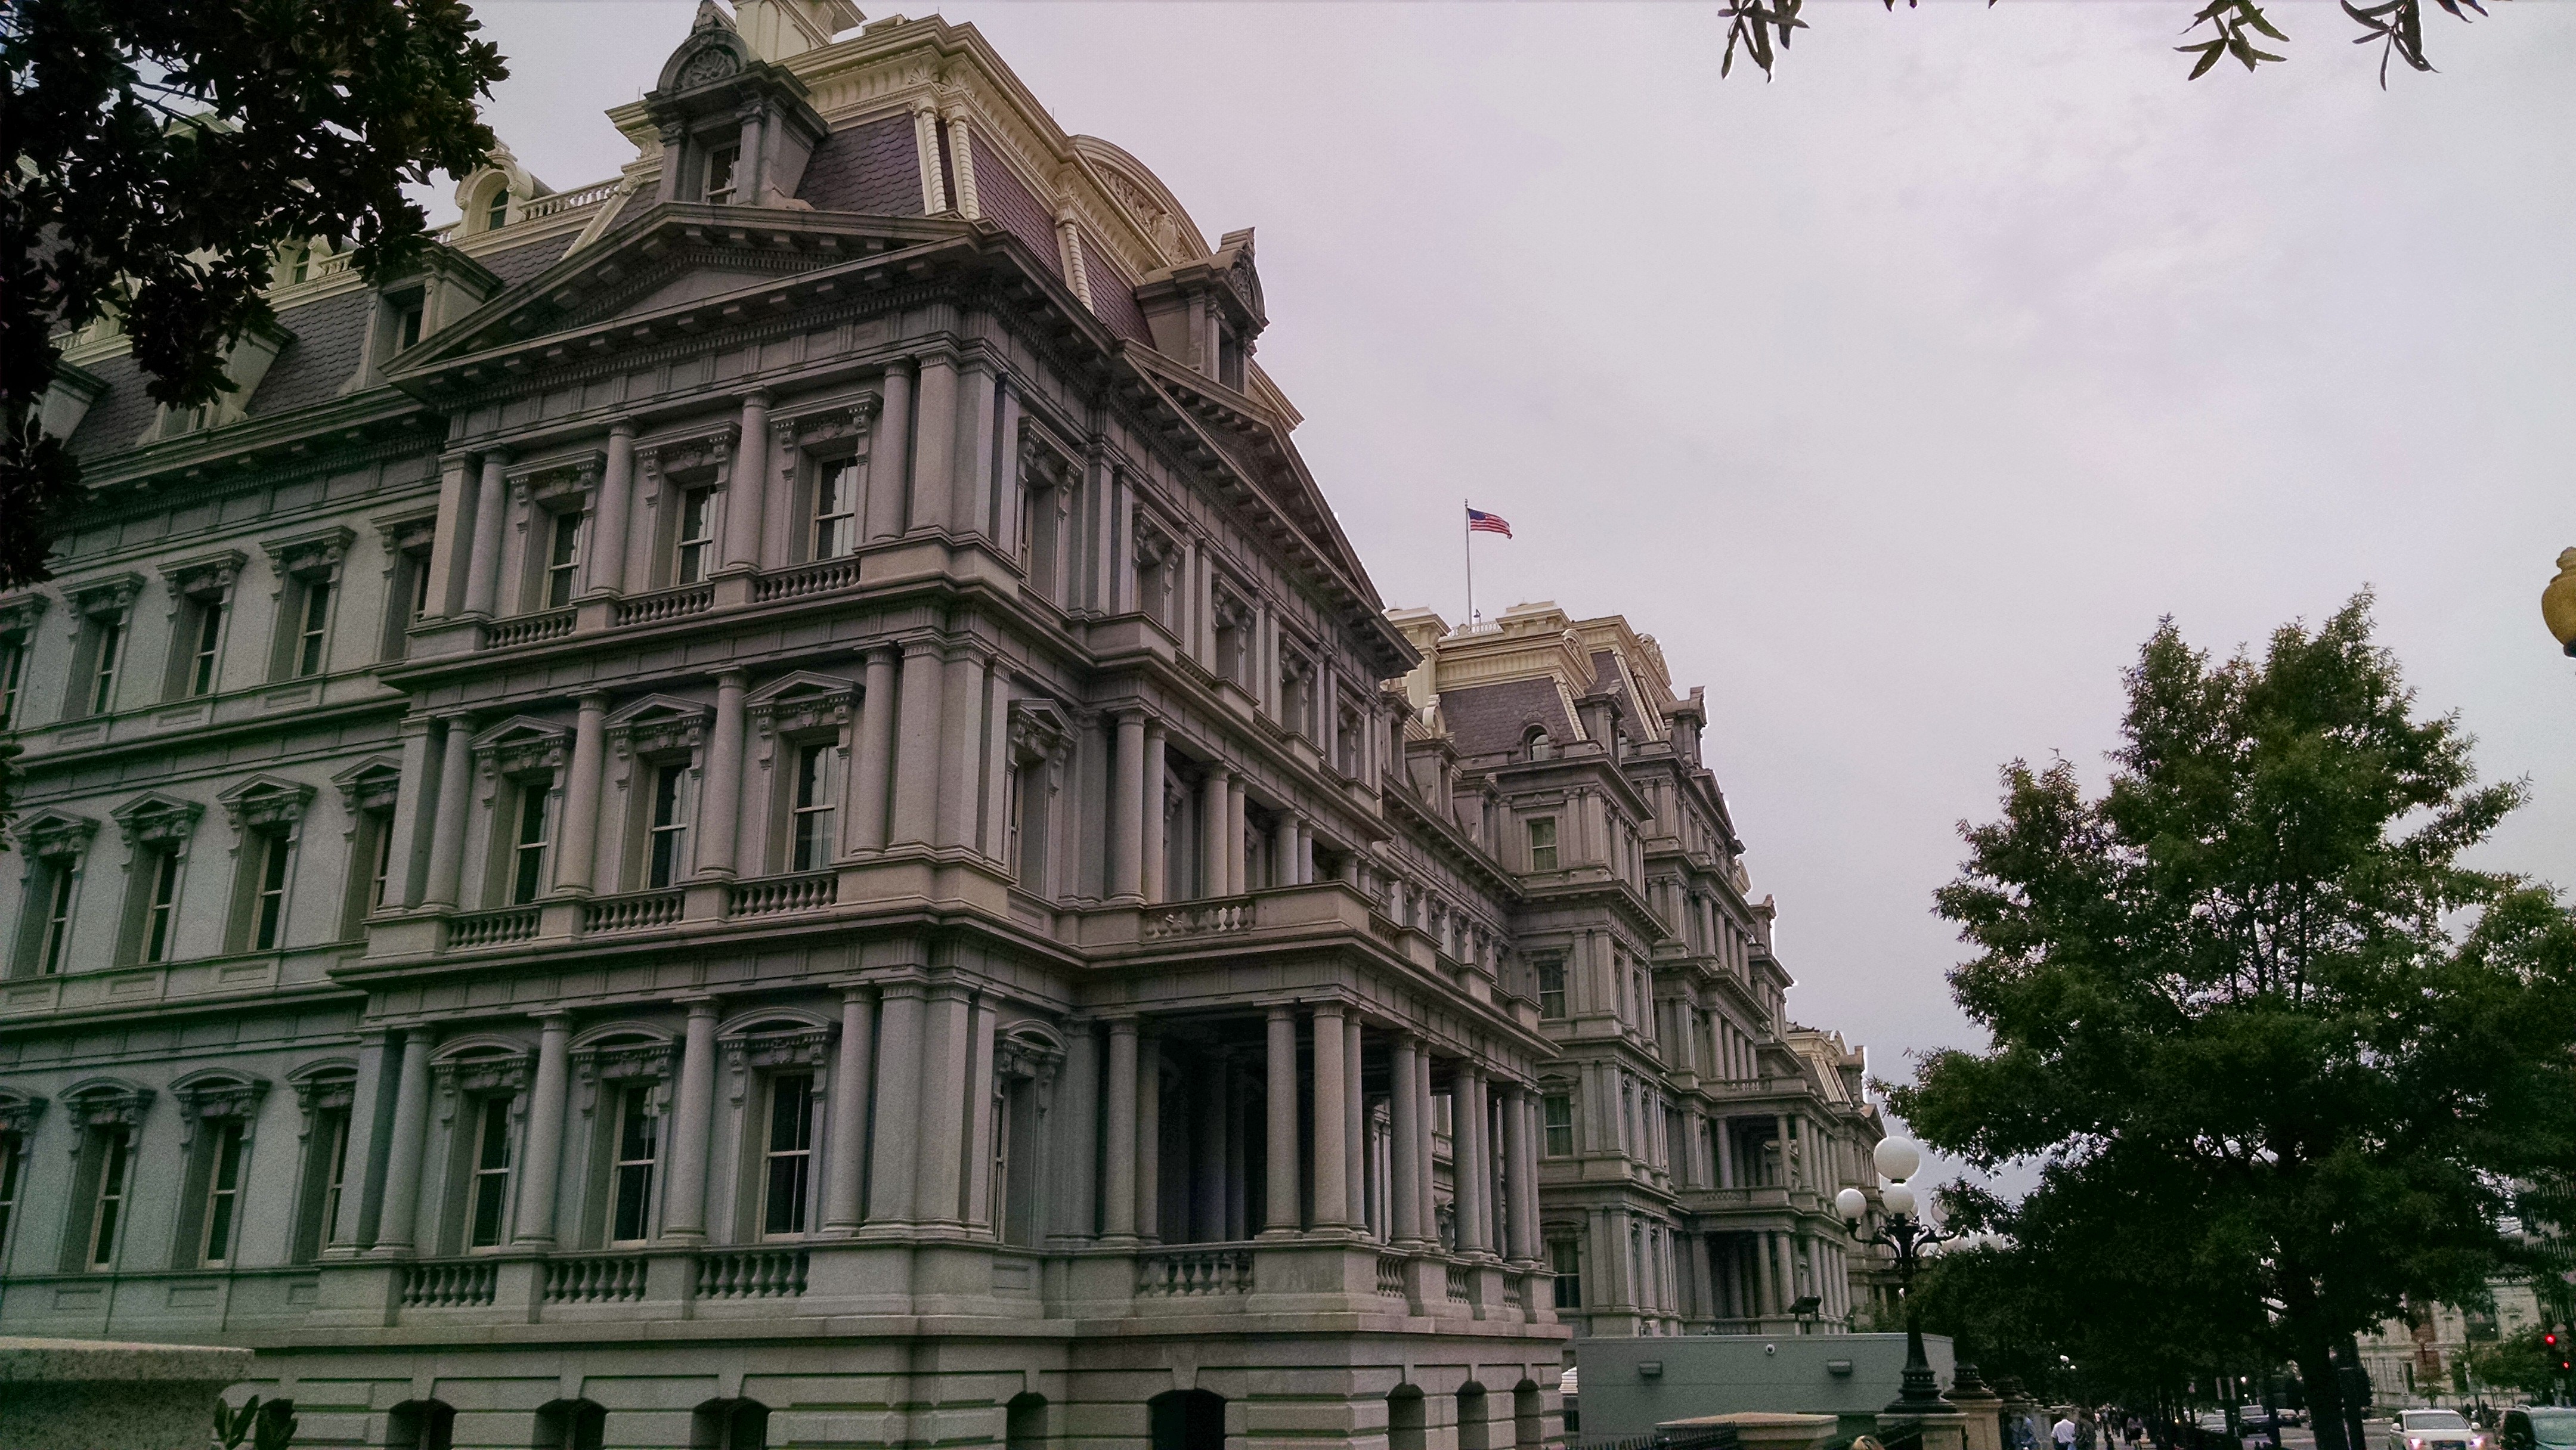
Eisenhower Executive Office Building
We had to go through security. Back before we even traveled to DC we had to provide our names, birth dates, social security numbers, and nationality to the game jam organizers to get us approved to enter the building. On this morning, we had to provide our ID to the guards who verified that we were on the list. There was a bit of small talk with the first set of guards because one of them was from the Waterloo, IA area and found it interesting that Cole and I were from the Cedar Rapids/Iowa City, IA area. We then followed a path to a small building. There was a window on the outside of the building. We again gave the guard our ID and he then gave us a visitors badge.
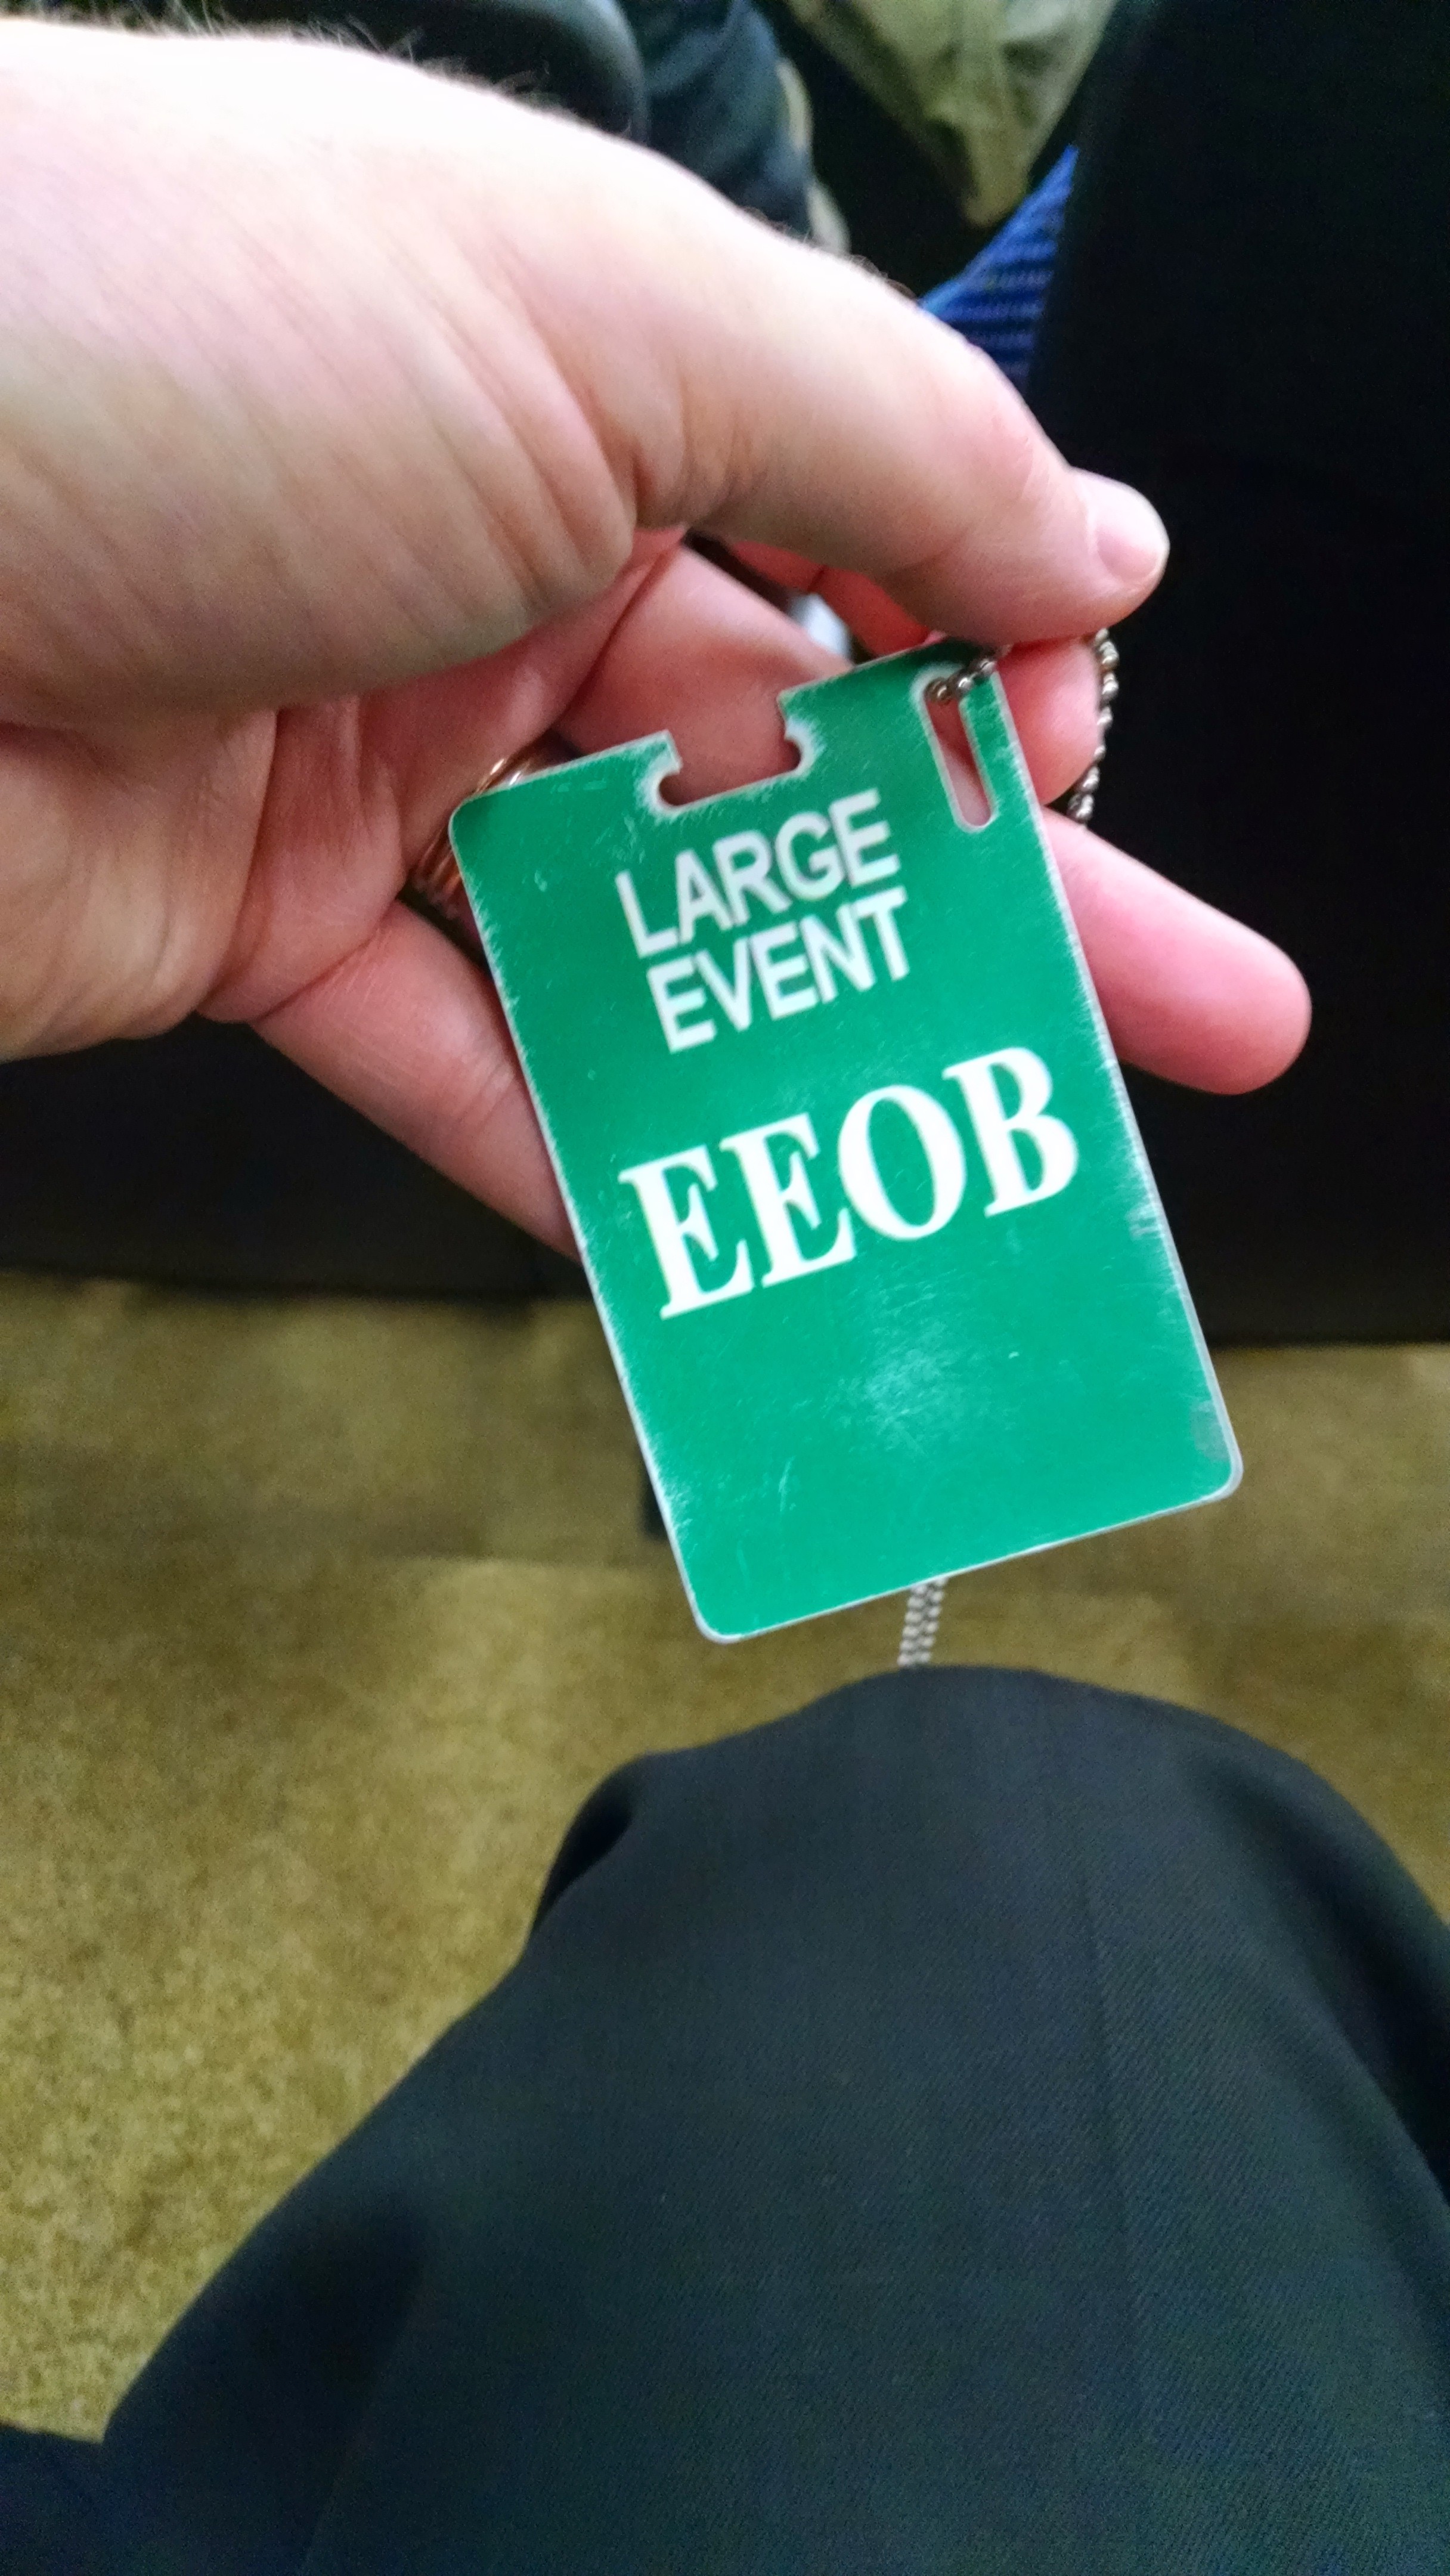
EEOB visitor badge
We waited by the building door and we were individually let into the building. Once in the building we were sent into a small room to stand on a mat. There was a short fence and on the other side was dog and it’s handler. After a few moments we were let out into a larger room with an x-ray machine and metal detector. We scanned our badge, walked through the metal detector, collected our x-rayed items and were let out of the room and told that we were free to walk around the building. This was because we were US citizens. Some of the participants weren’t citizens and they had to be escorted through the building. We were directed through the building to the auditorium. Here is the White House Game Jam presentation agenda. The presentation started with some speeches. Then each team had their three minutes. We presented in the second batch of team presentations.
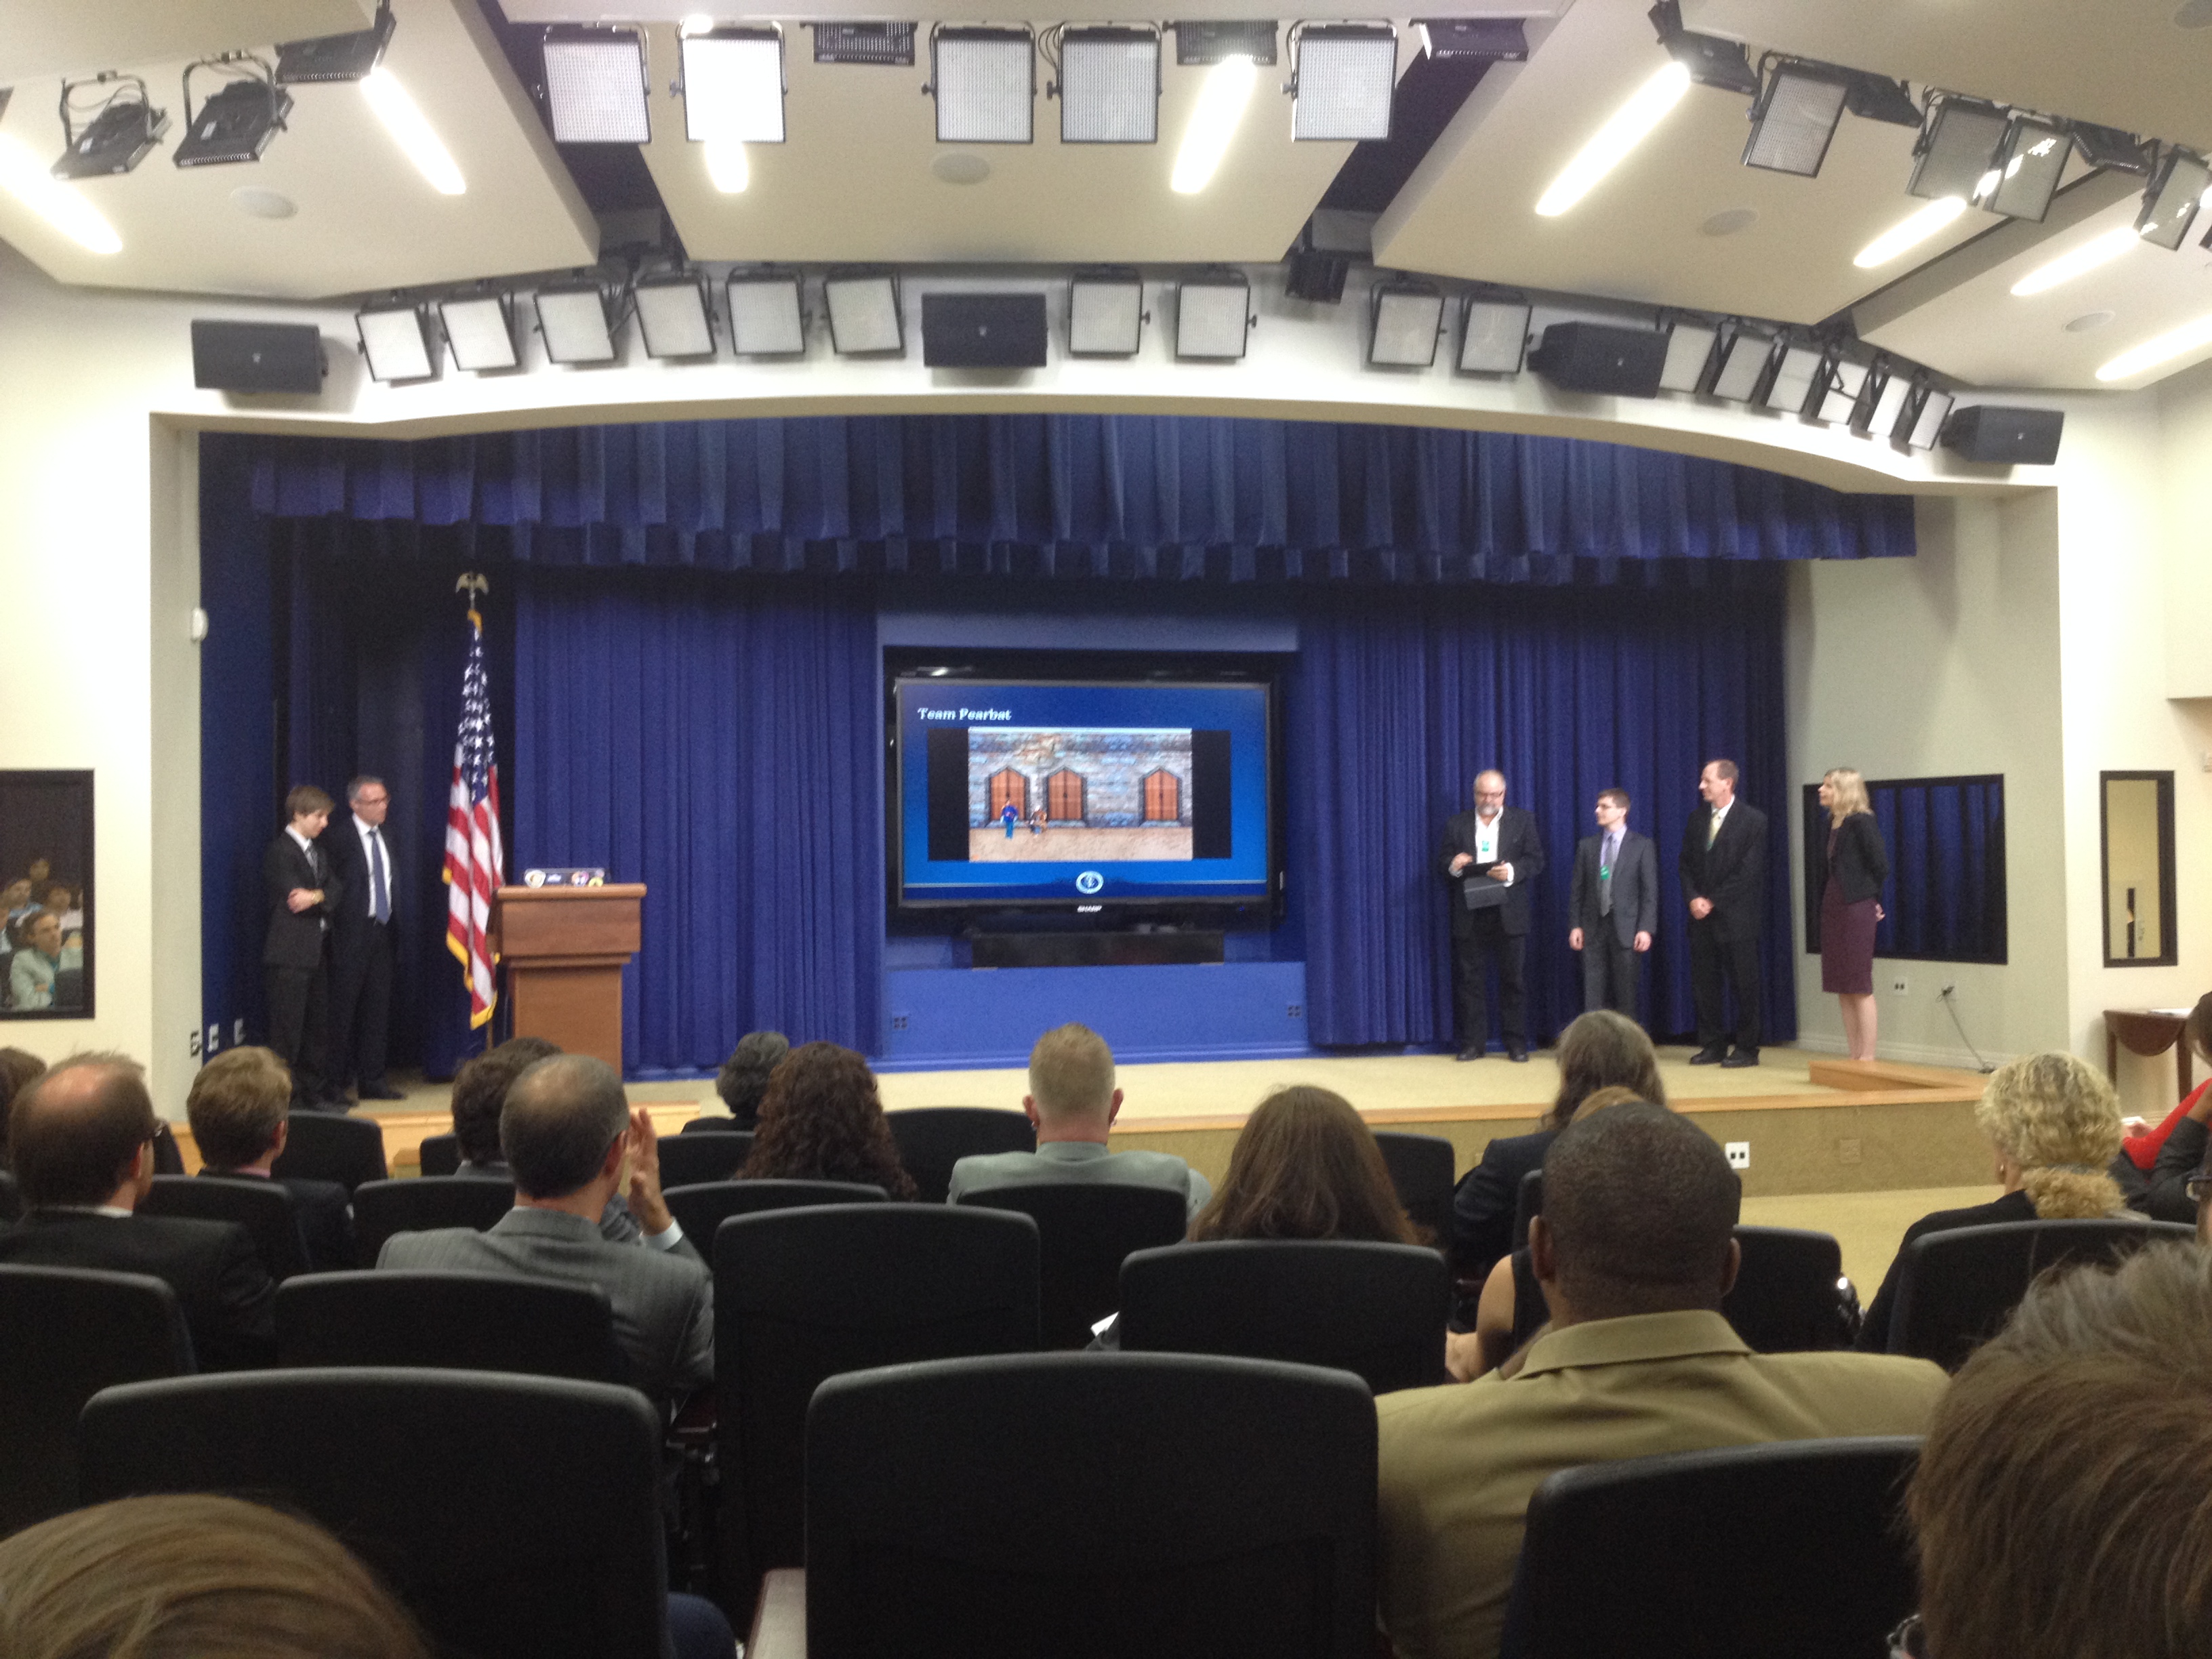
Team Pearbat presenting
We used our one minute to talk about:
- Our game about “Who Killed Lincoln?” was designed to teach in more detail a piece of history that most everyone knows the basics about. The game provides multiple perspectives about a historical event allowing the student to apply critical thinking to understand what happened at the event.
- Our game collects data about how the student is understanding the information as it is presented. This data can be used by teachers to determine how well the students are learning.
- Our team was a partnership between a large corporation and a small independent developer. And it worked!
After the presentation was over, which actually ended exactly at 11AM, we went up to the Indian Treaty Room for refreshments and to let people play our games.
Indian Treaty Room – originally the Navy’s library
The “presidential” cupcakes were a standout hit of the event.
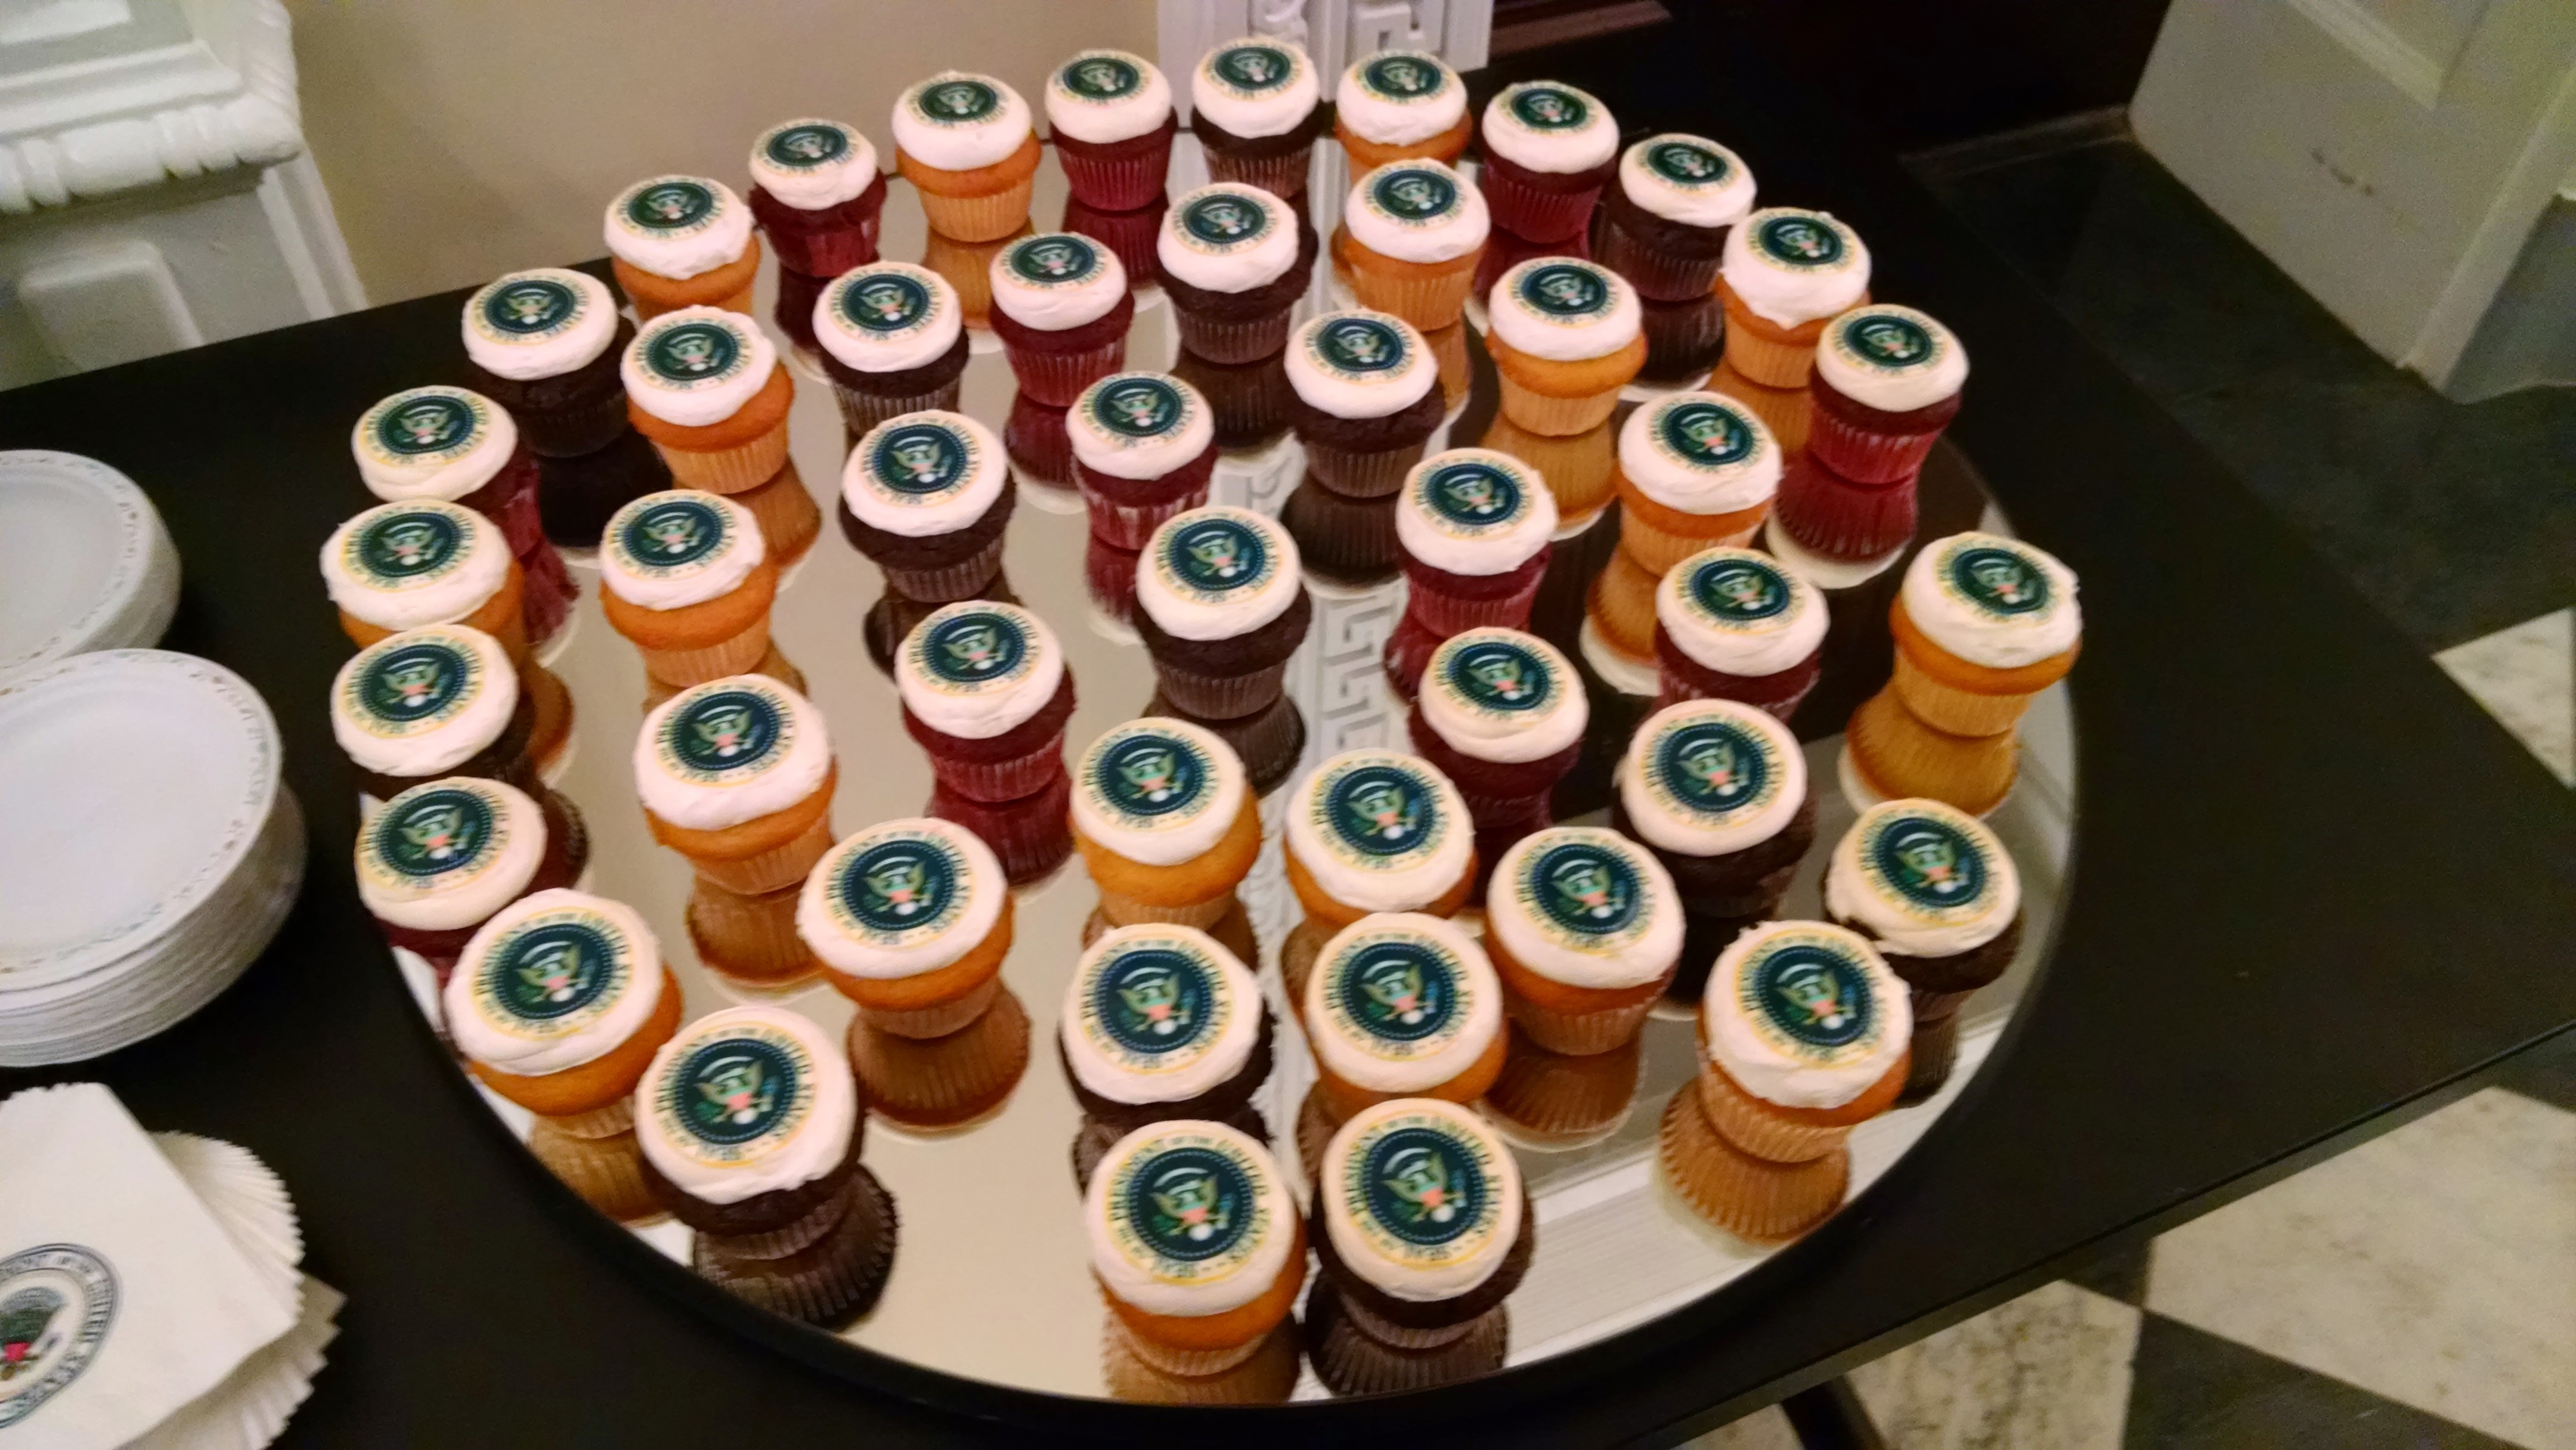
Presidential cupcakes
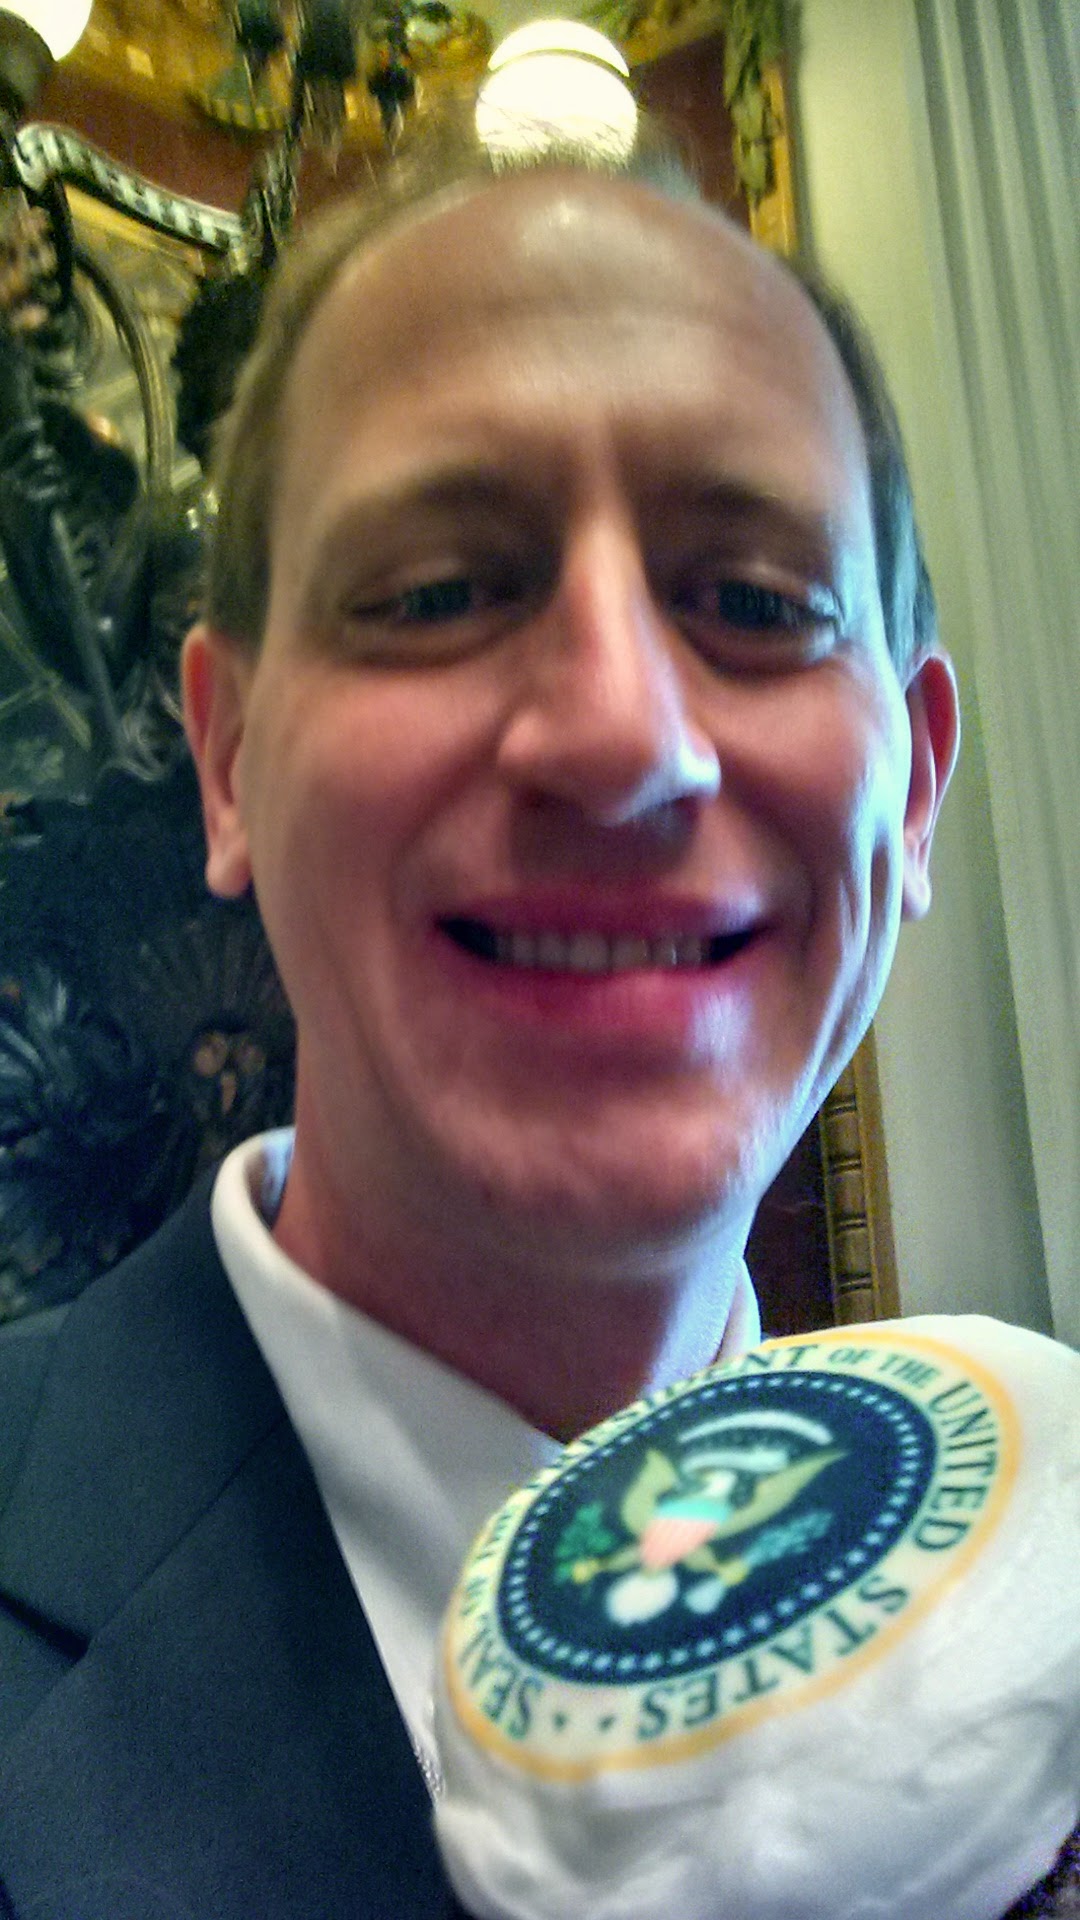
Me and my cupcake
Tables were set up around the room where we set up our laptops to present our games.
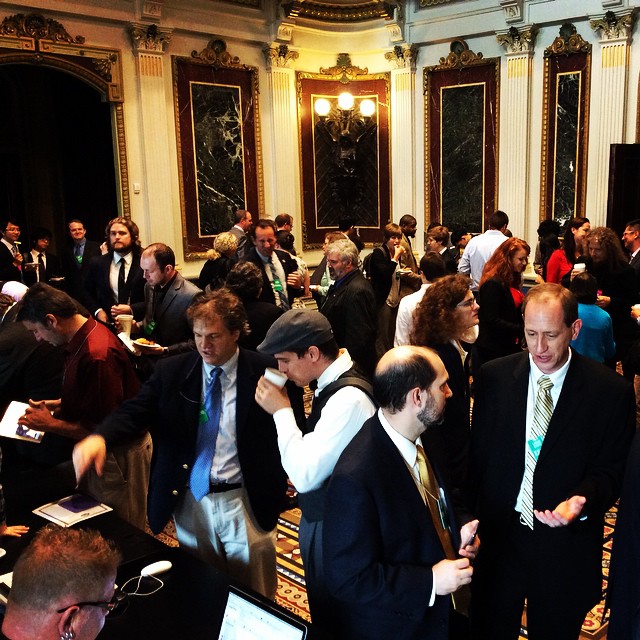
Jesse demoing in Indian Treaty Room (from Karina Linch’s Instagram feed)
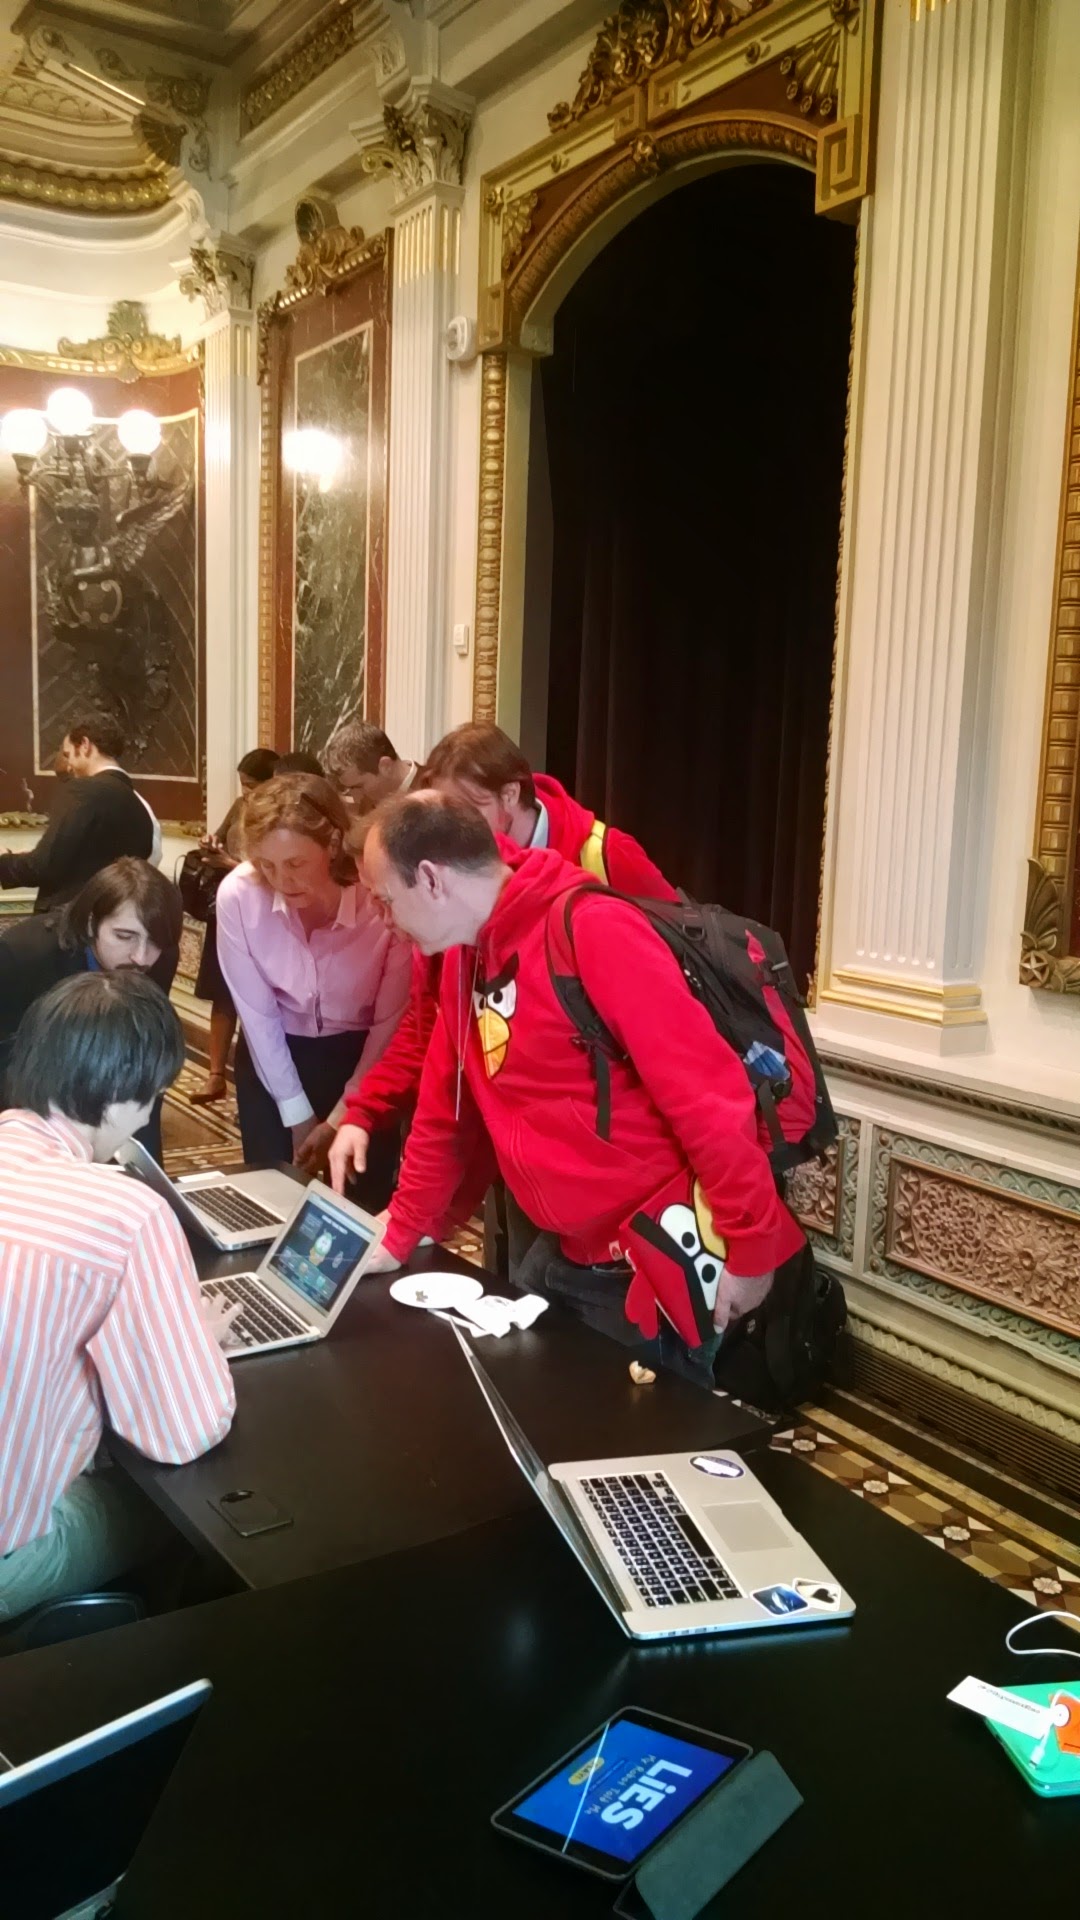
Rovio Angry Birds developers and the Chief Technology Officer of the United State Megan Smith playing games
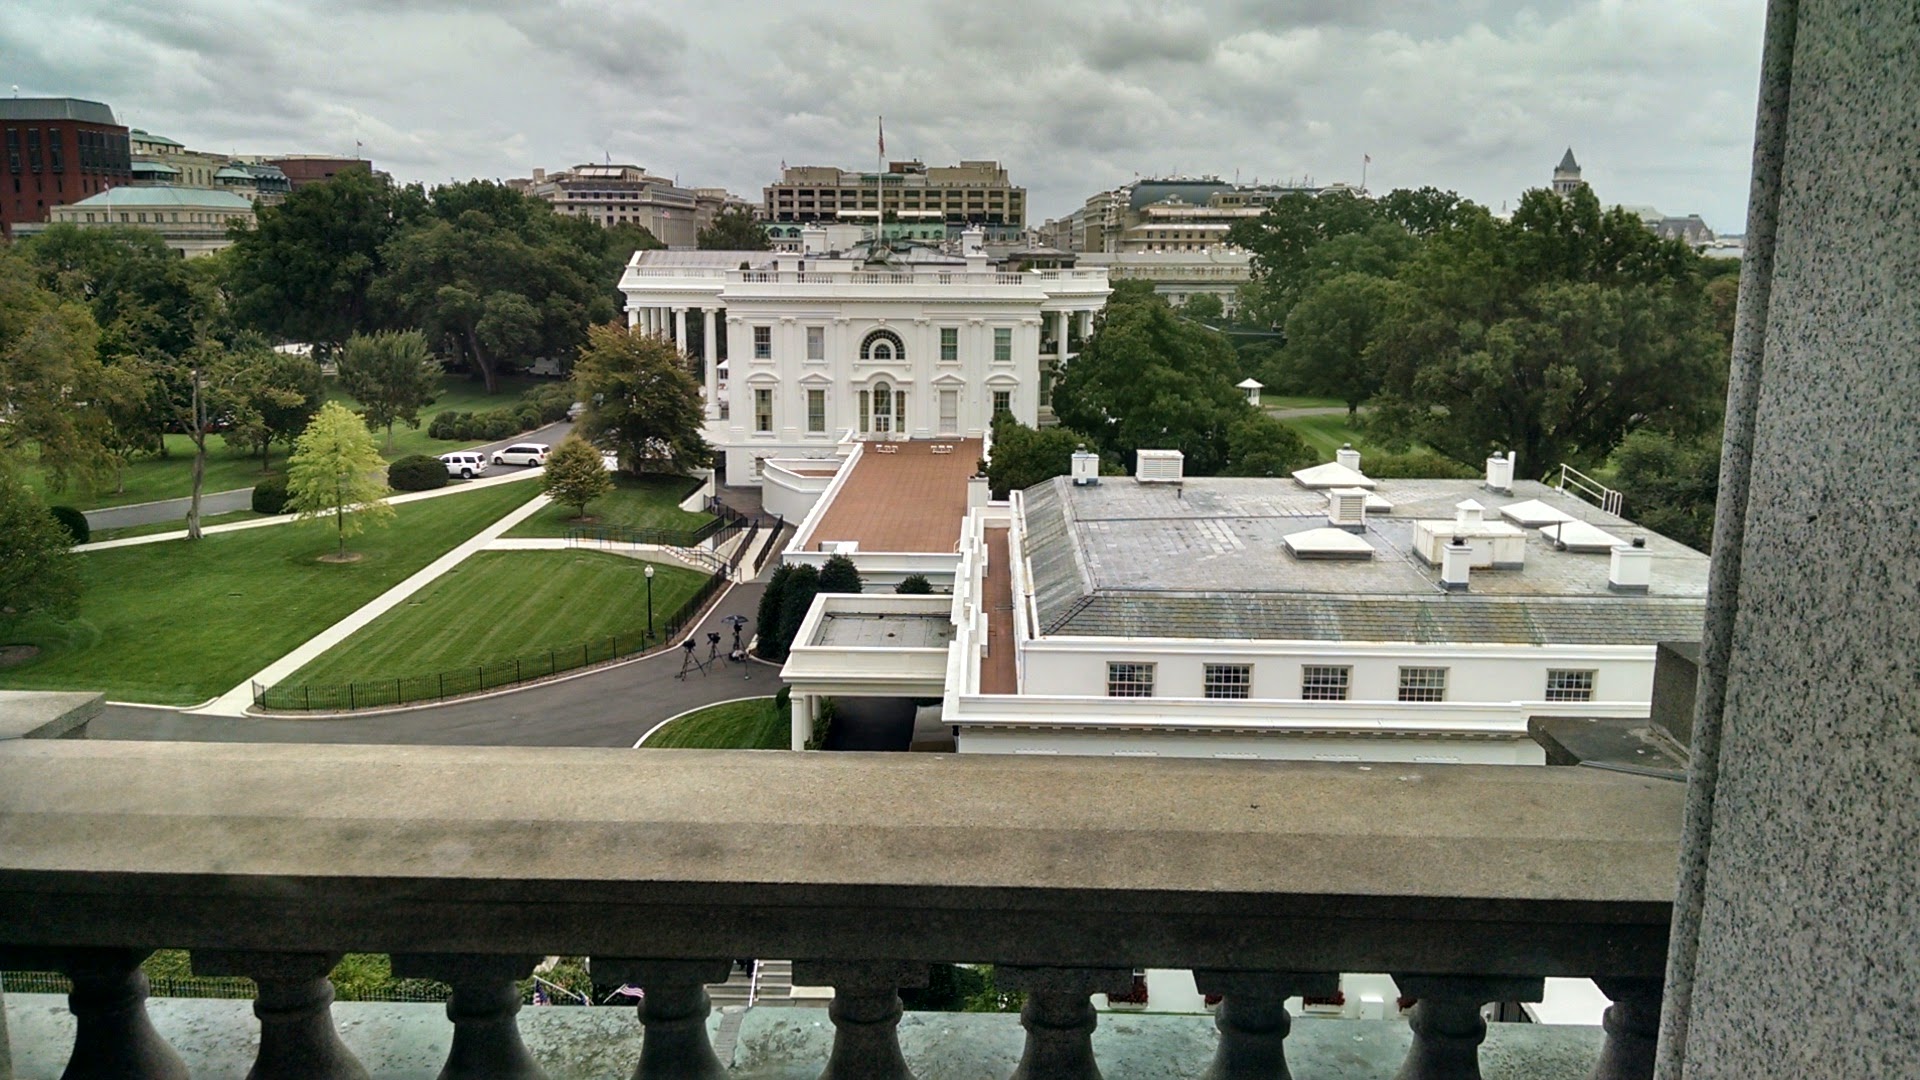
West Wing from Indian Treaty Room
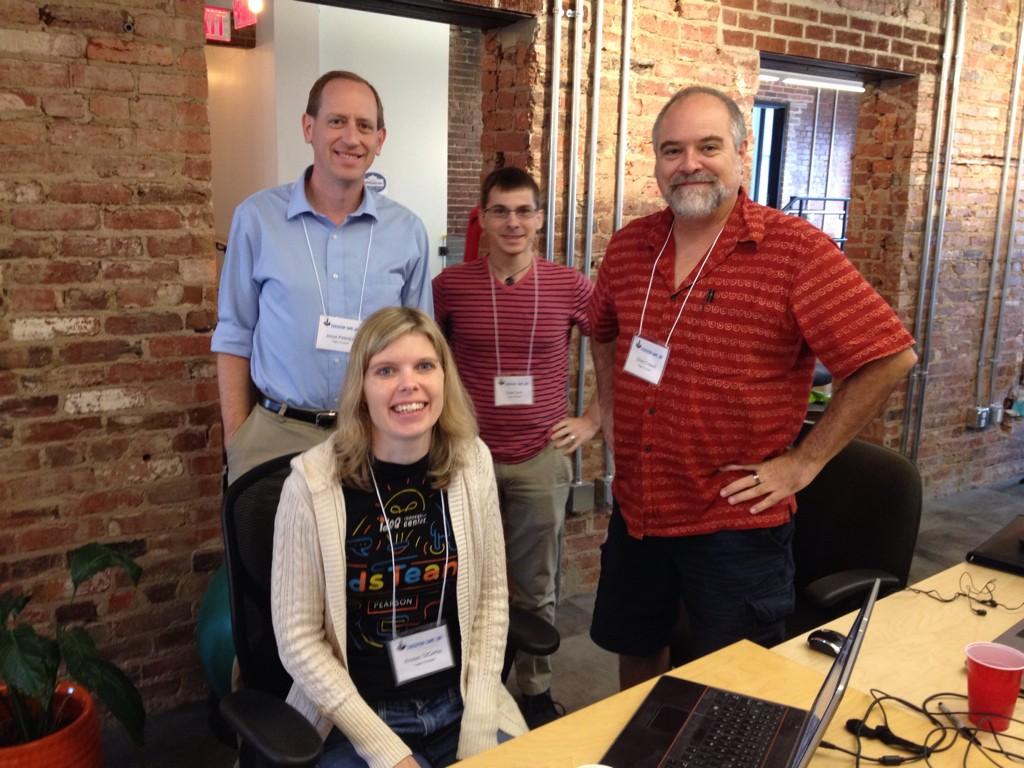
Once the demos were over the event was over. Team Pearbat got a team photo in the Indian Treaty Room.
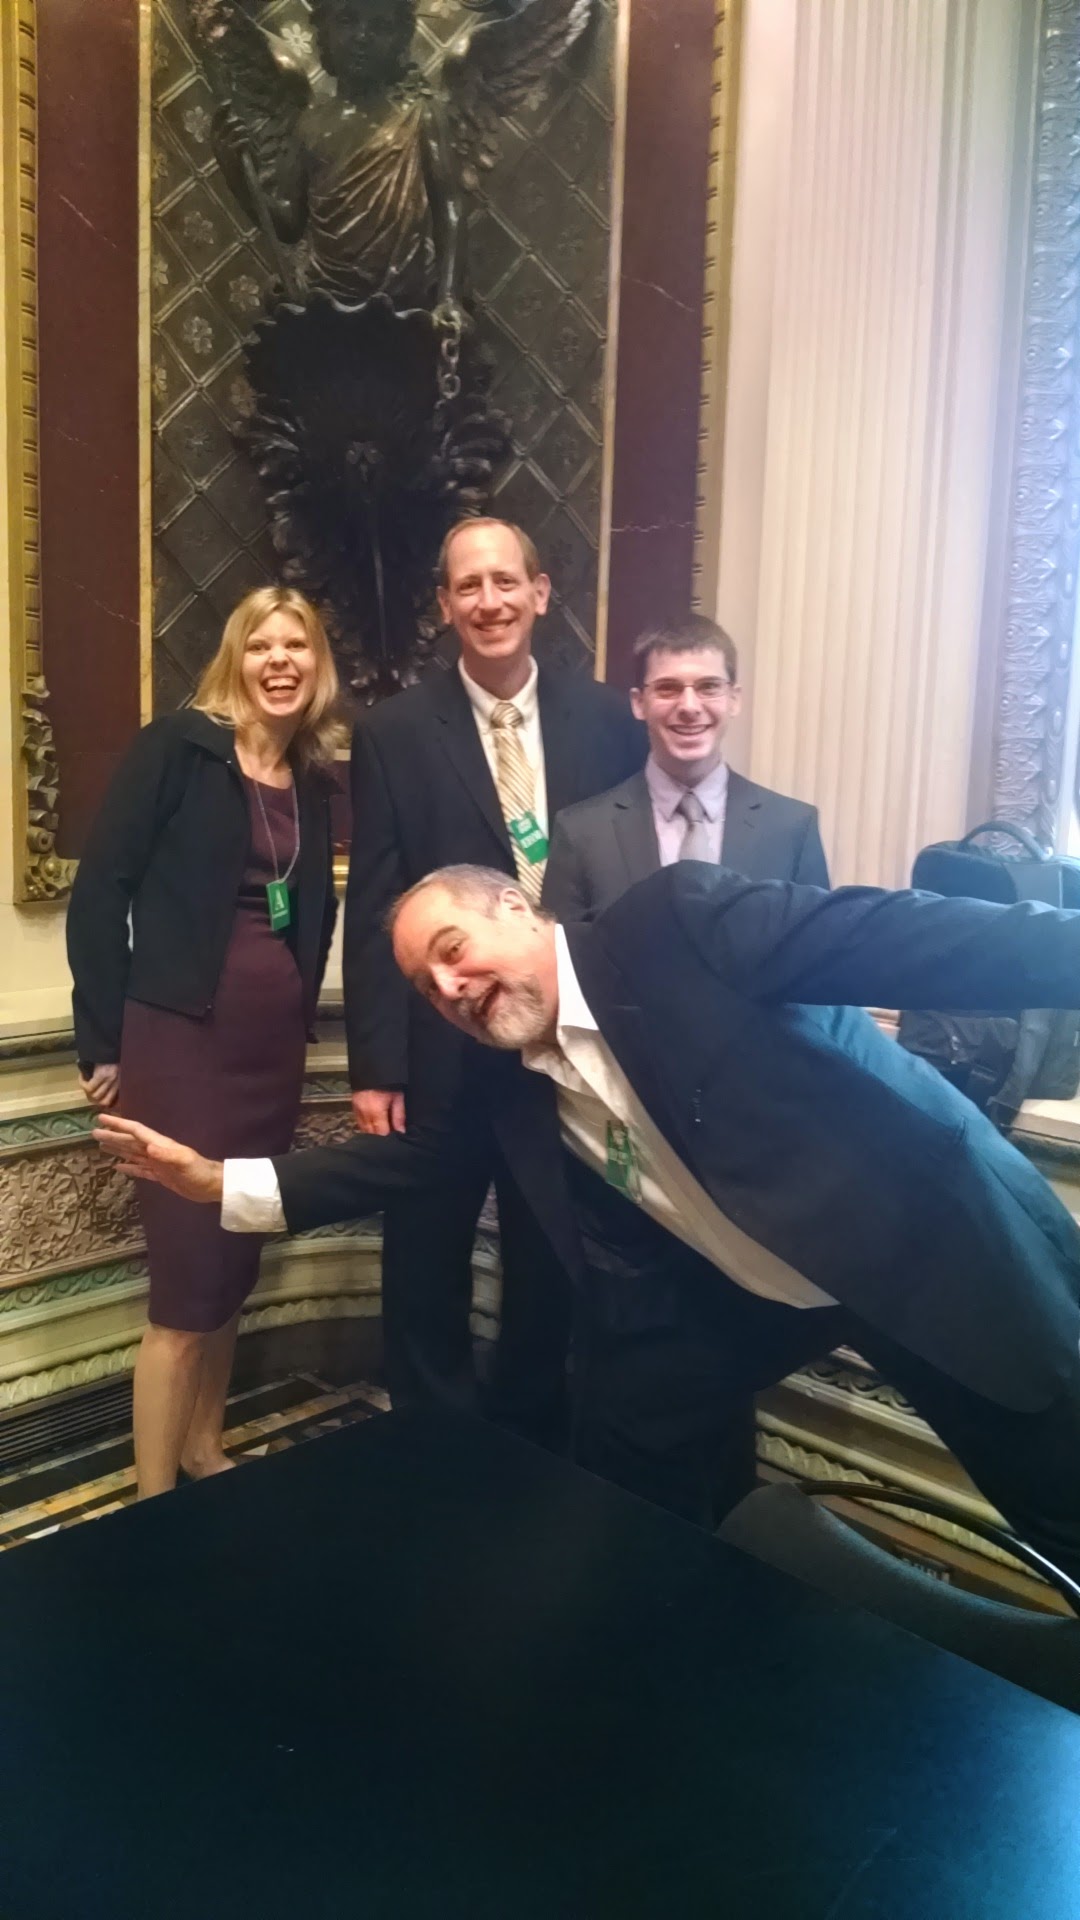
Team Pearbat in Indian Treaty Room
We left the EEOB, which is much easier than entering. We could go out any of the exits. There was a pad to scan our visitor badge and a slot to deposit it into. We then went through the guarded turnstile and were out on 17th Street. Cole and I had the same flight, so we went back to the hotel and picked up our stored luggage and changed clothes. We took the metro back to the airport and headed home. It was long weekend but a very memorable one.
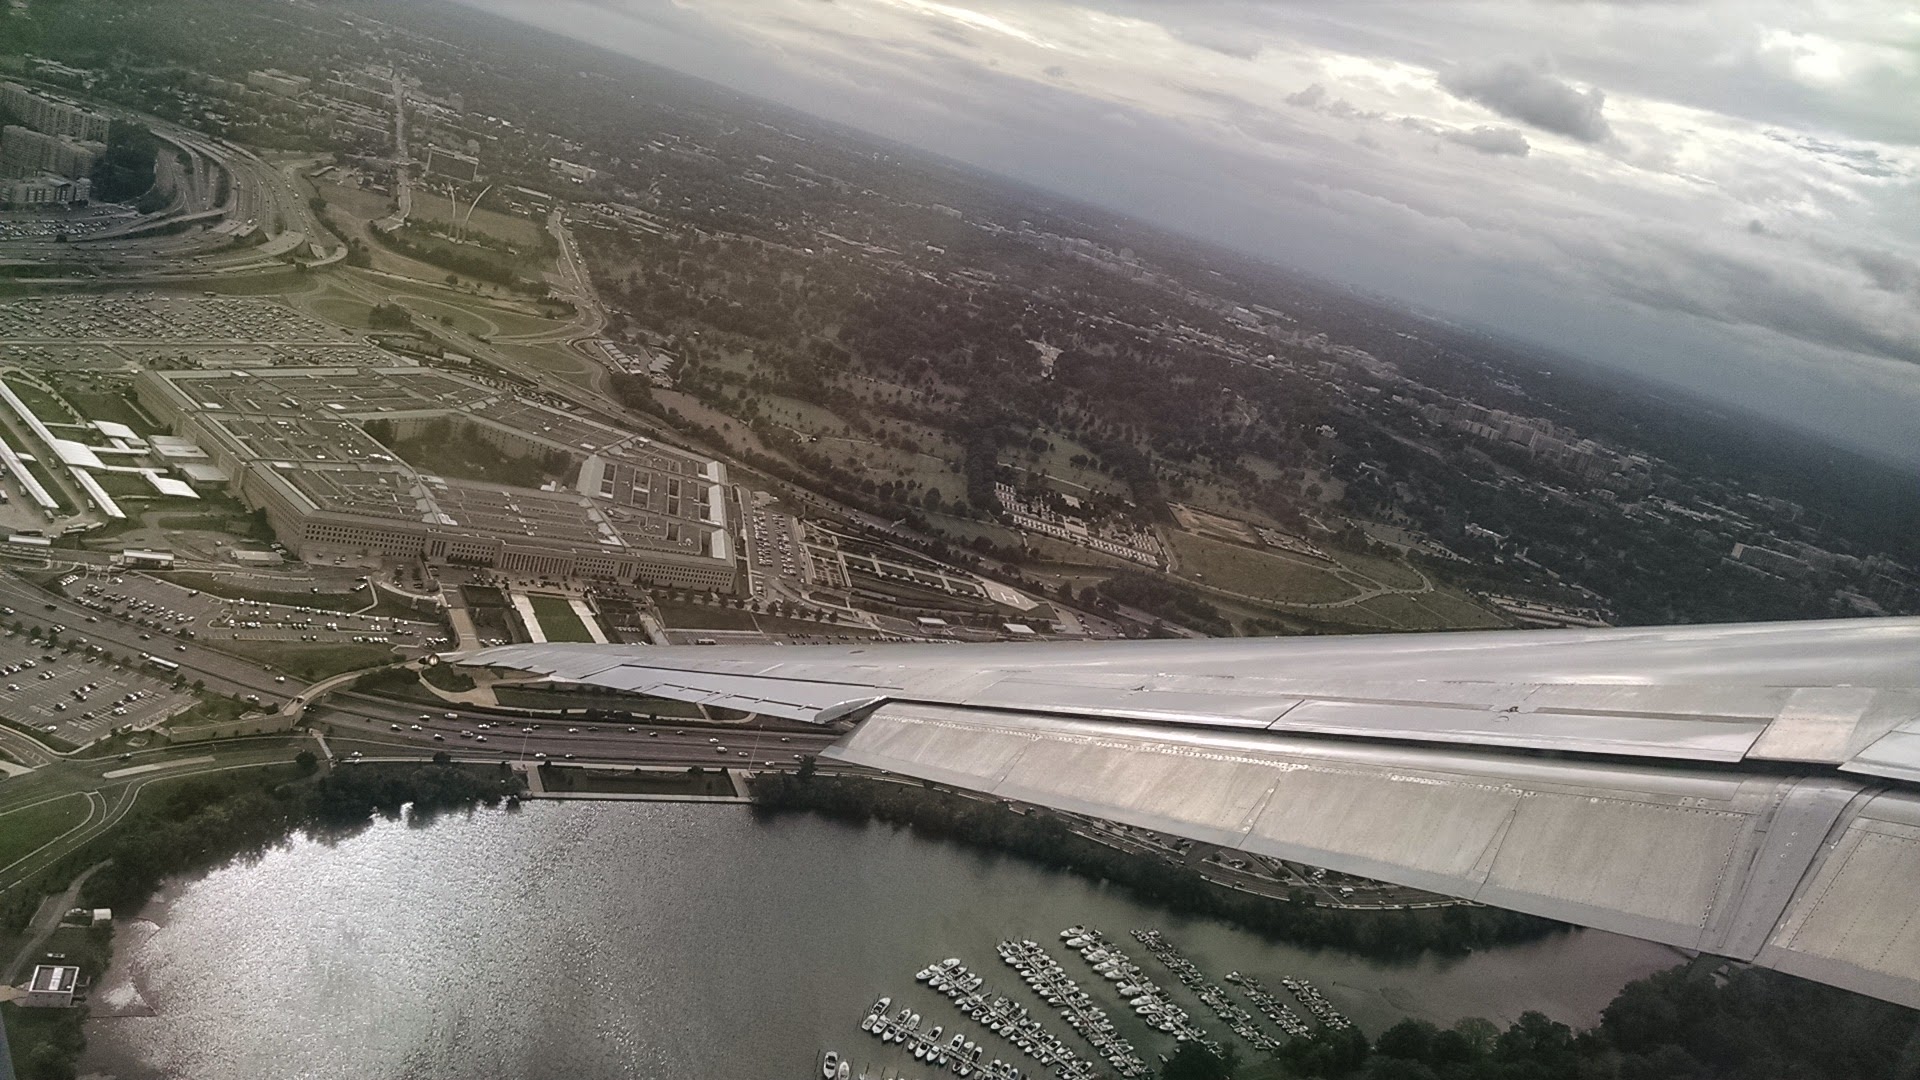
Pentagon from the air
The Office of Educational Technology has posted videos from the weekend on the #WHGameJam 2014 YouTube playlist.
The White House Education Game Jam sticker